Mypreciouzkids love hands-on activities, be it arts and crafts, baking and they even had a pottery making season at Ubud, Bali recently which they absolutely love.
I feel guilty of not indulging them in such hands-on activities be it in a home setting or outside attending workshops/classes
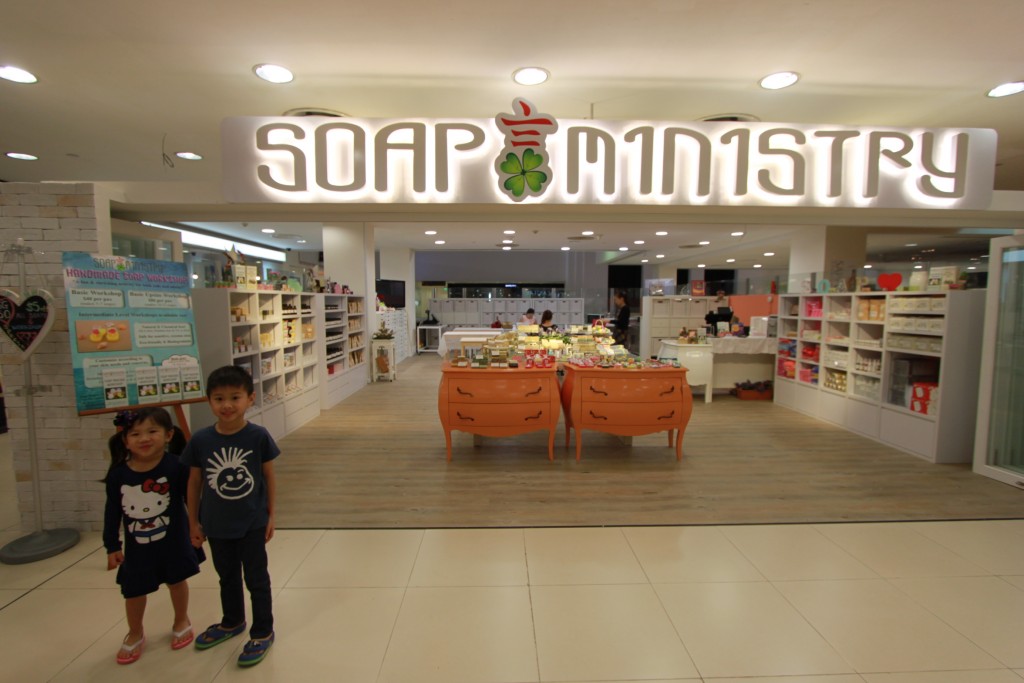
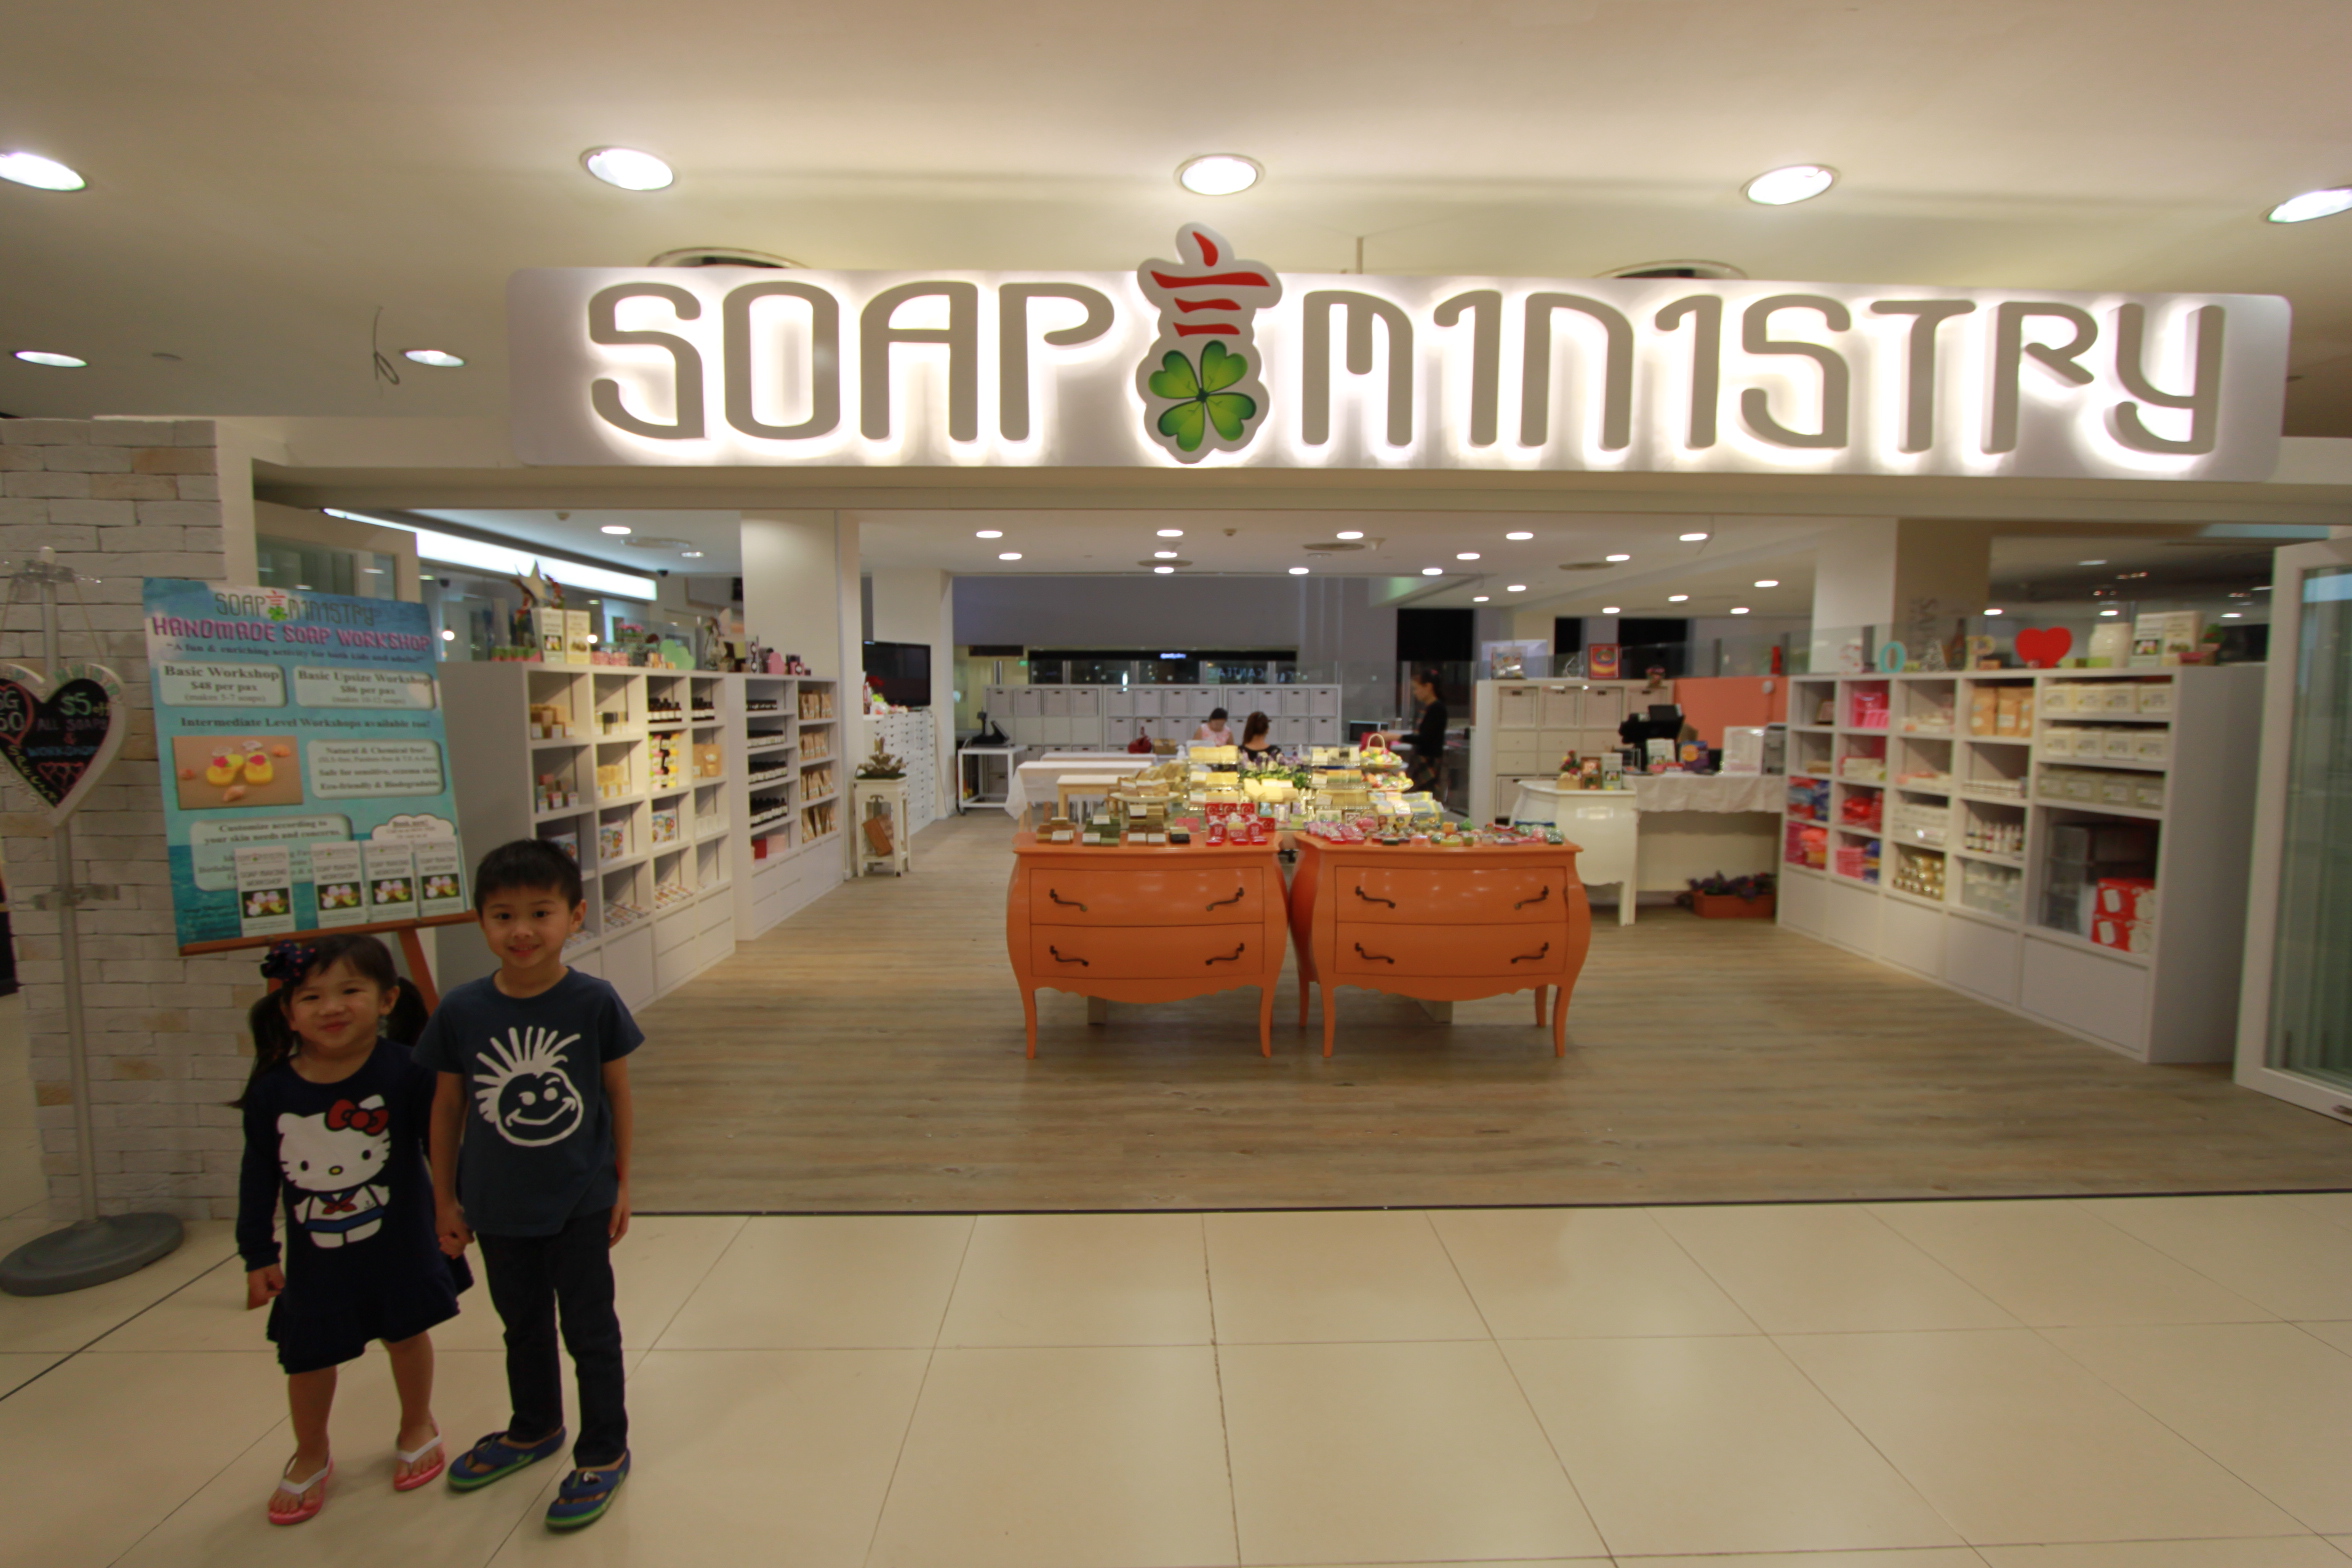
I chanced upon soap making workshop which is suitable for both kids above 4 years old and adults. Soap Ministry was previously located at Orchard Central and now they have a brand new shop at Liang Court on the second floor which could accommodate up to 50 participants at any one time and even host birthday parties. In fact, they just opened their new outlet a few days before our visit.
There are several methods of soap making such as Melt and Pour Method , Cold Process Method, Hot Process Method and Rebatching Method. For beginners and kids, they will be making soap using the Melt and Pour Method which will be shown step by step and in picture in this blog. The Basic Workshop (SGD 48) and the Basic Upsize Workshop (SGD 86) use the Melt and Pour Method. The difference between the Basic and Basic Upsize is that instead of a 250g soap base with 1 colour choice in the Basic, the Basic Upsize give a 500g soap base and 2 colour choices hence more soap (and 2 layer coloured soap) will be produced at the end of the session. The soap making process is entirely the same.
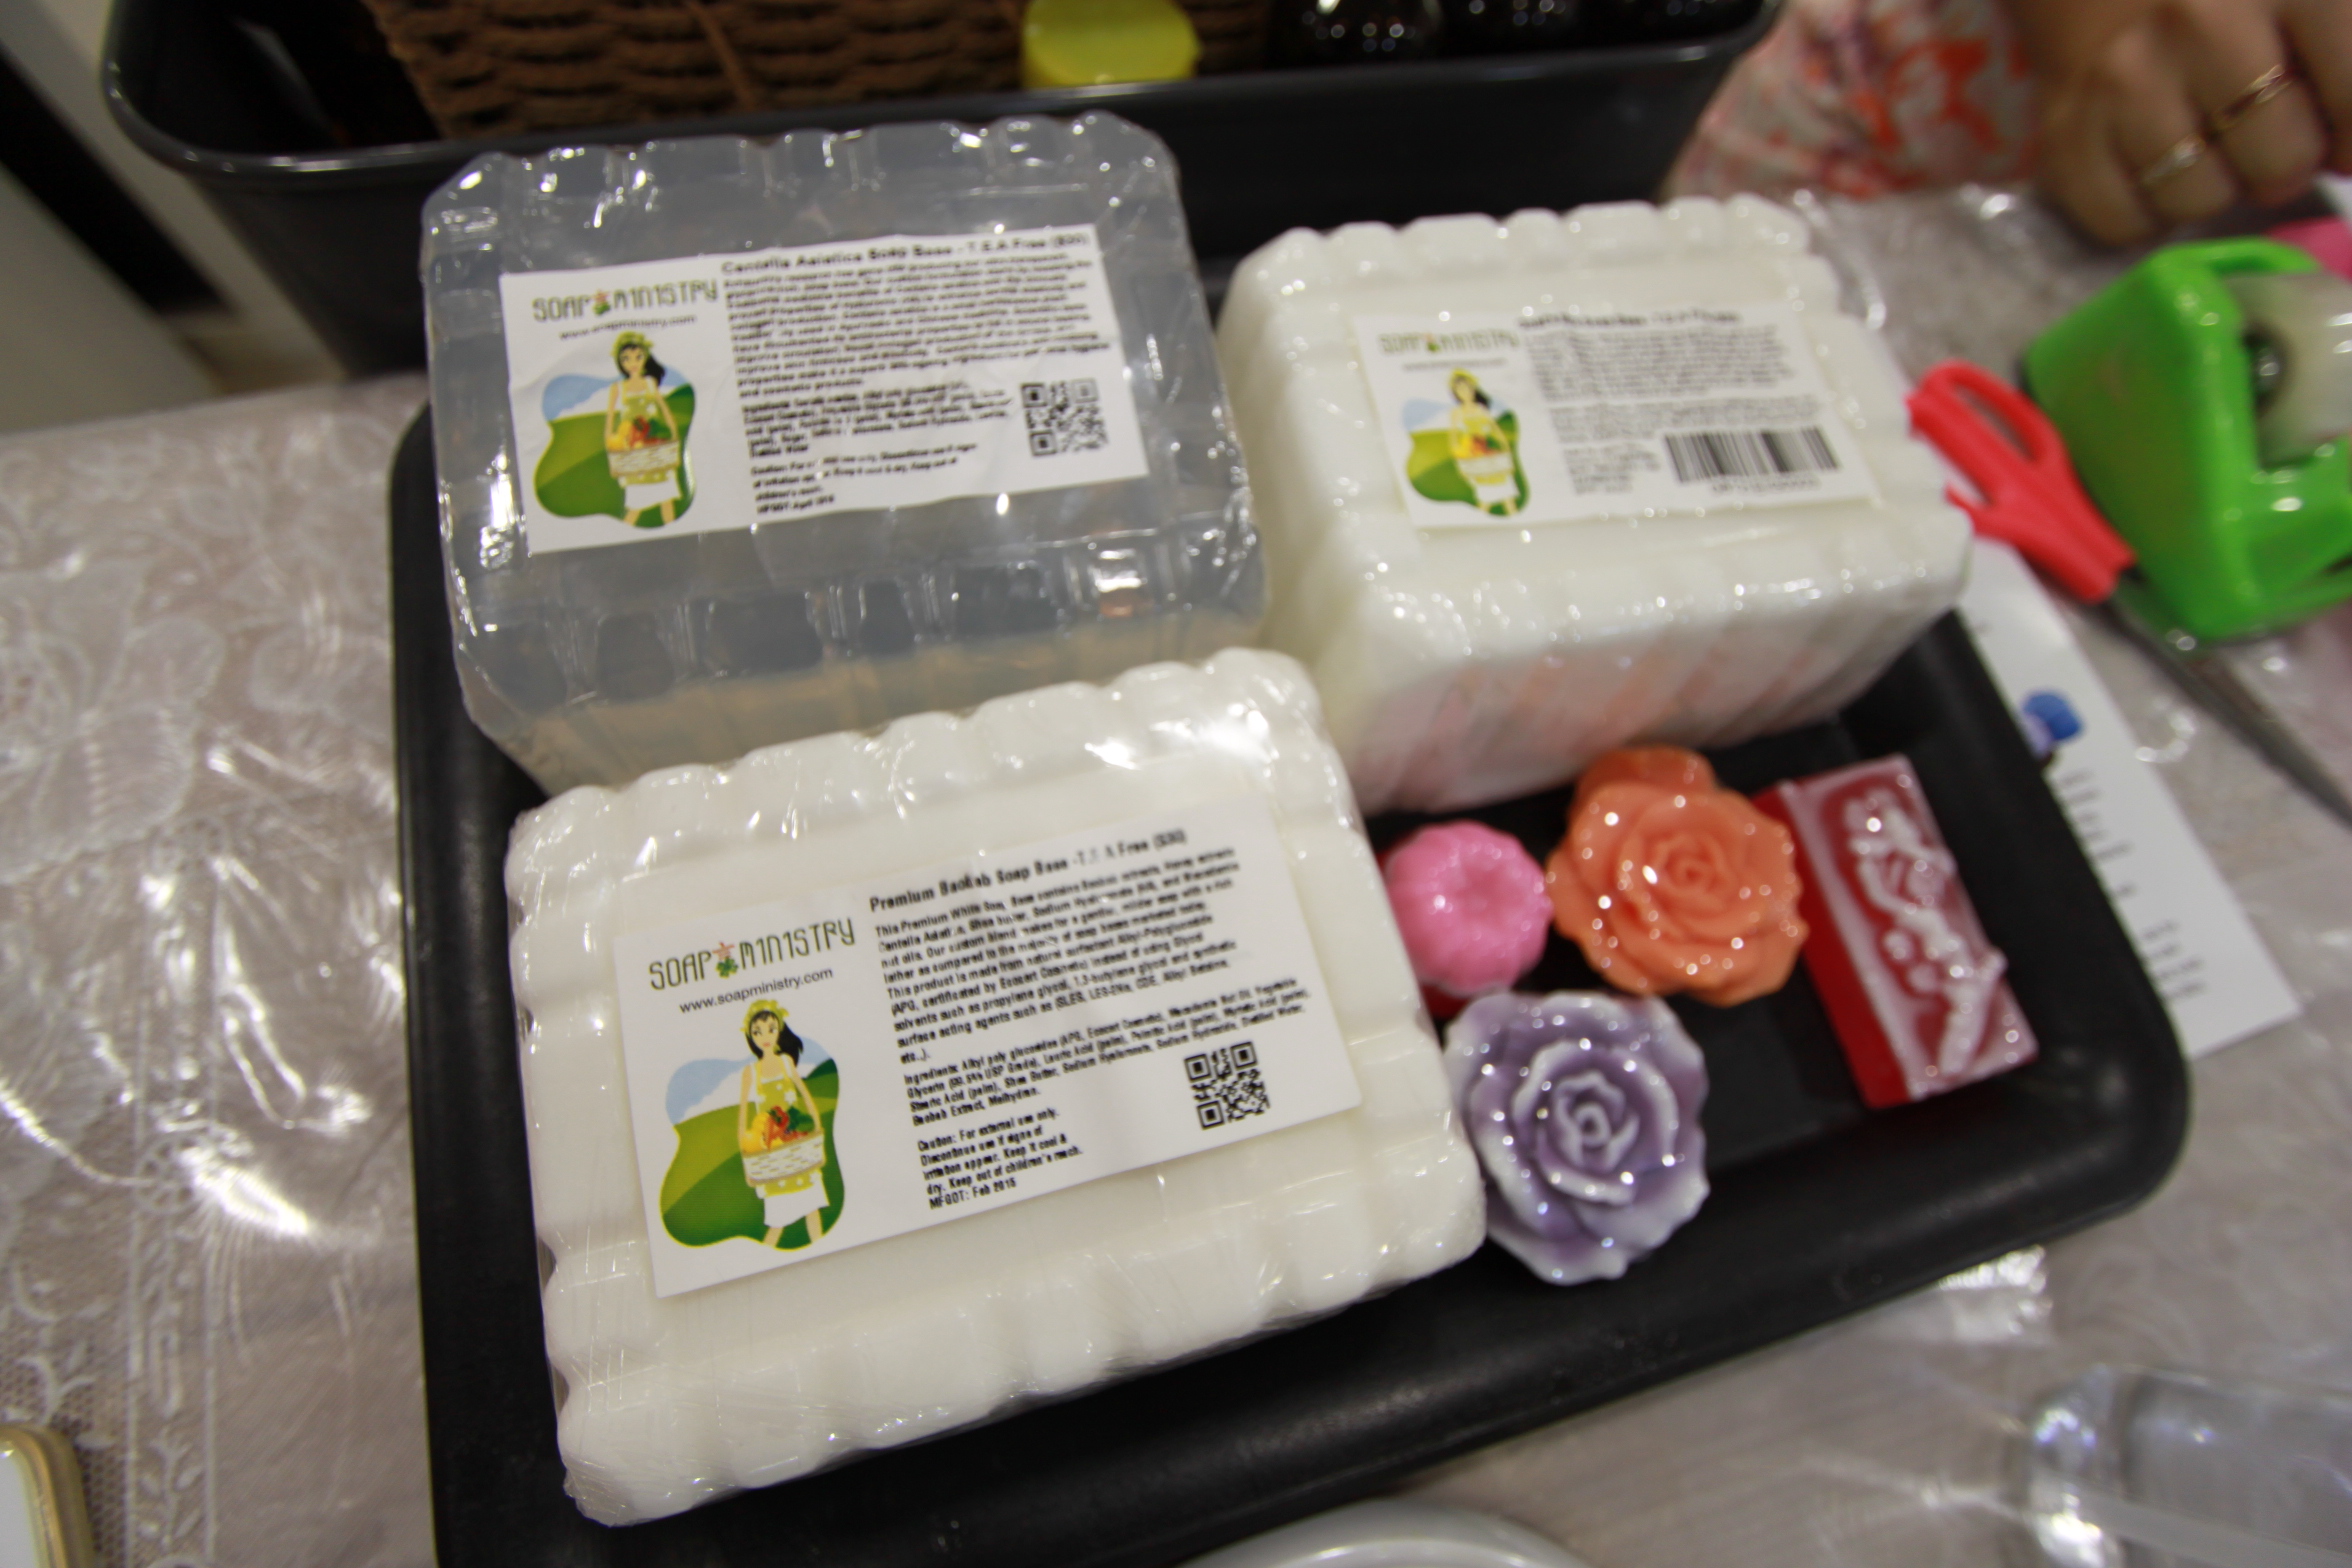
Step 1: Cut
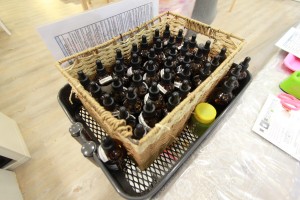
There are 3 different type of soap bases that Soap Ministry carries – Goat Milk, Baobab extract (with honey, macadamia nut oil and shea butter )and Centella Asiatica Clear (each base give different benefit to the user of the soap, for eg Goat Milk base is very multi-nutrient, baobab is most moisturising perfect for dry skin and eczema, Centella Asiatica is for healing and firming by stimulating collagen production)

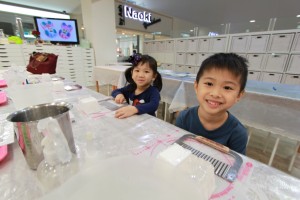
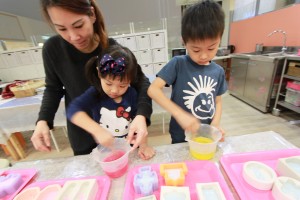
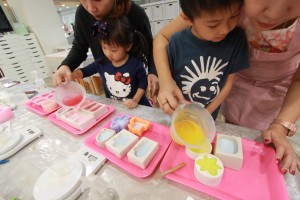
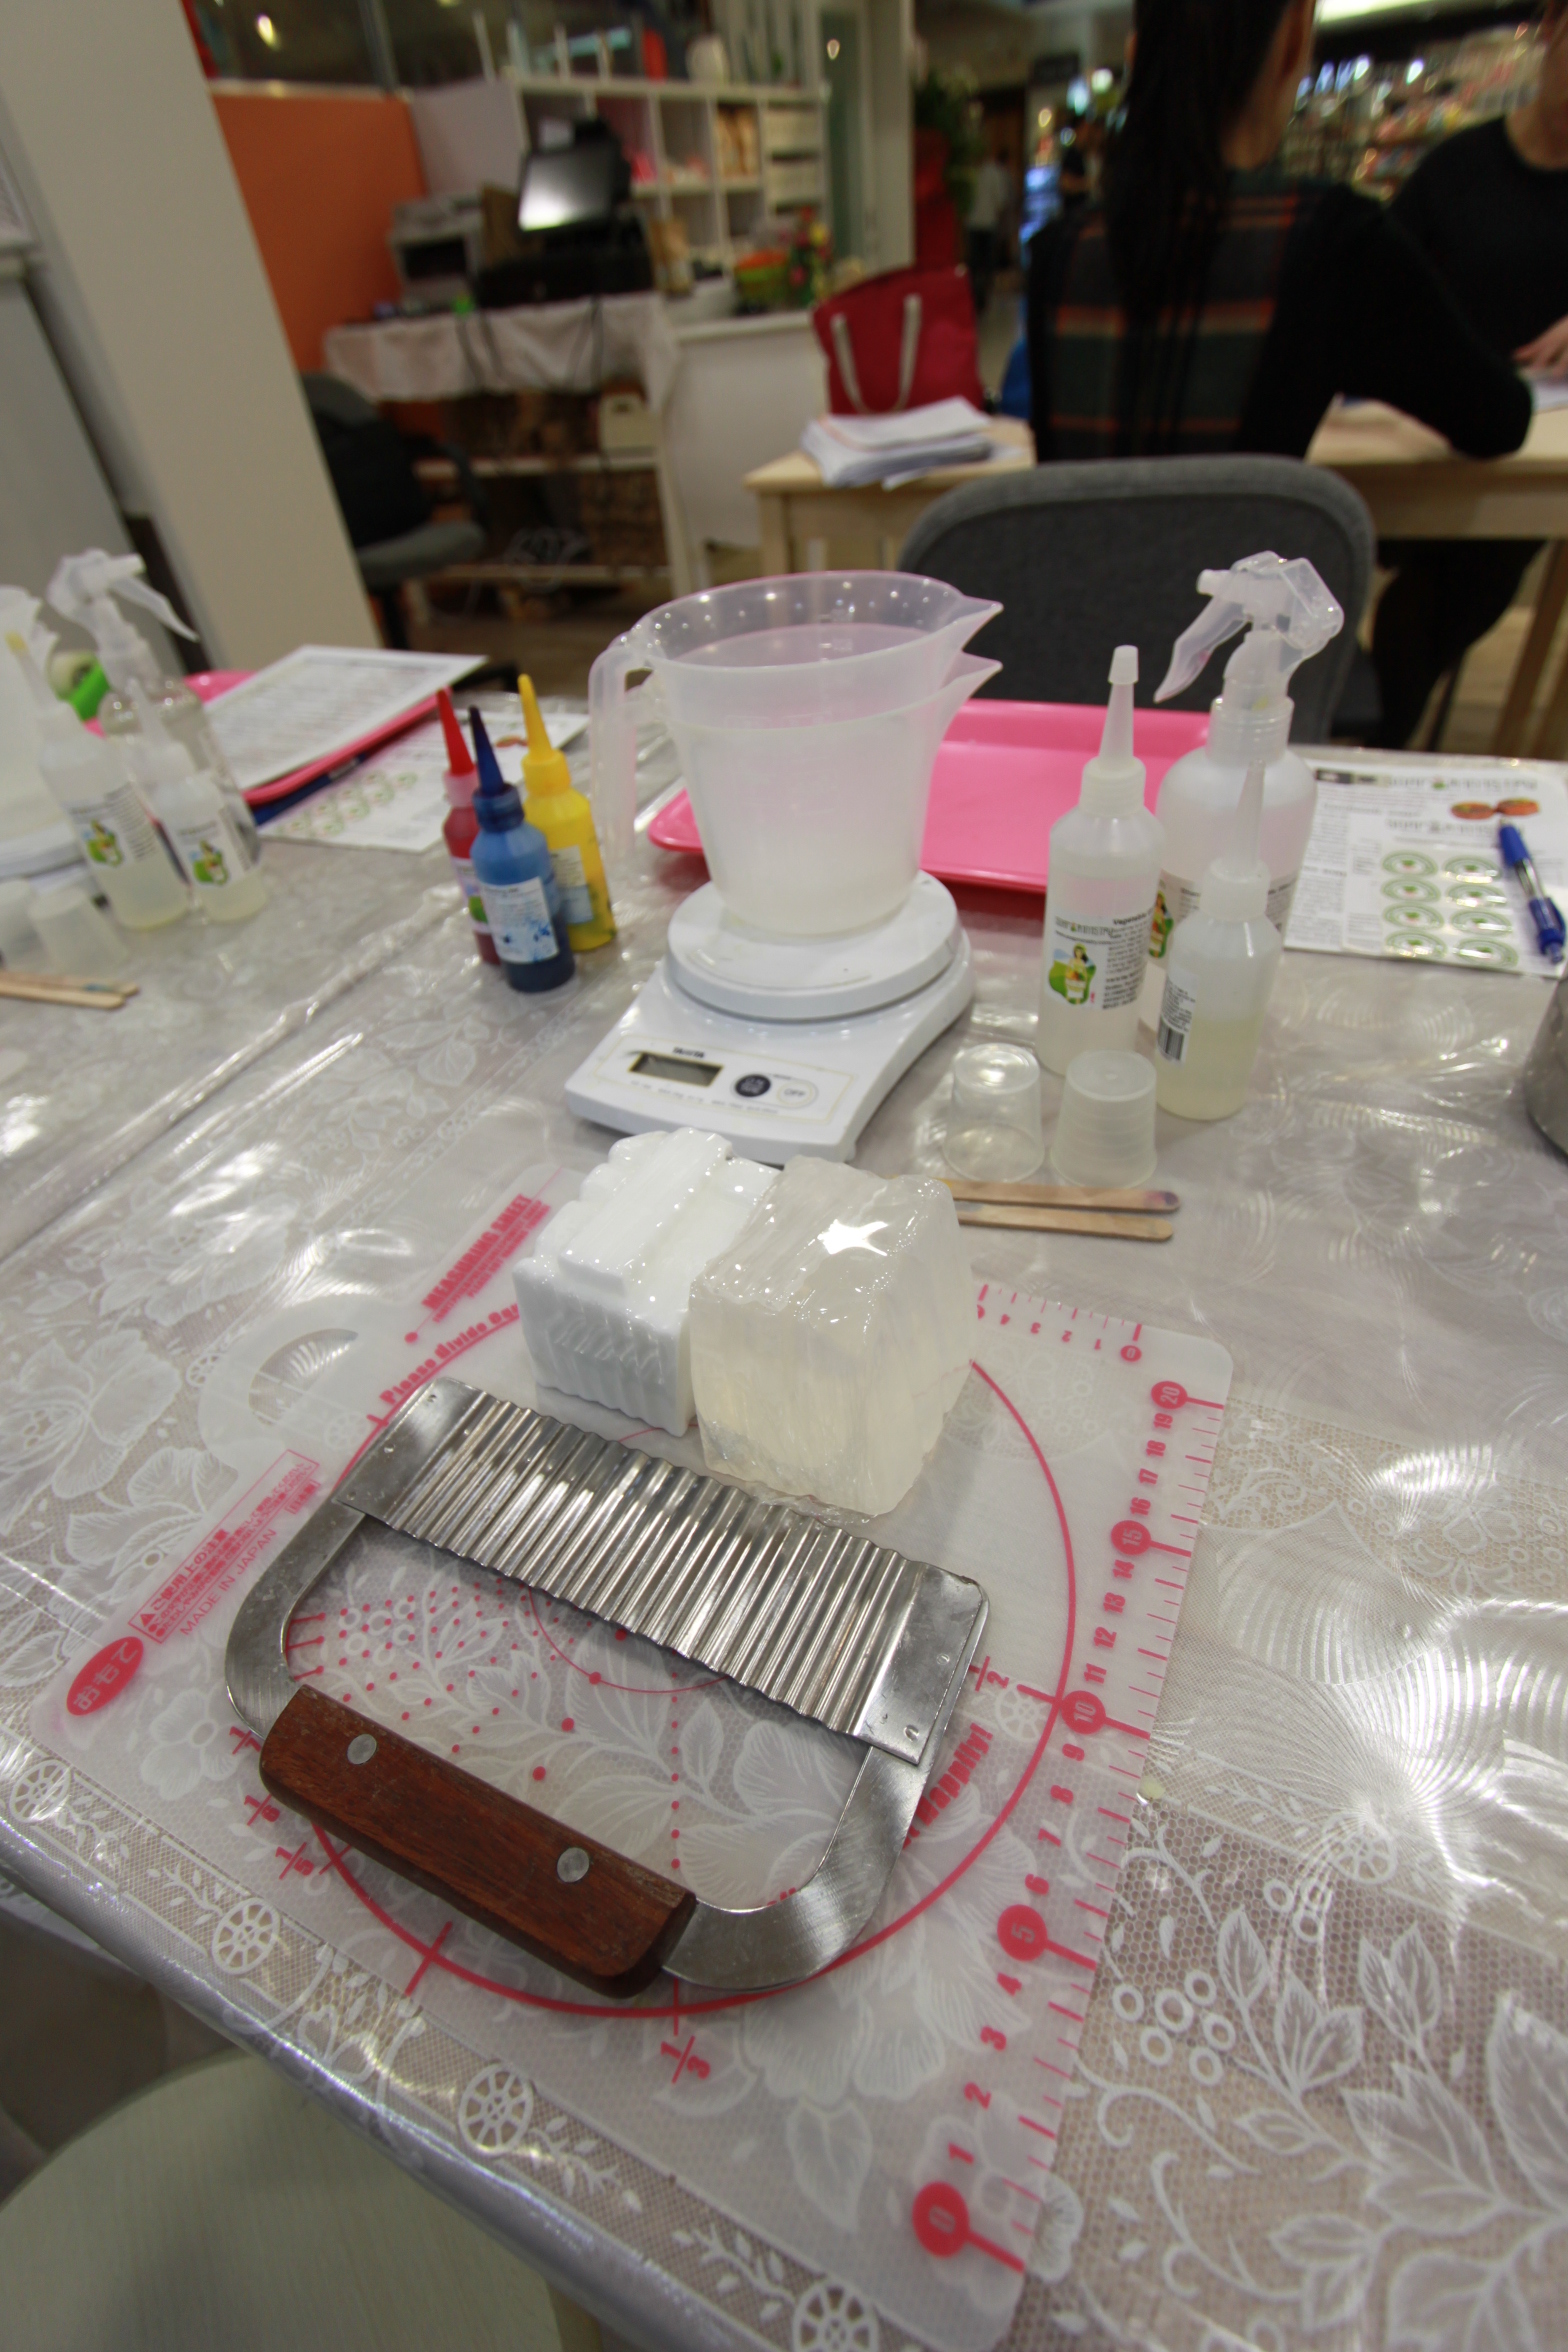
This is the setup and tools required by each participant for the Basic/Basic Upsize workshop.

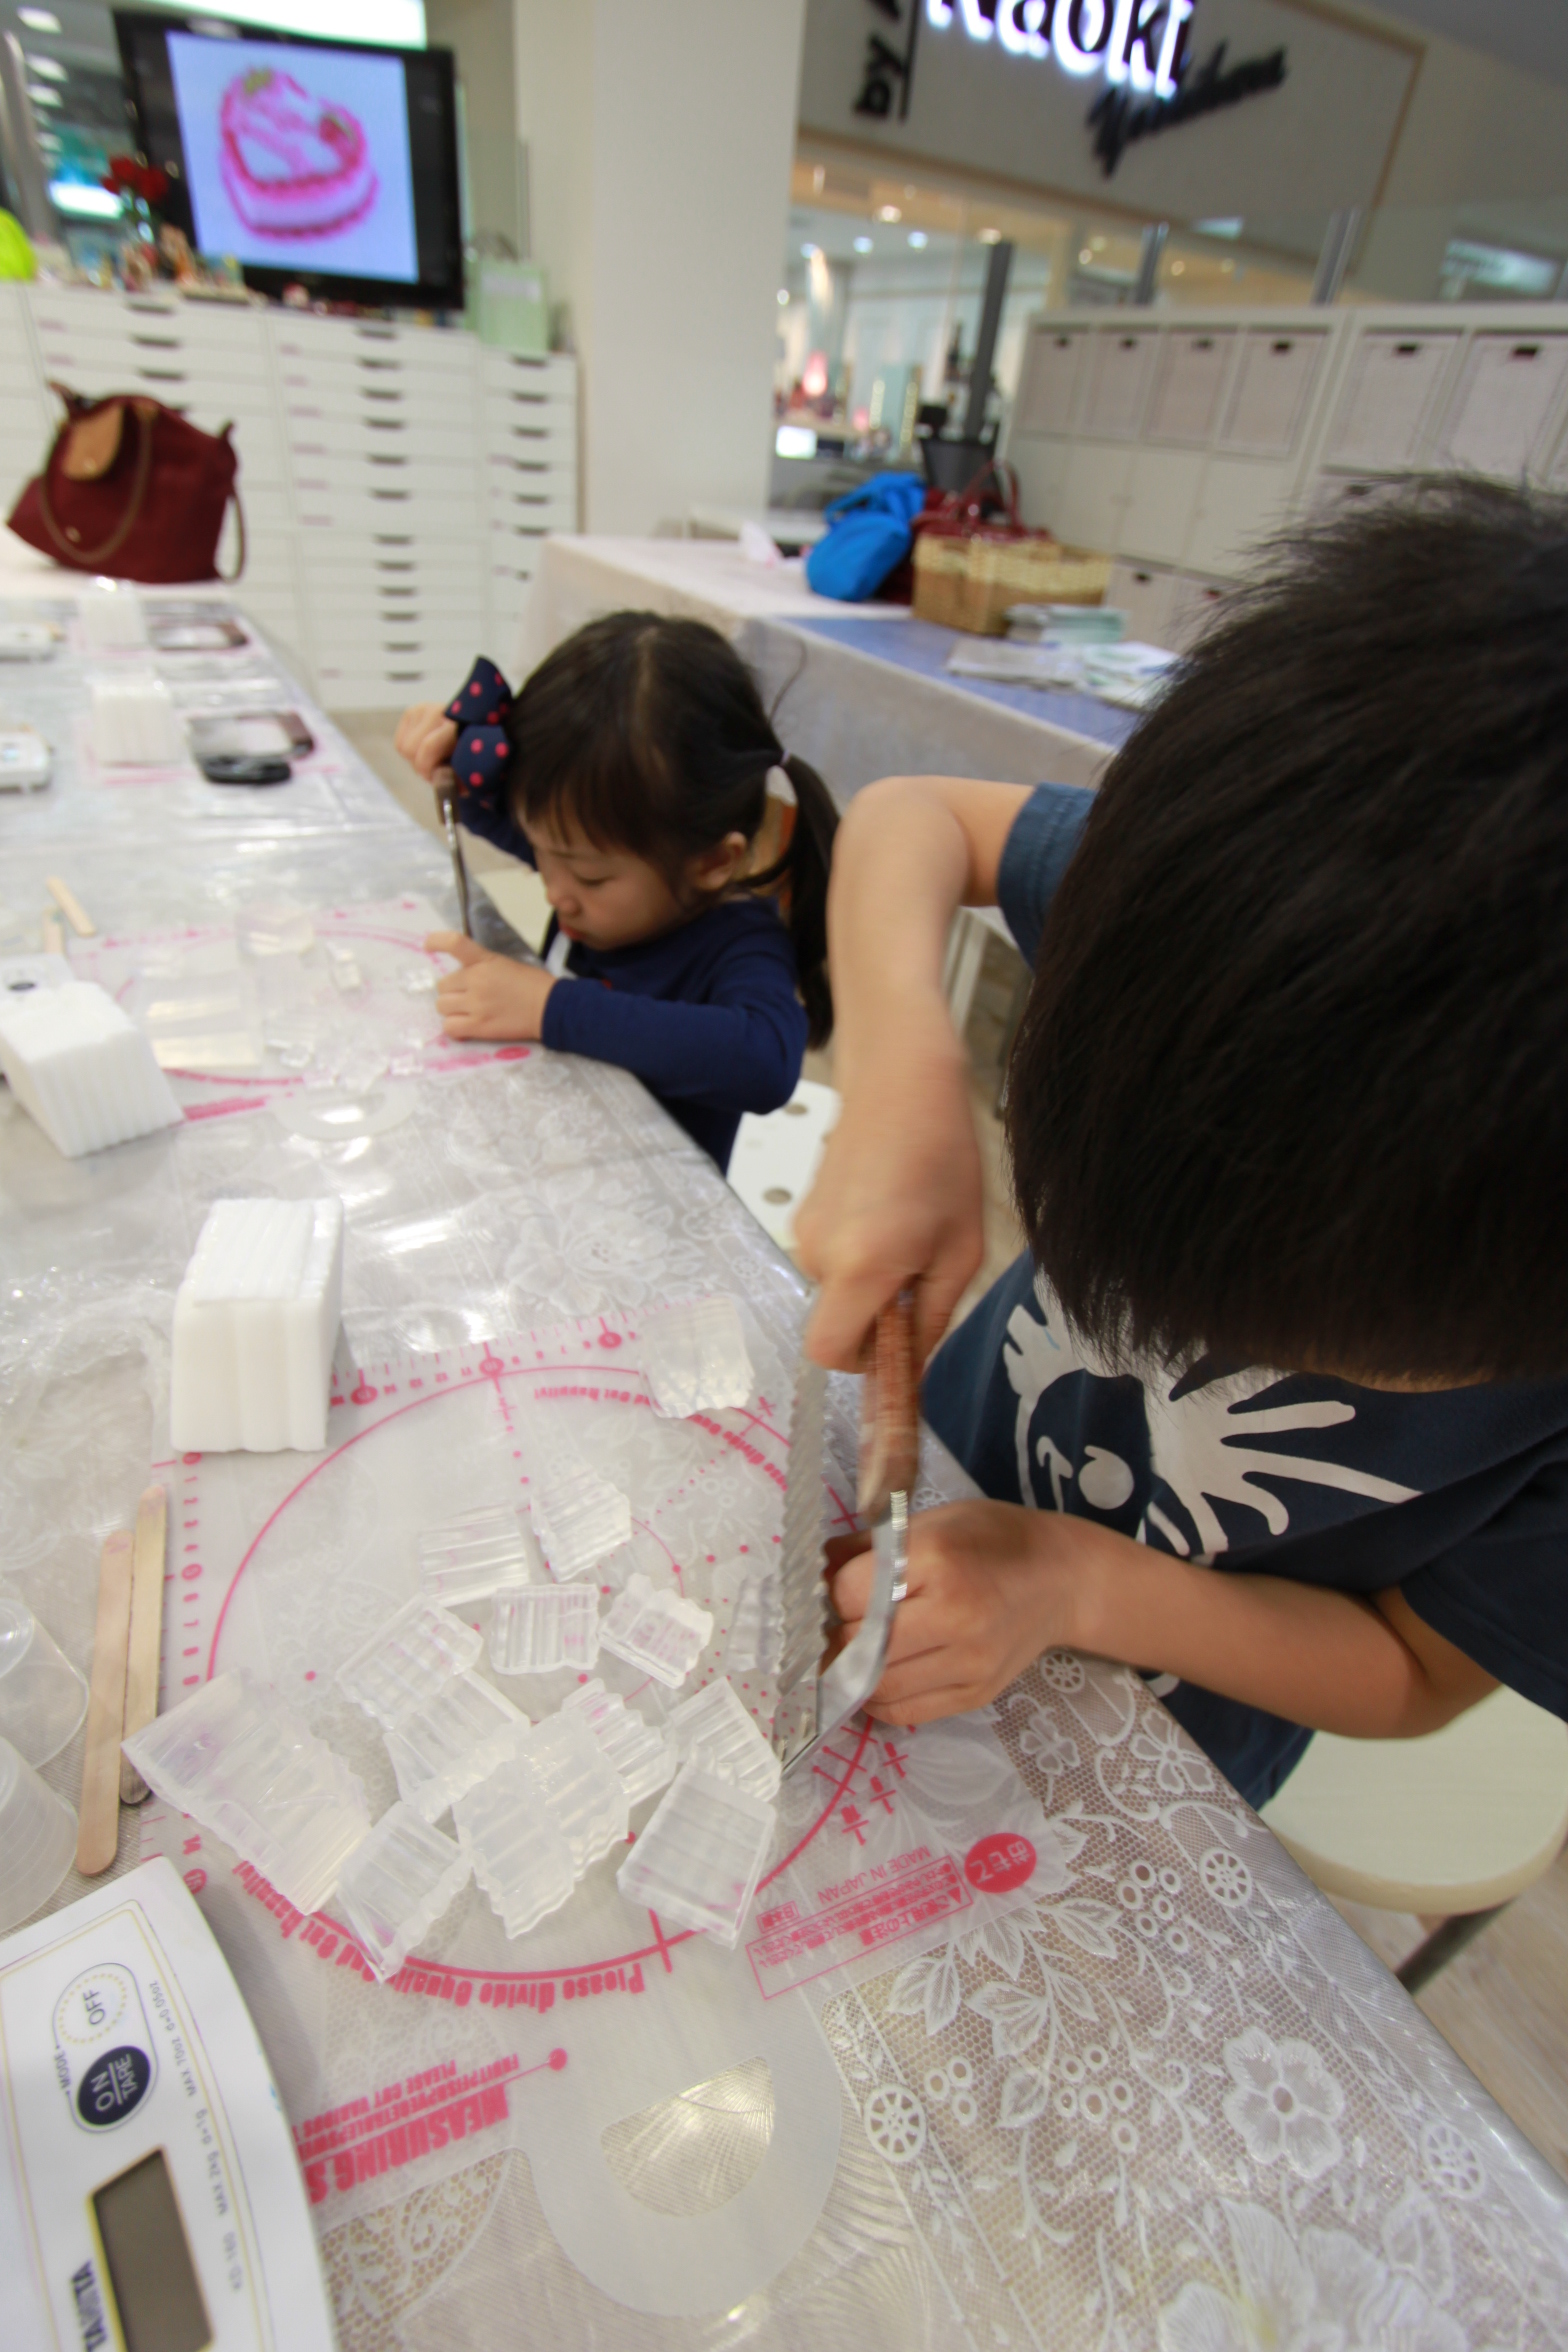
The first step is to use the special knife to cut the soap base into small pieces.
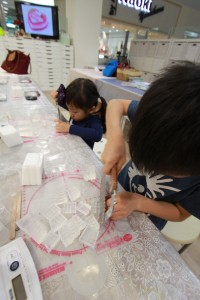
The “knife” isn’t sharp however we must ensure that both hands are always on the wooden handle during cutting.

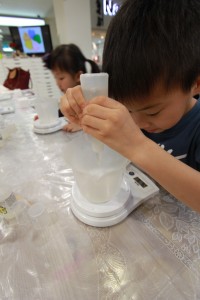
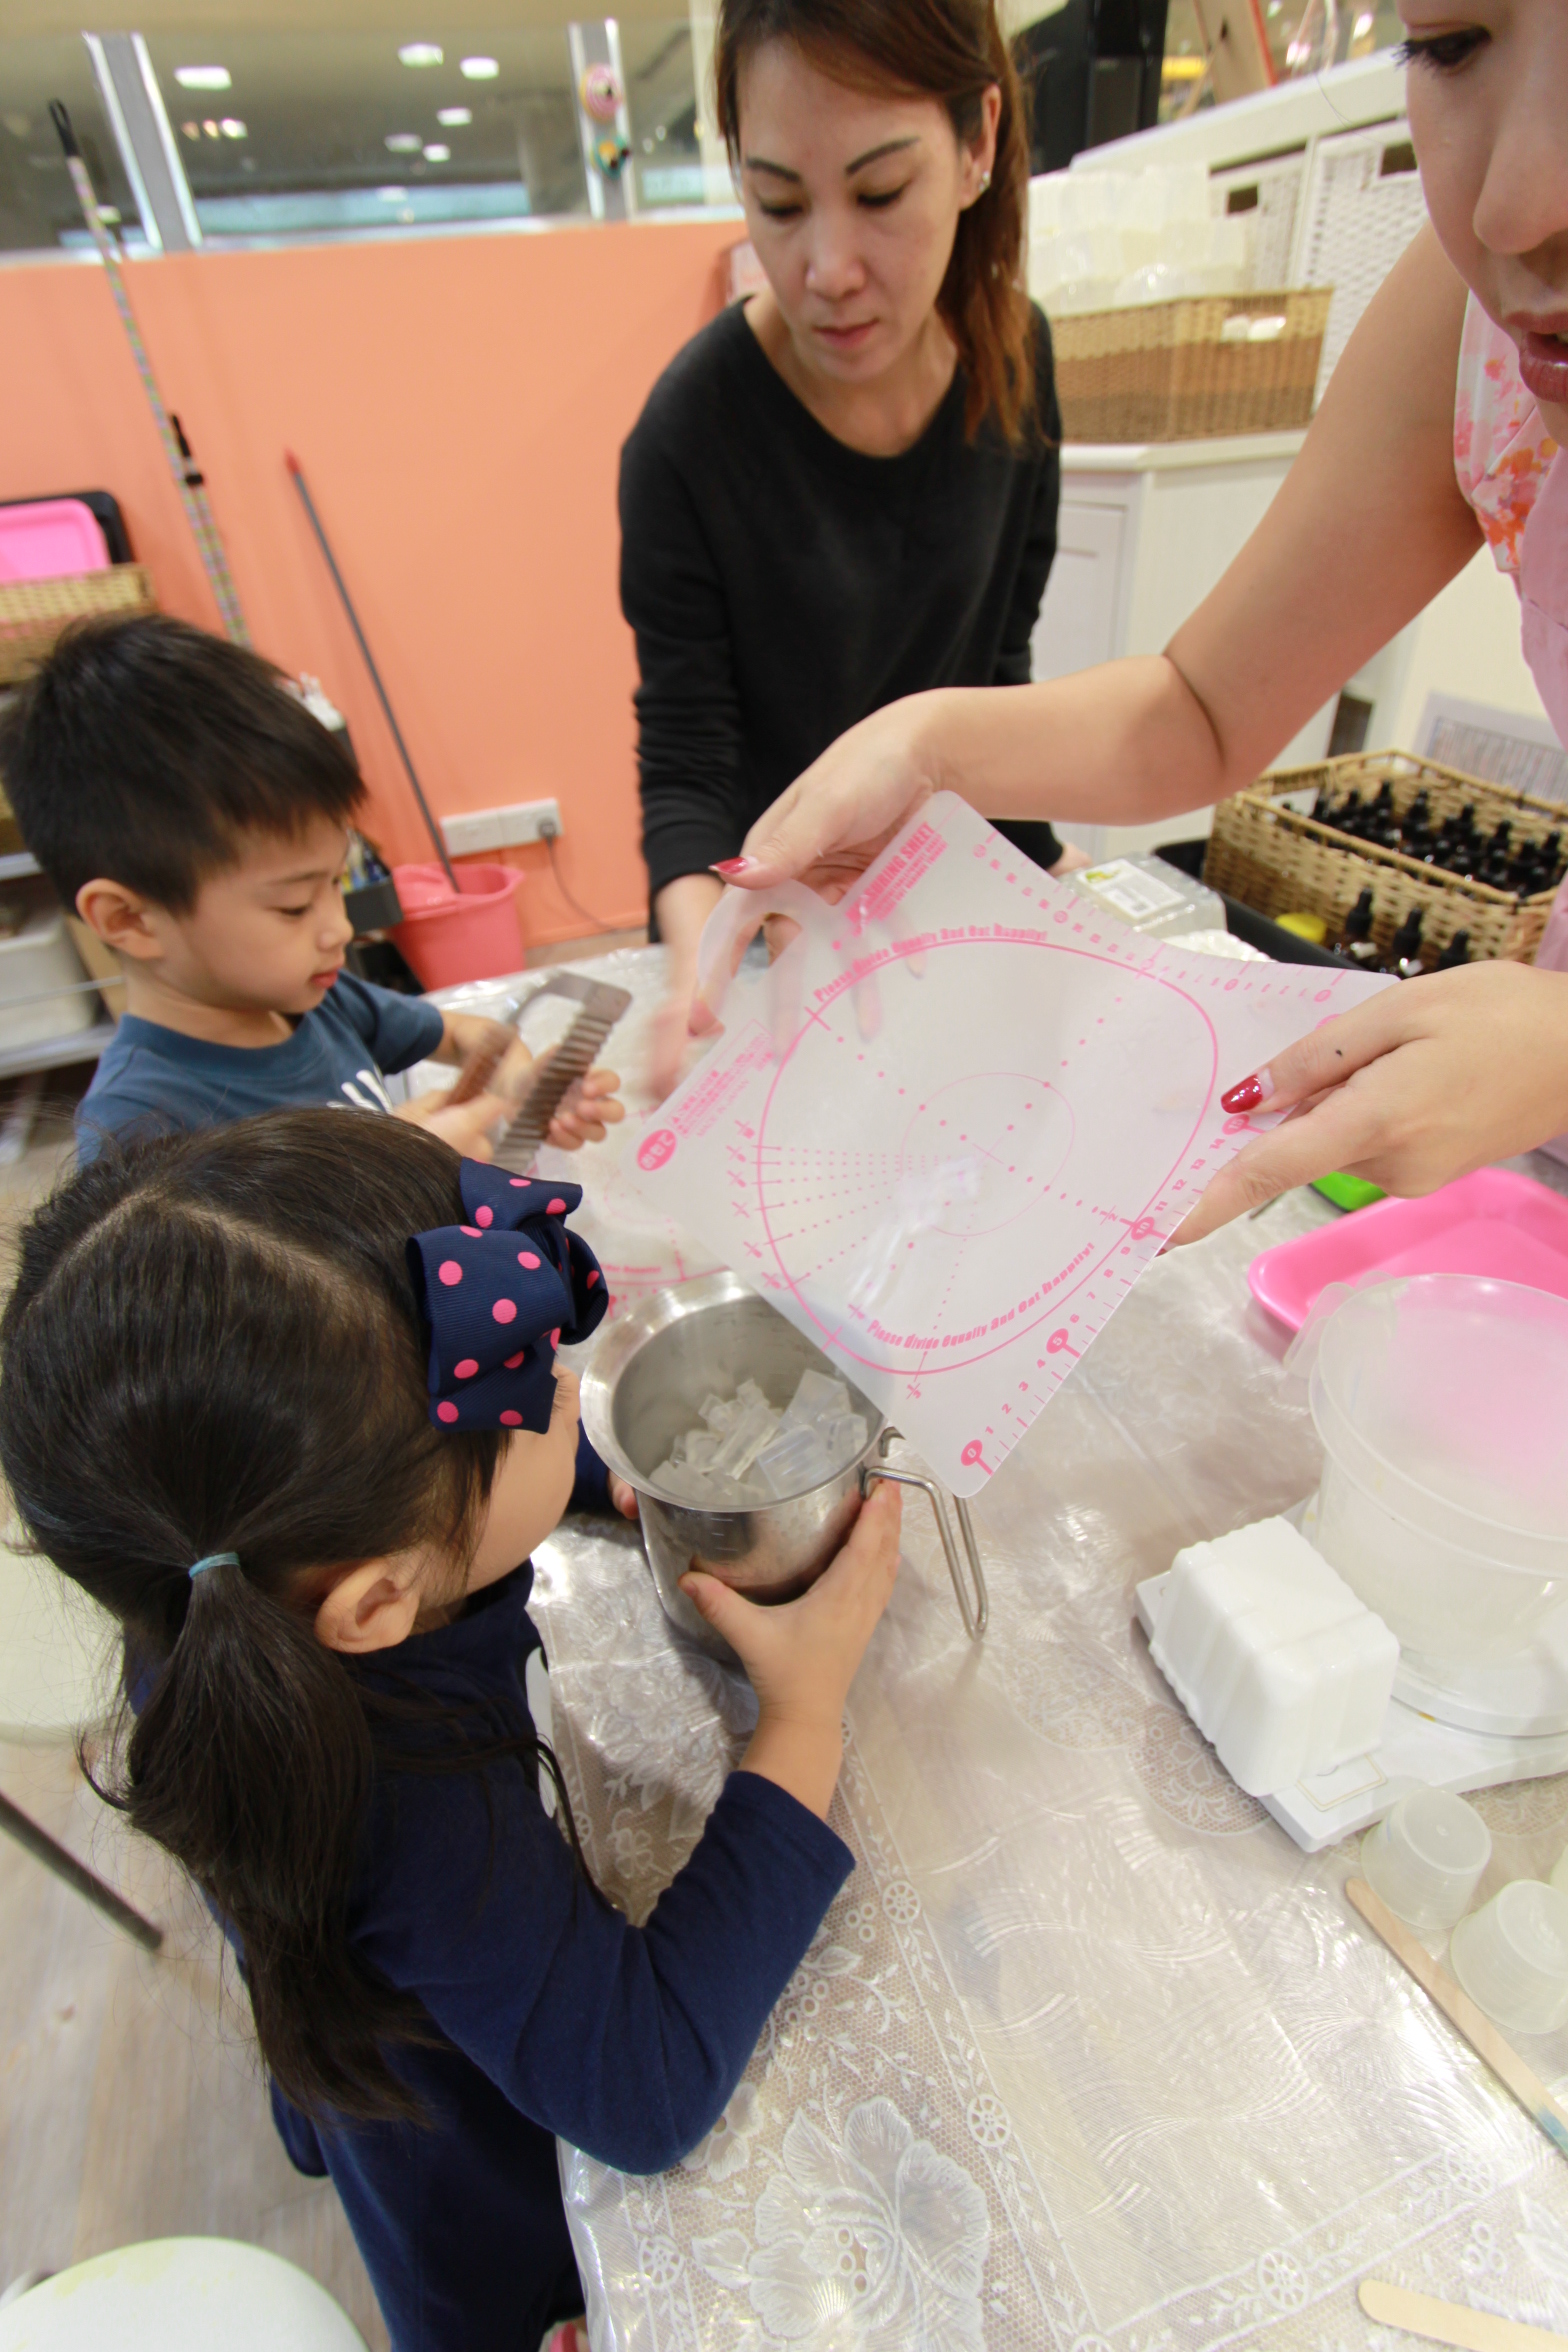
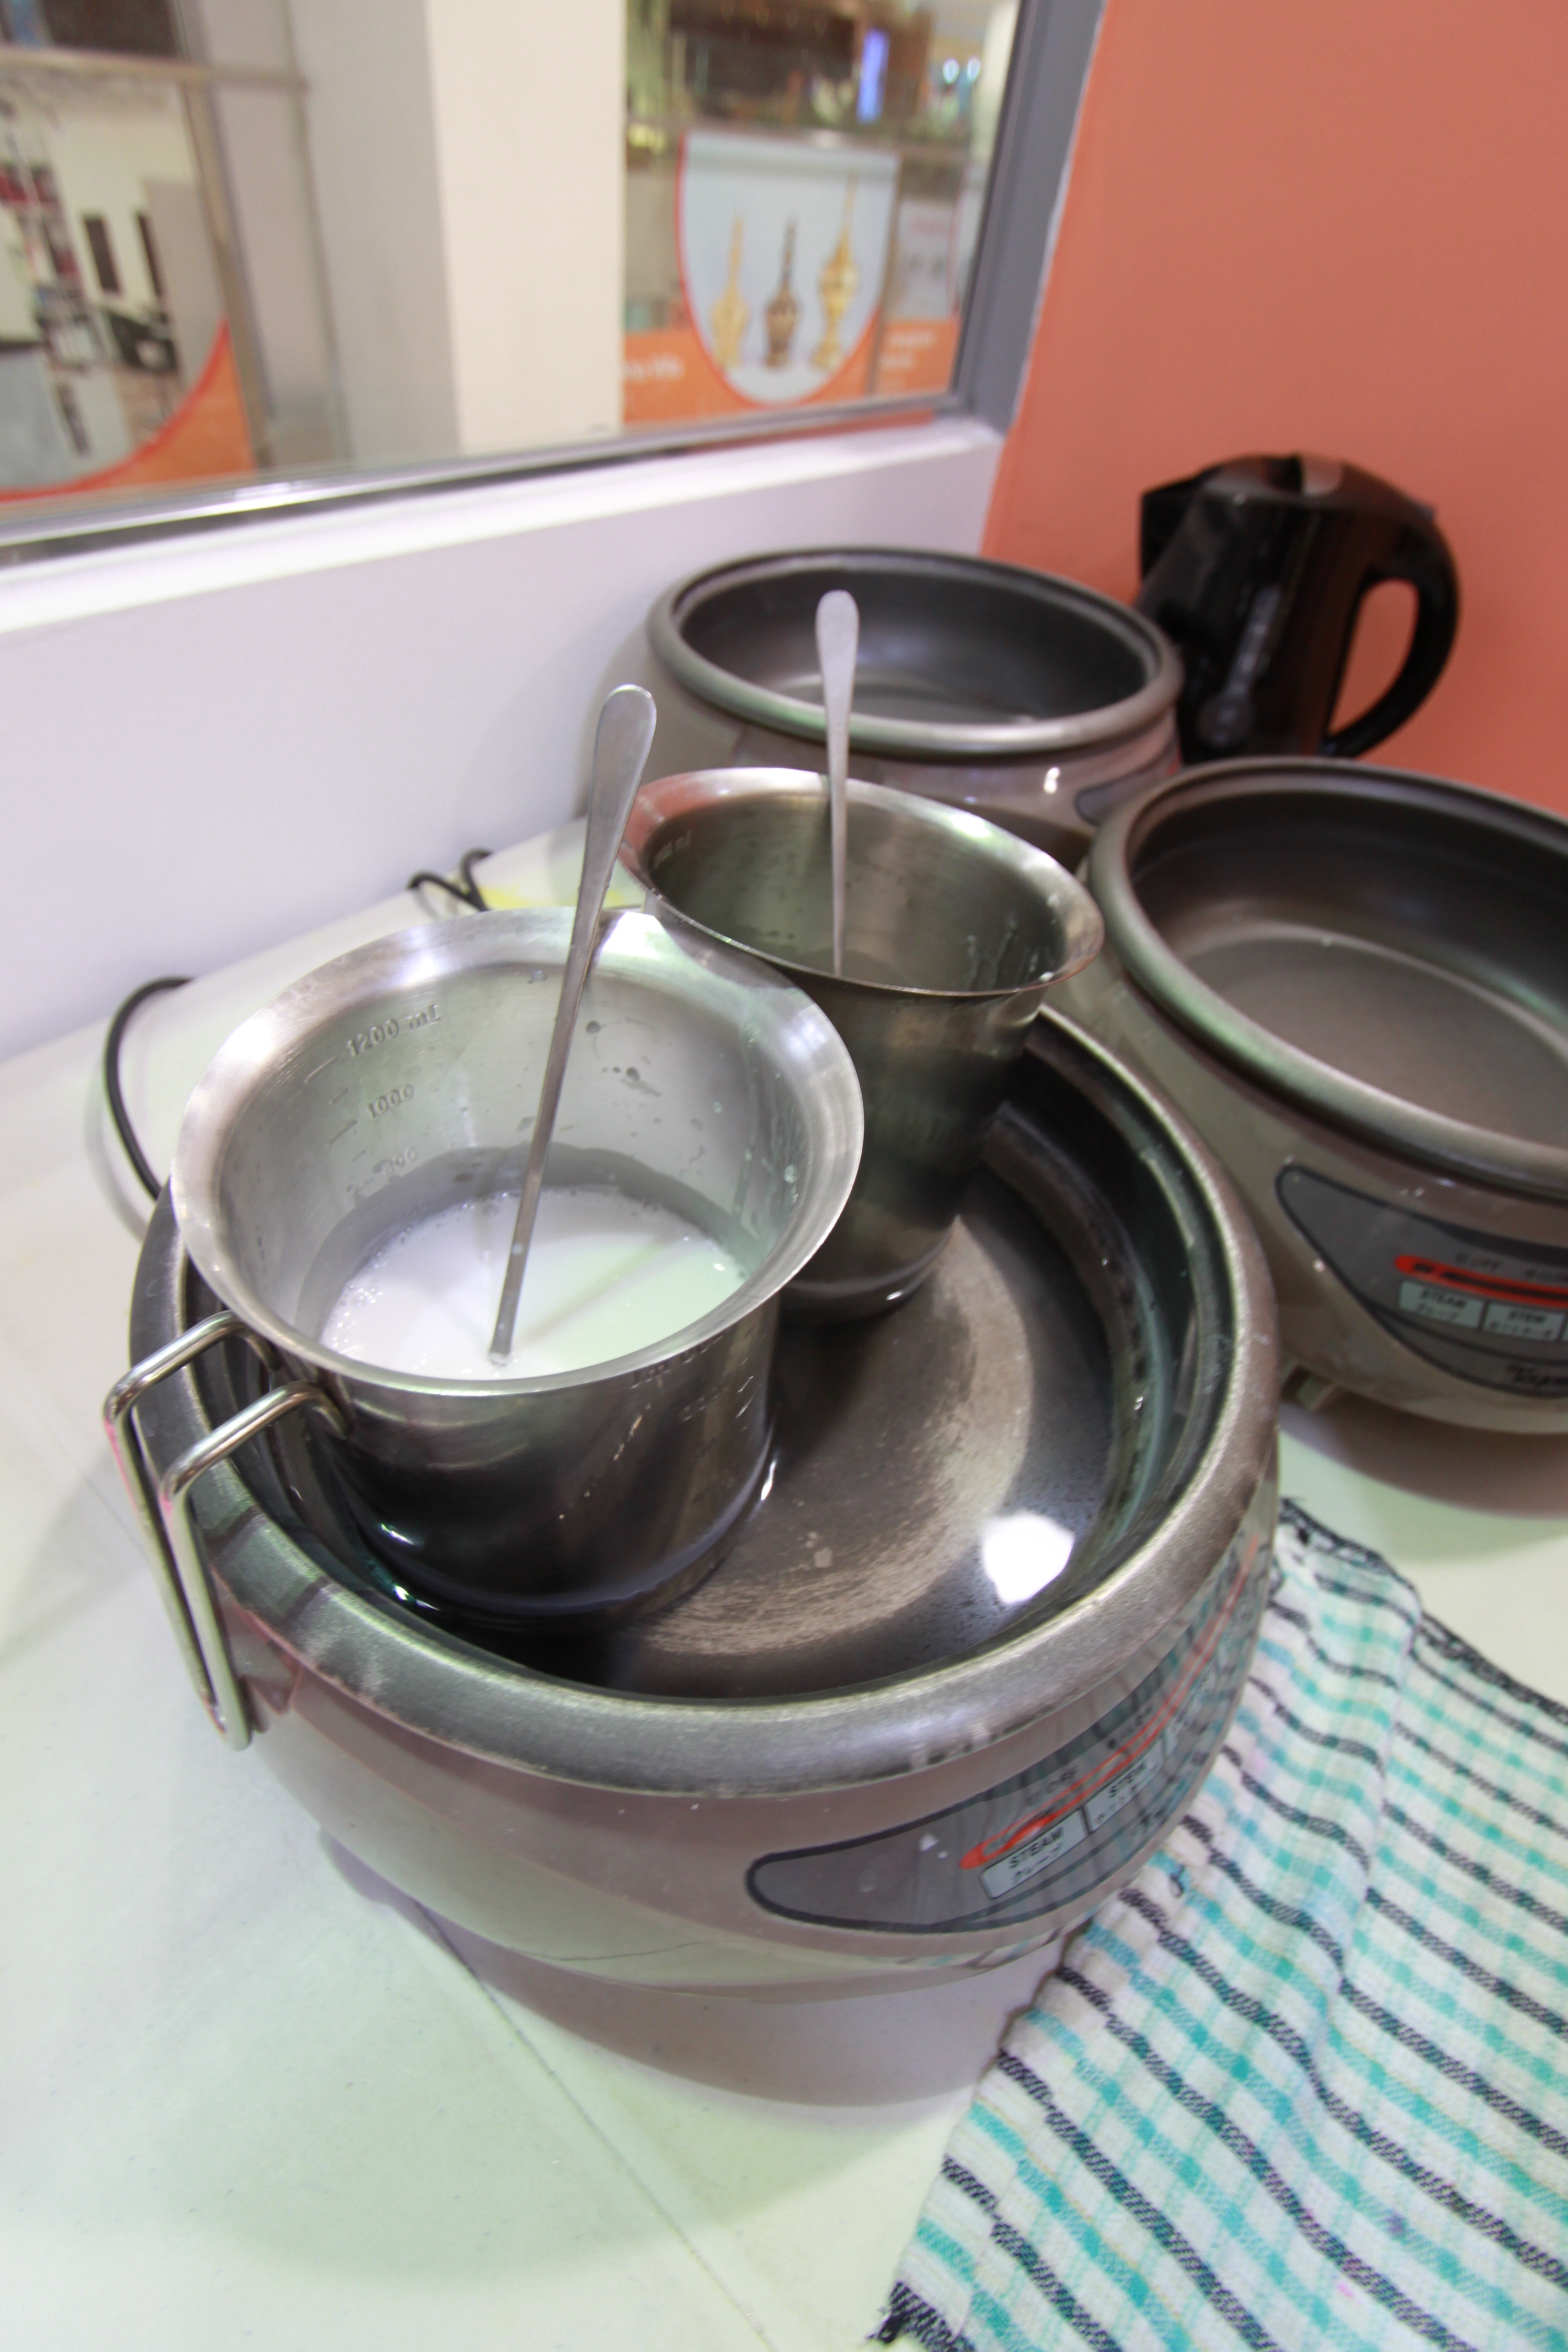
Step 2 :Melt
After that, the smaller pieces are transferred to a stainless steel jug for melting over a hot water bath.

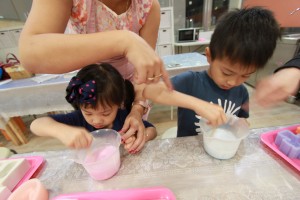
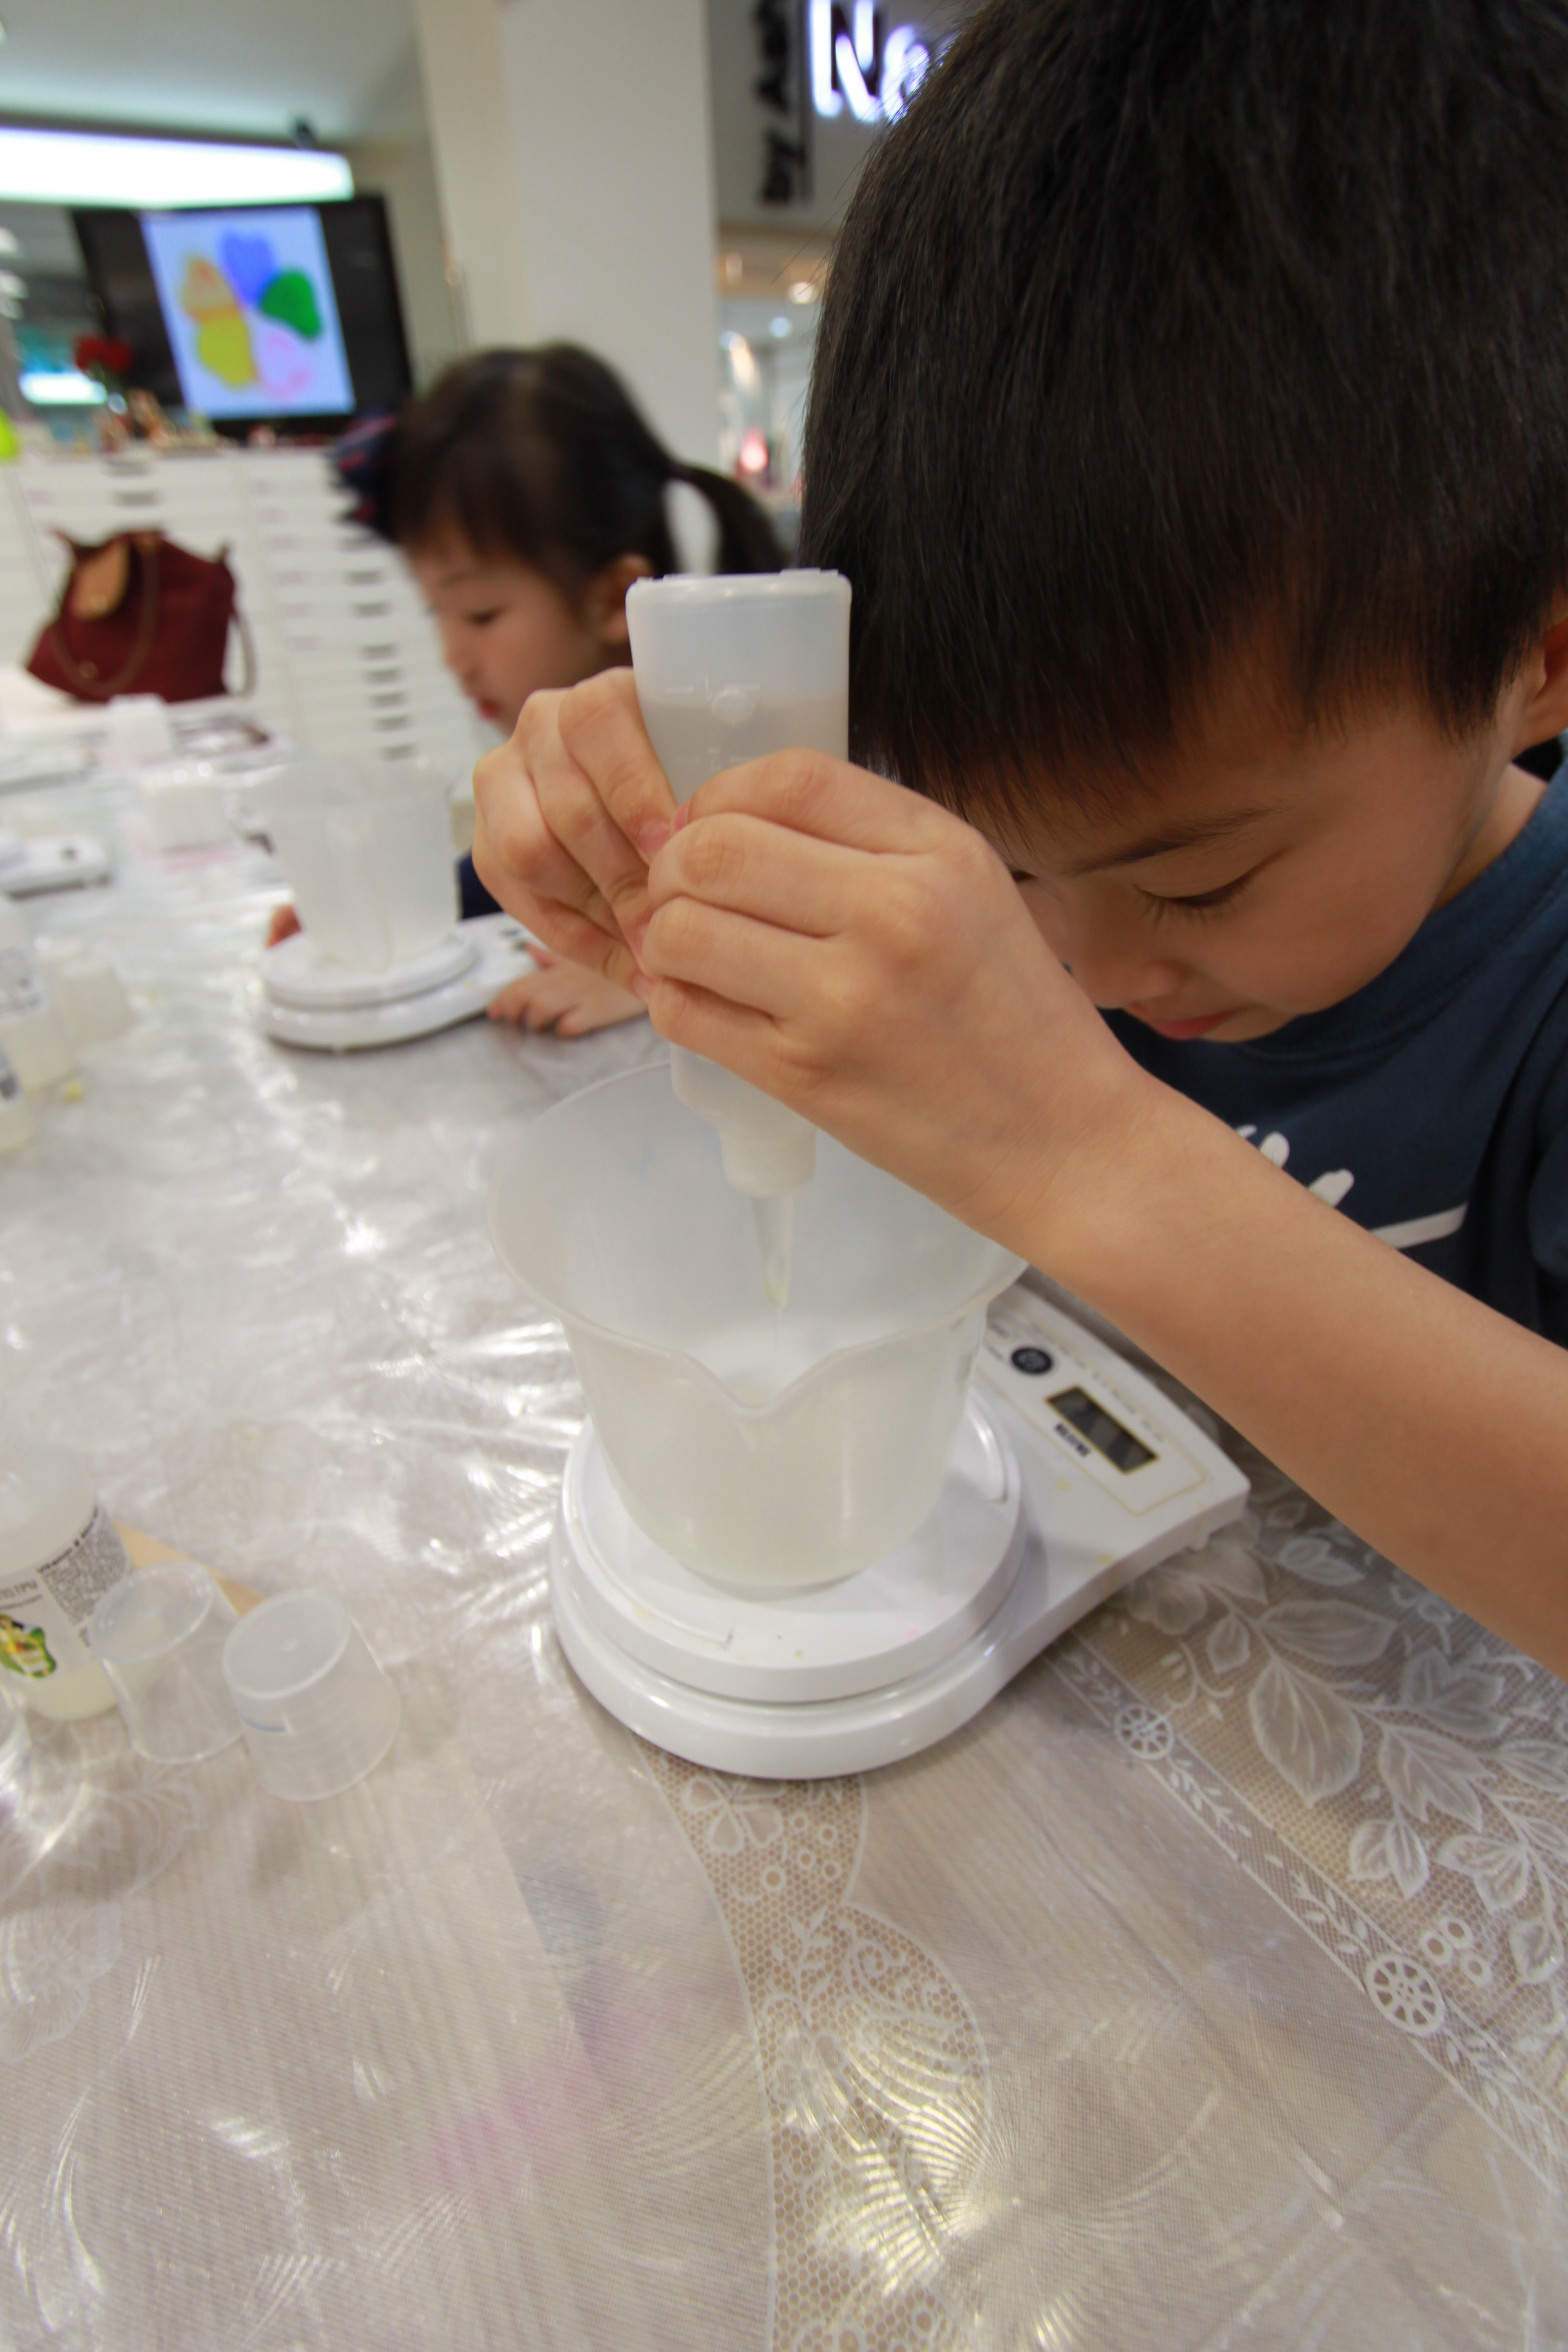
Step 3: Measure
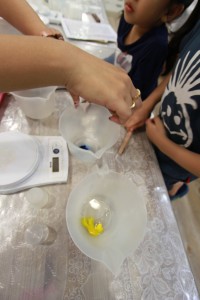
Firstly , the kids need to prepare a Glycerin mixture. The kids are introduced with a measuring scale and how to use it. They then squeeze 8g of glycerin into a heat safe plastic jug and along with some Vitamin E (to preserve the soap up to 1 year)
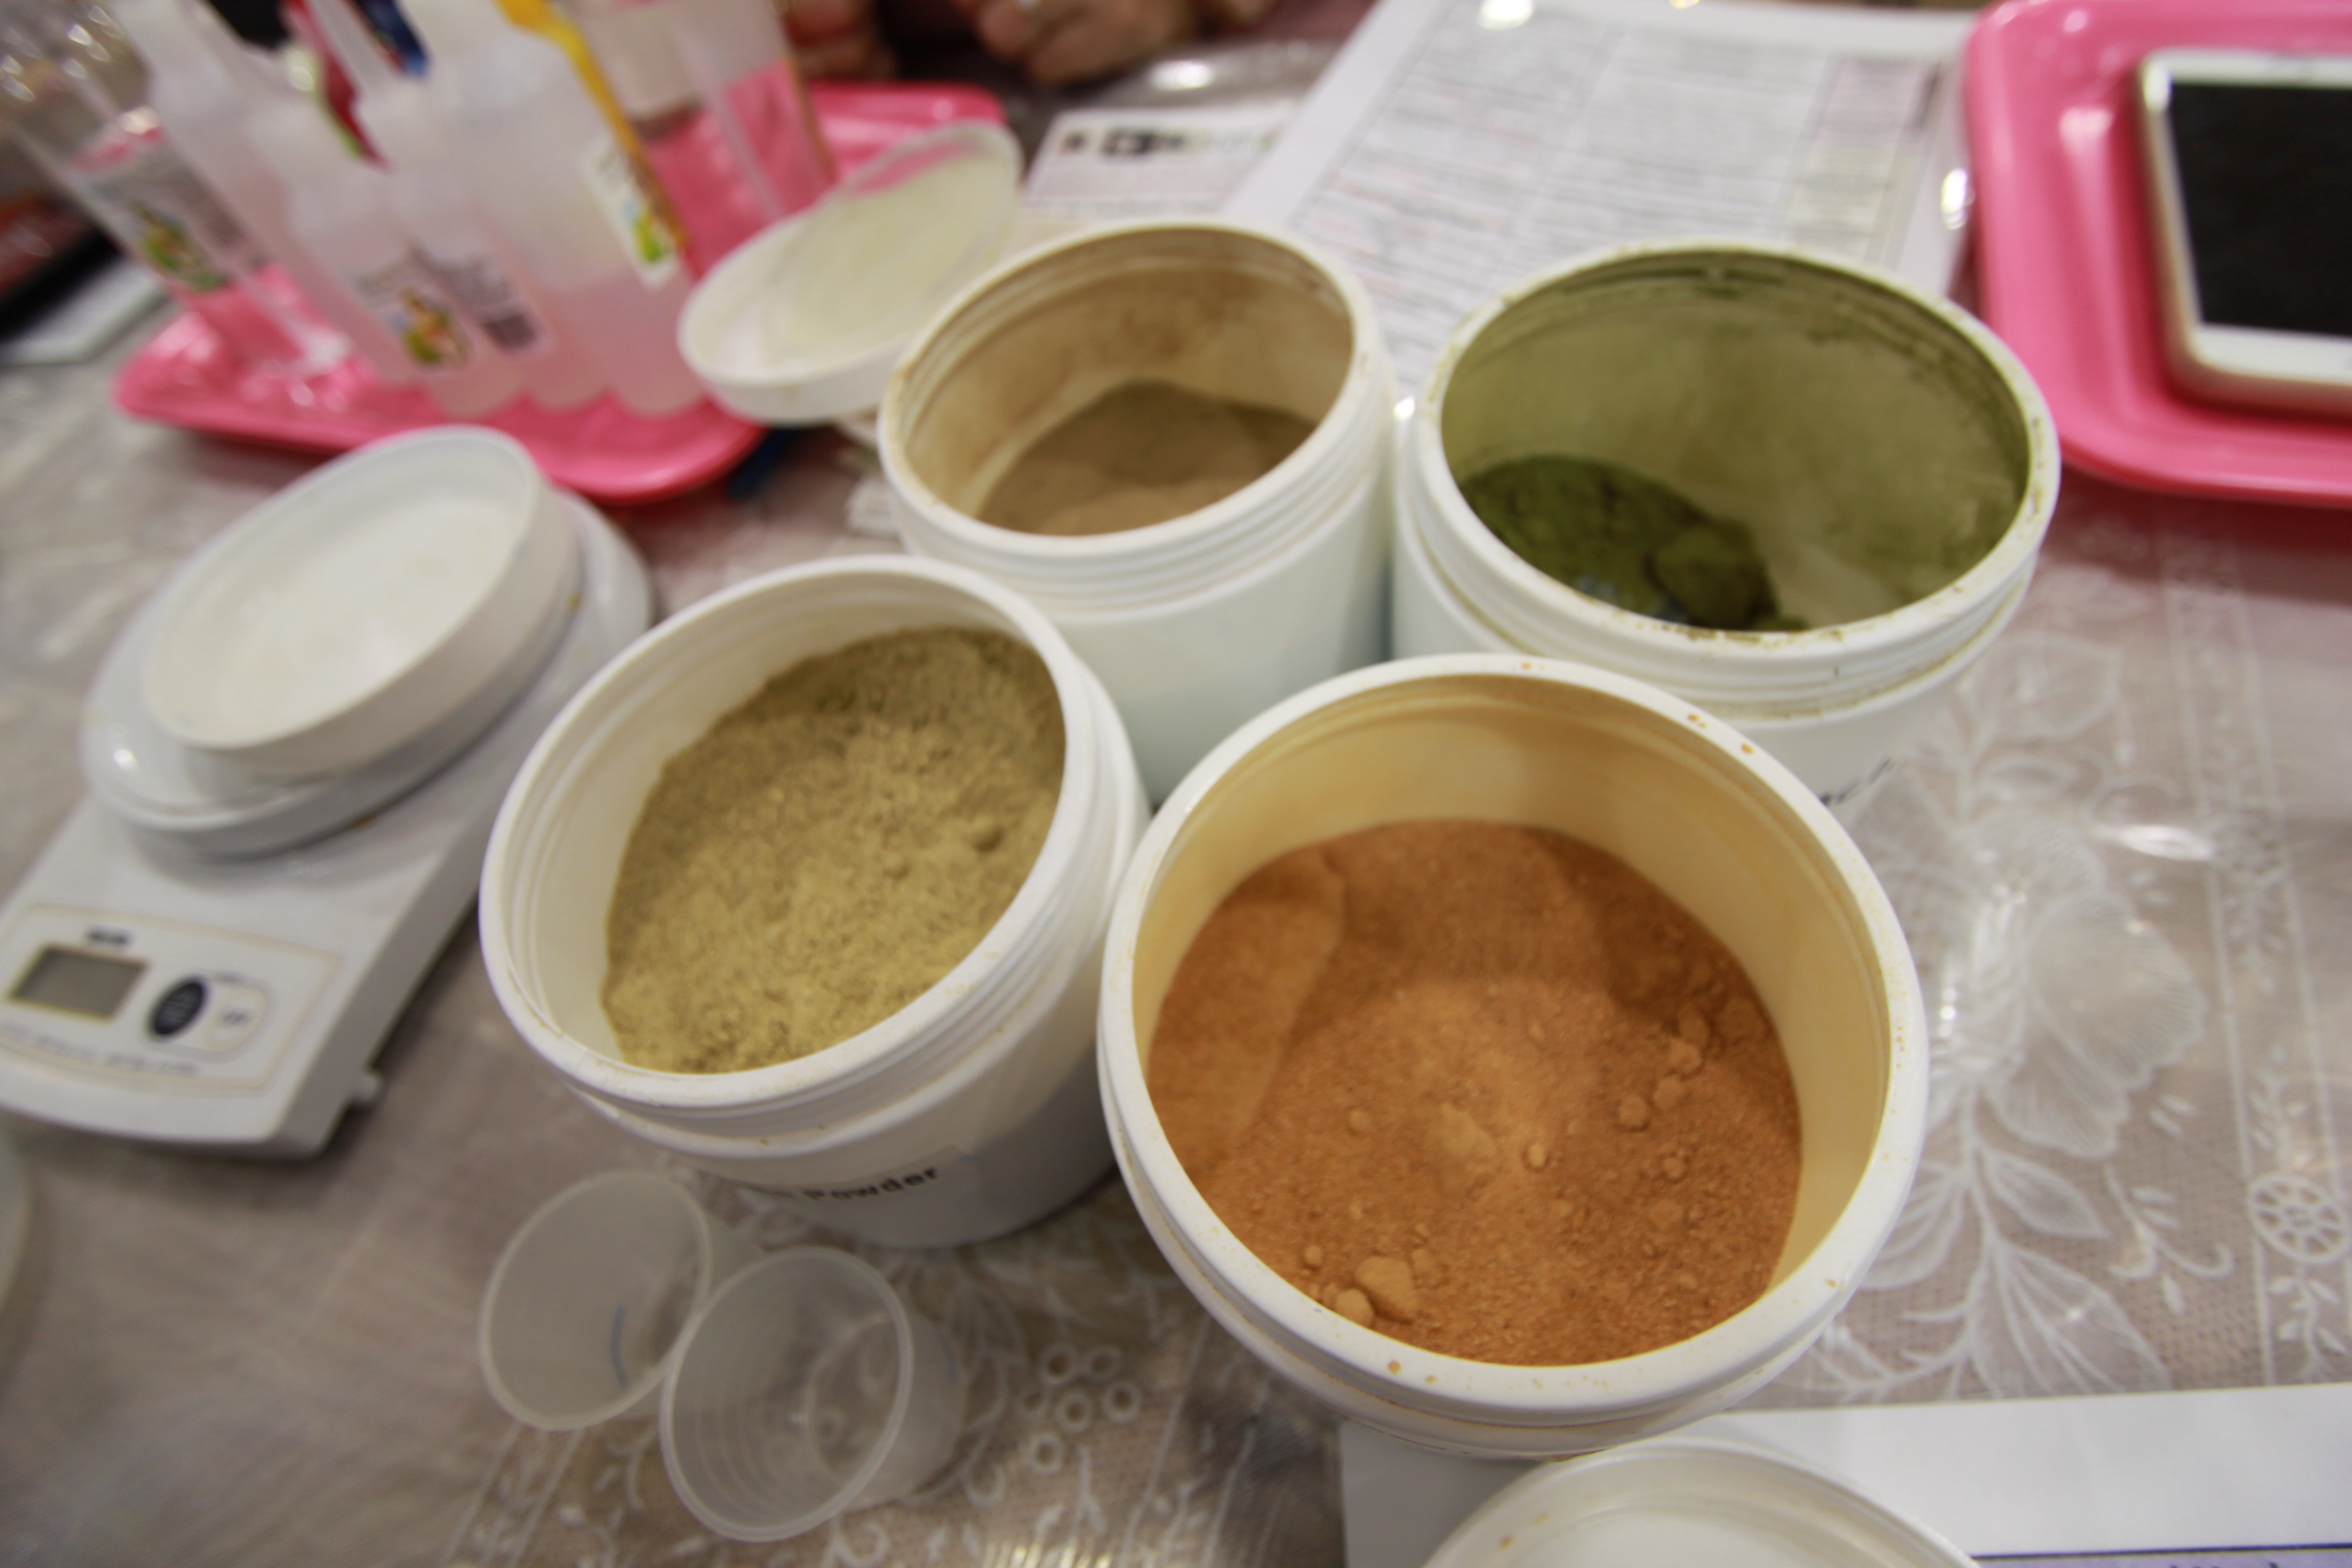
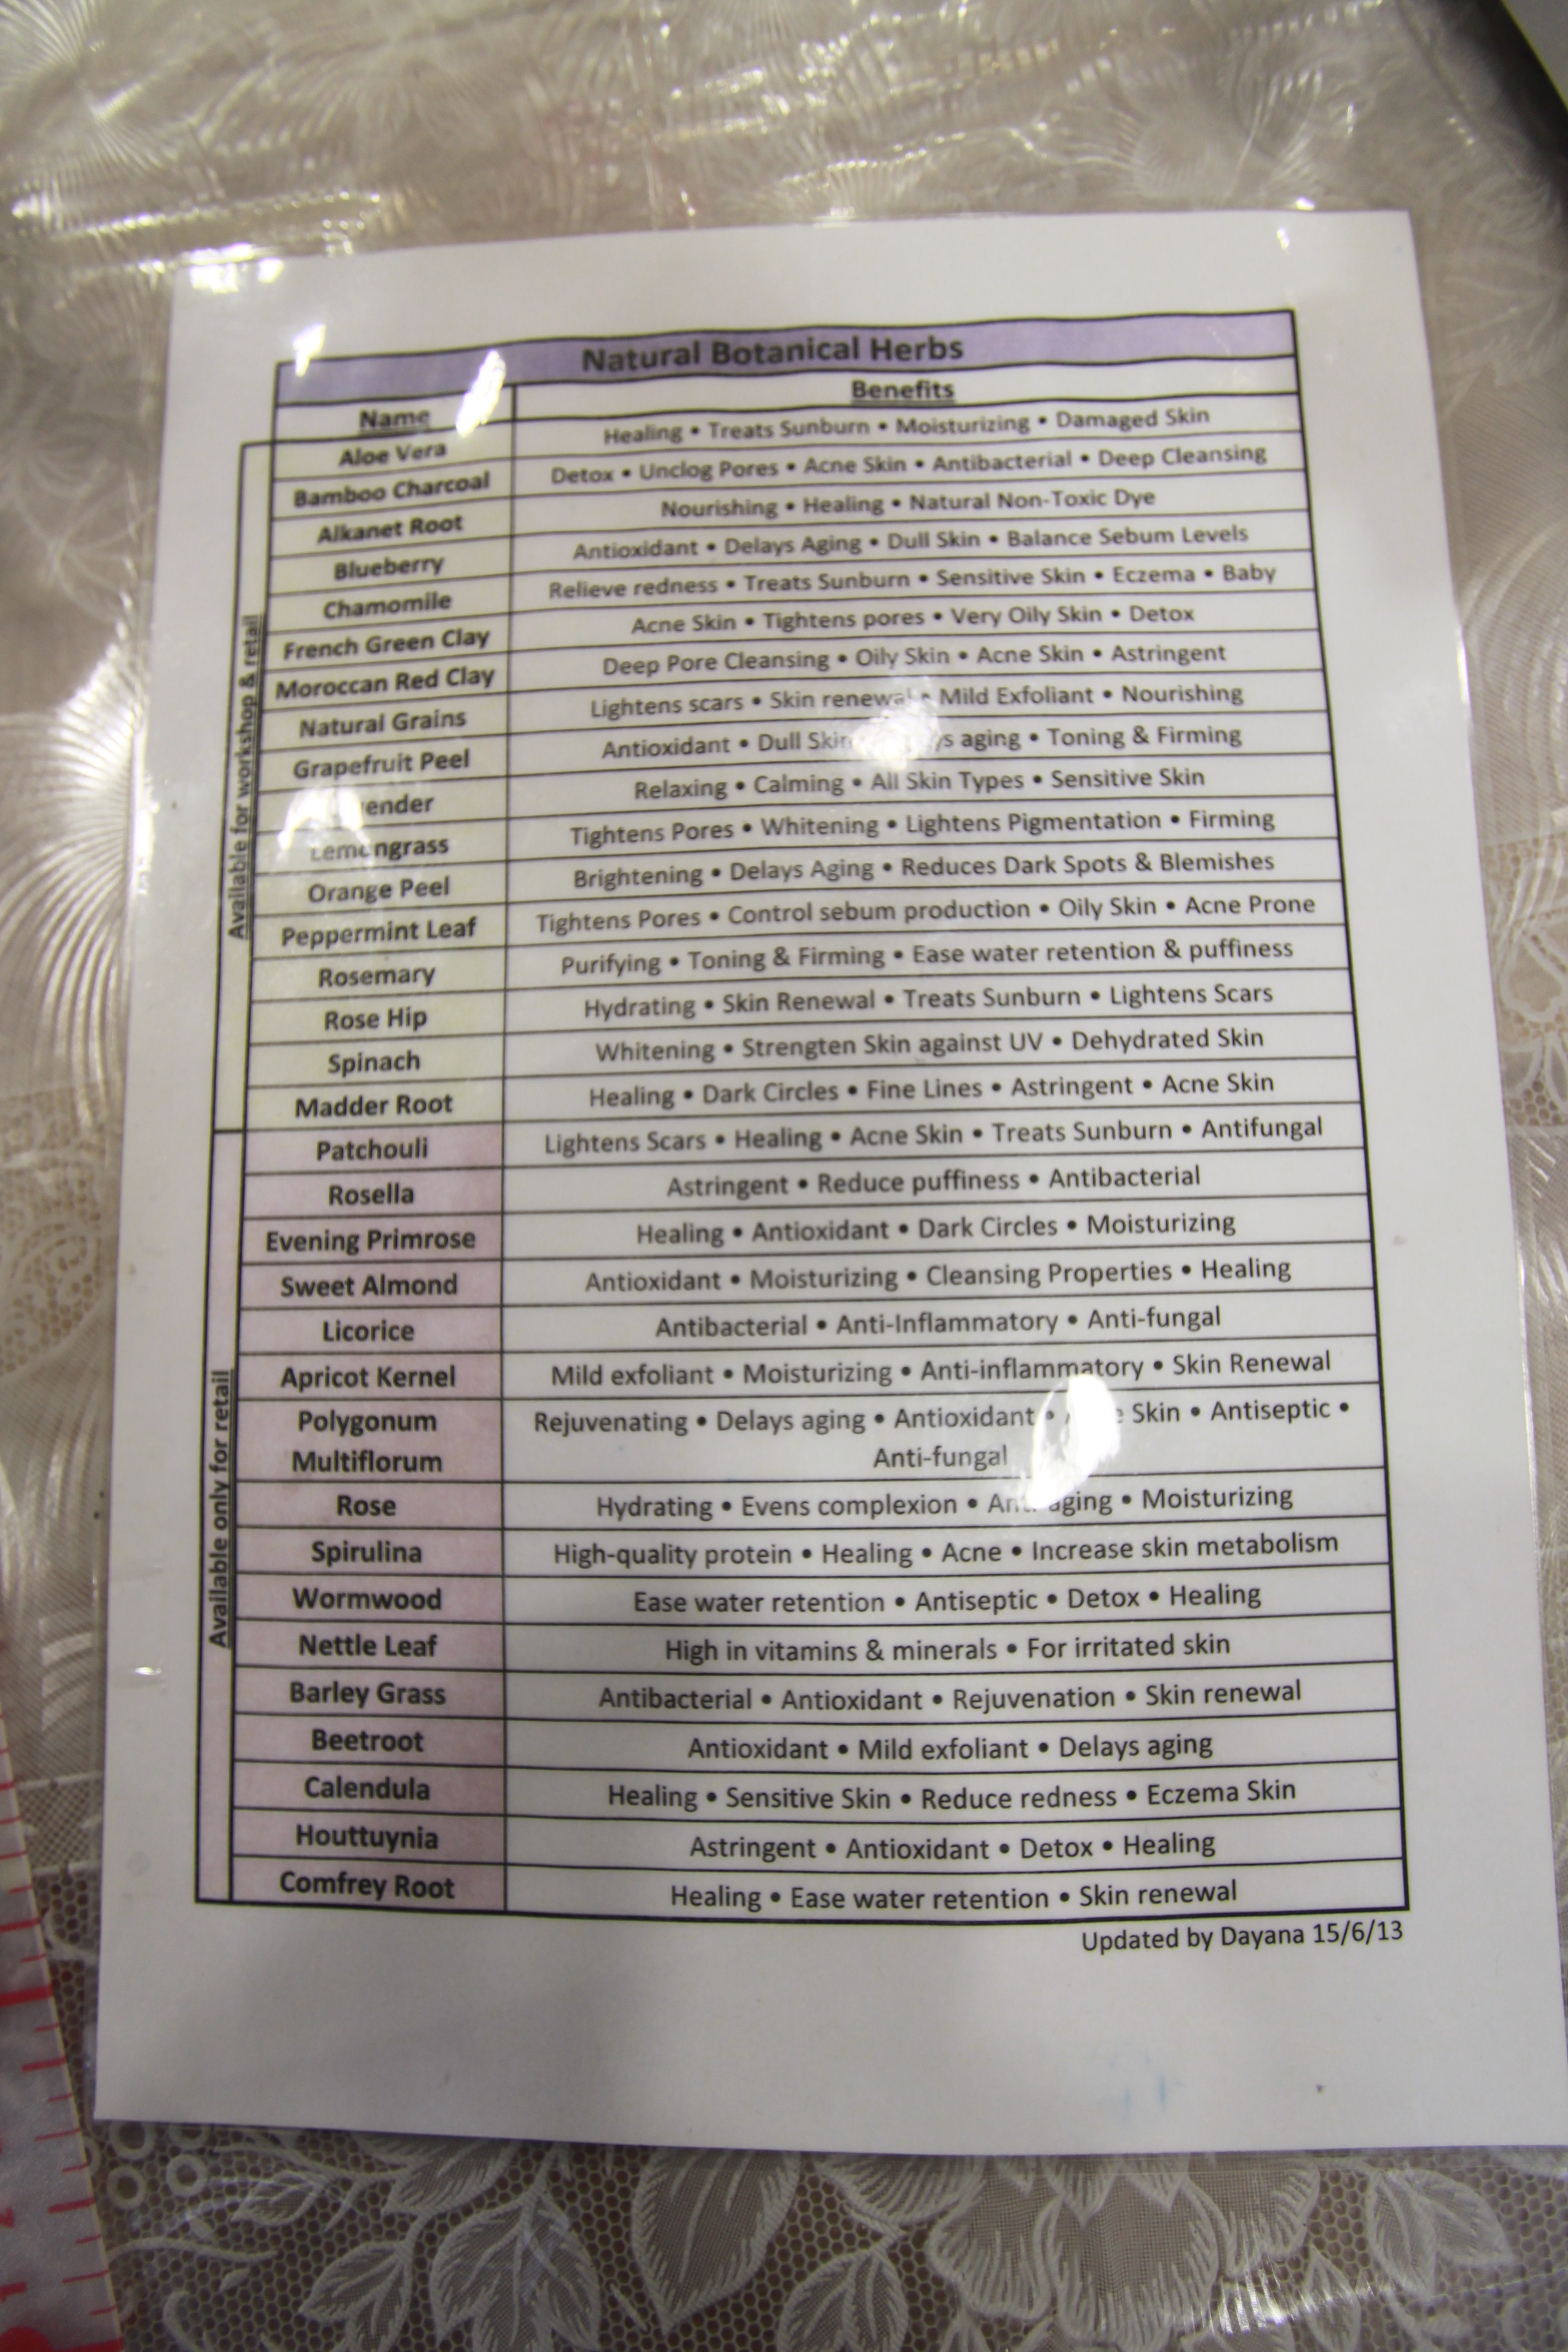
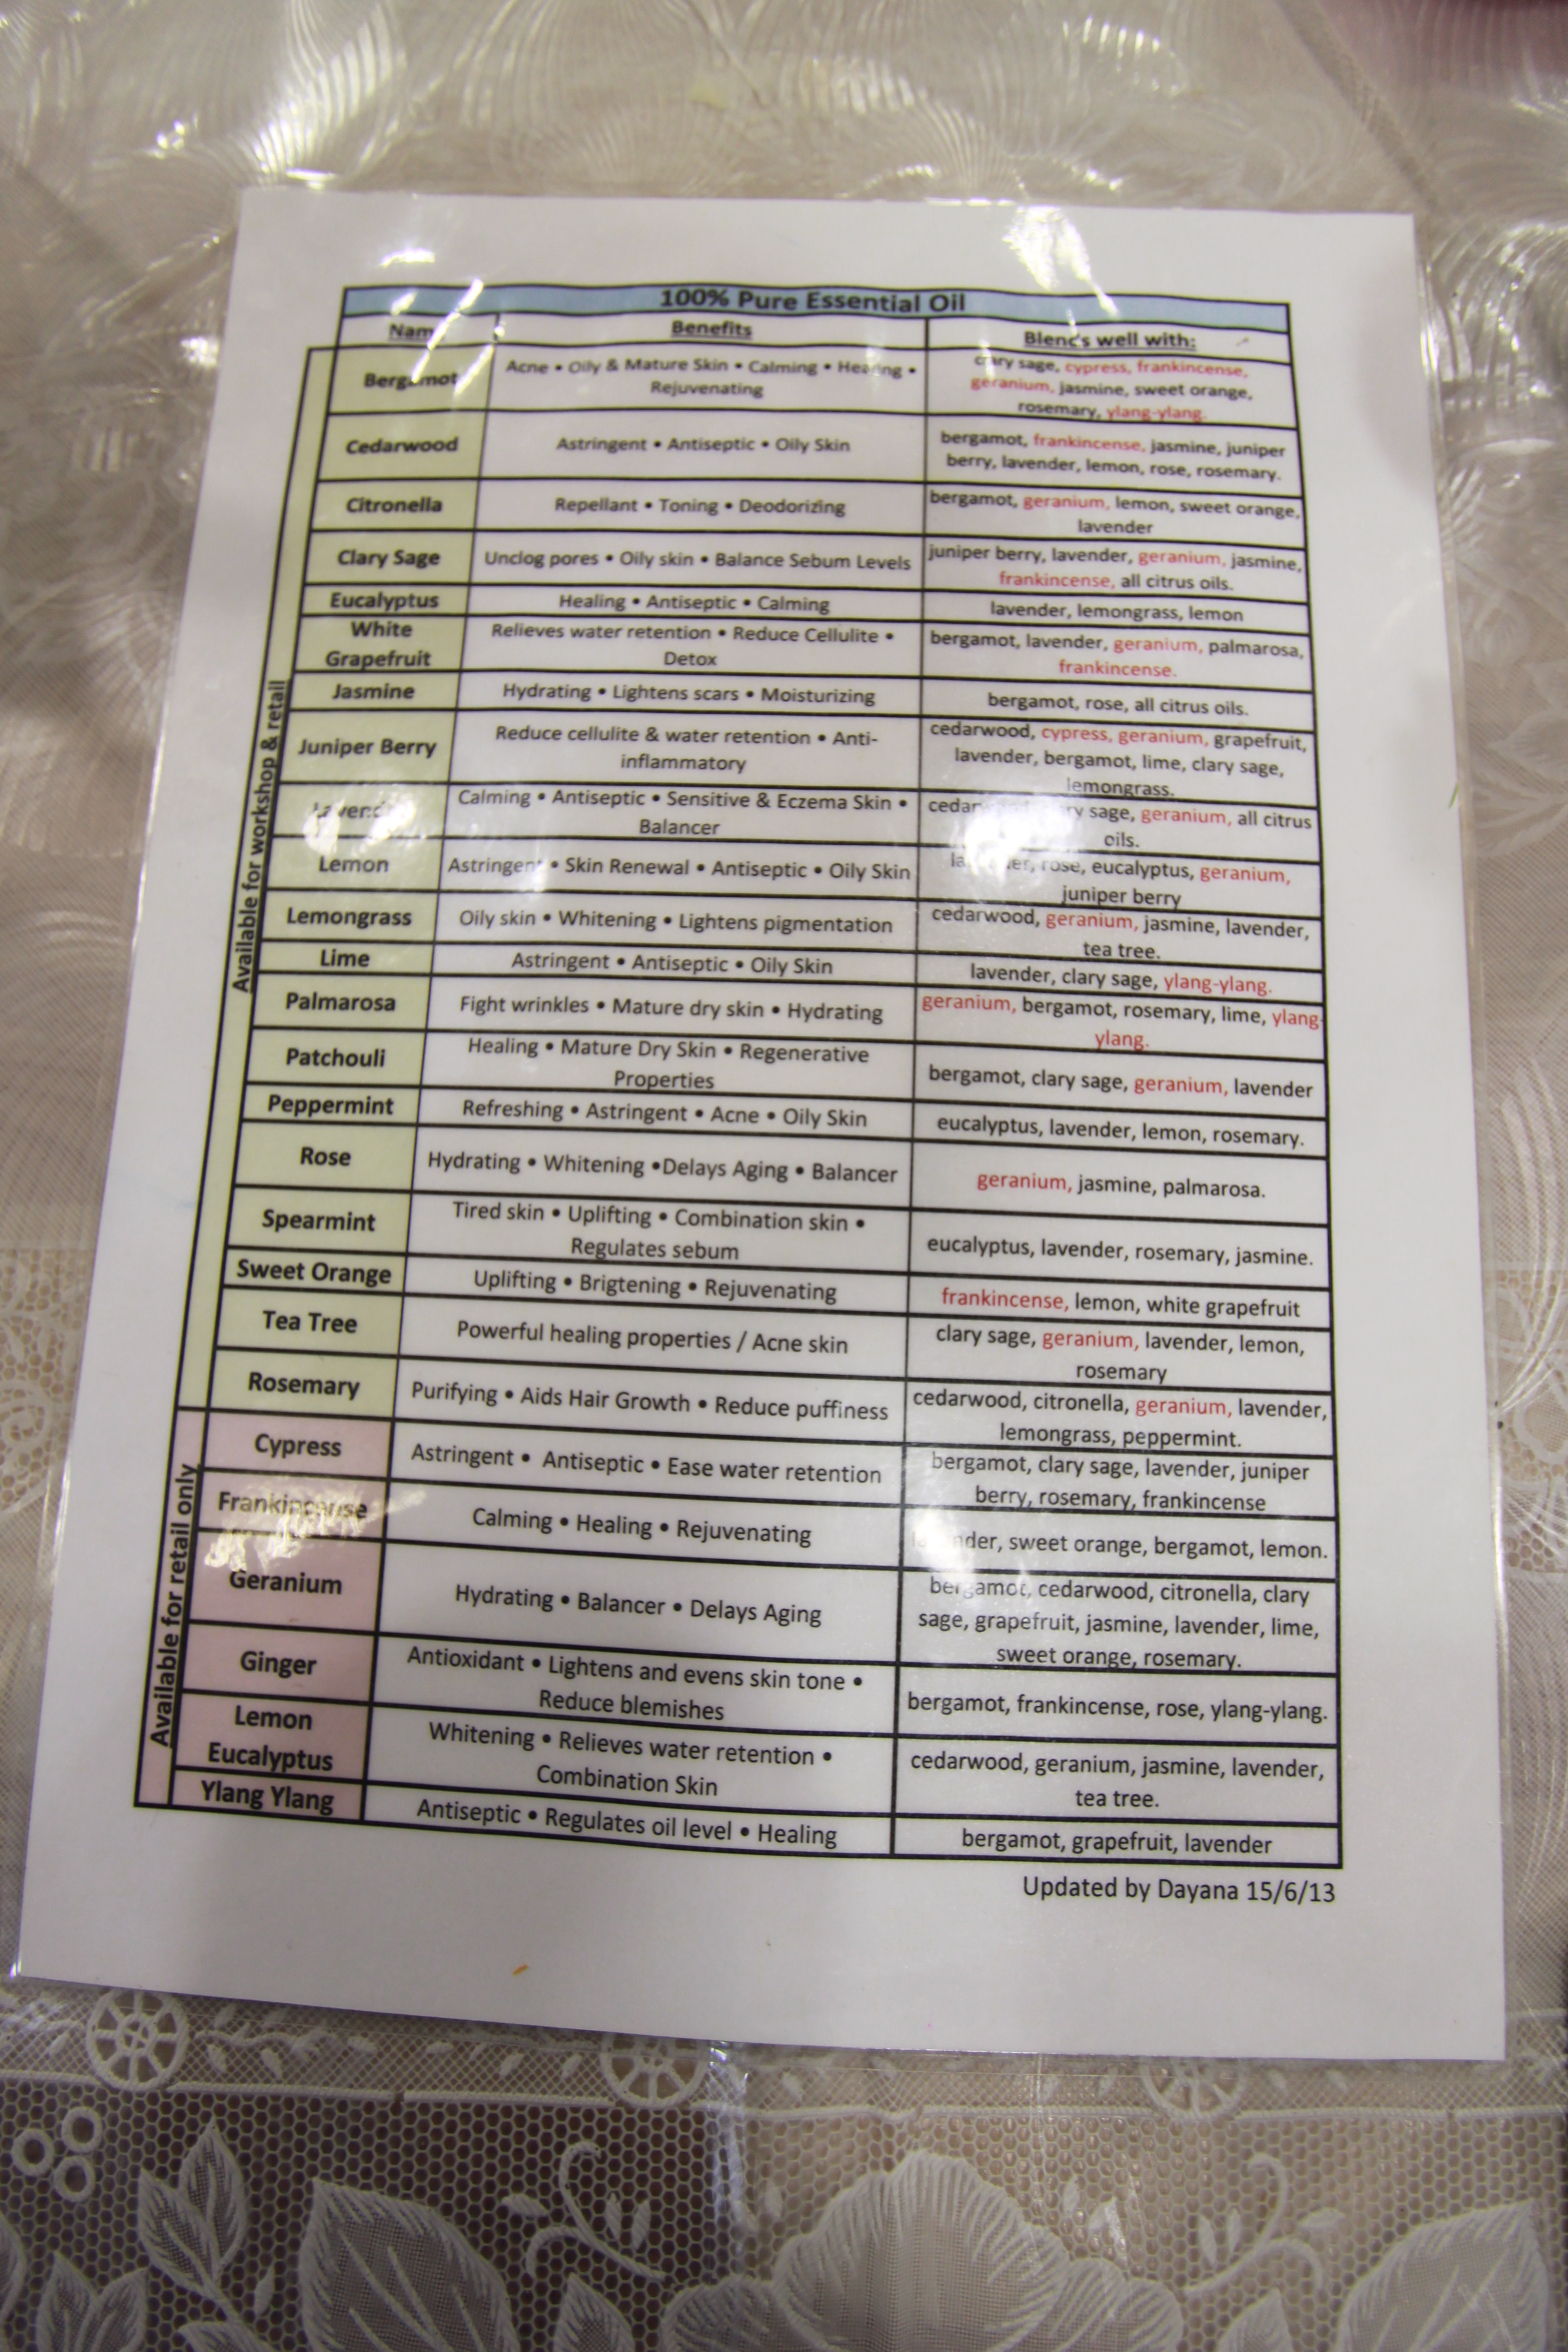
Thereafter they have an option to add 3 items, which are herbs, essential oil and colouring. (for workshop, there are 12-15 types of herbs and essential oils to choose from lists shown in pic which is for retail).

the different kind of herbs that can be added into the soap which will give the soap a brownish hue and little speckles

the different herbs and its benefits

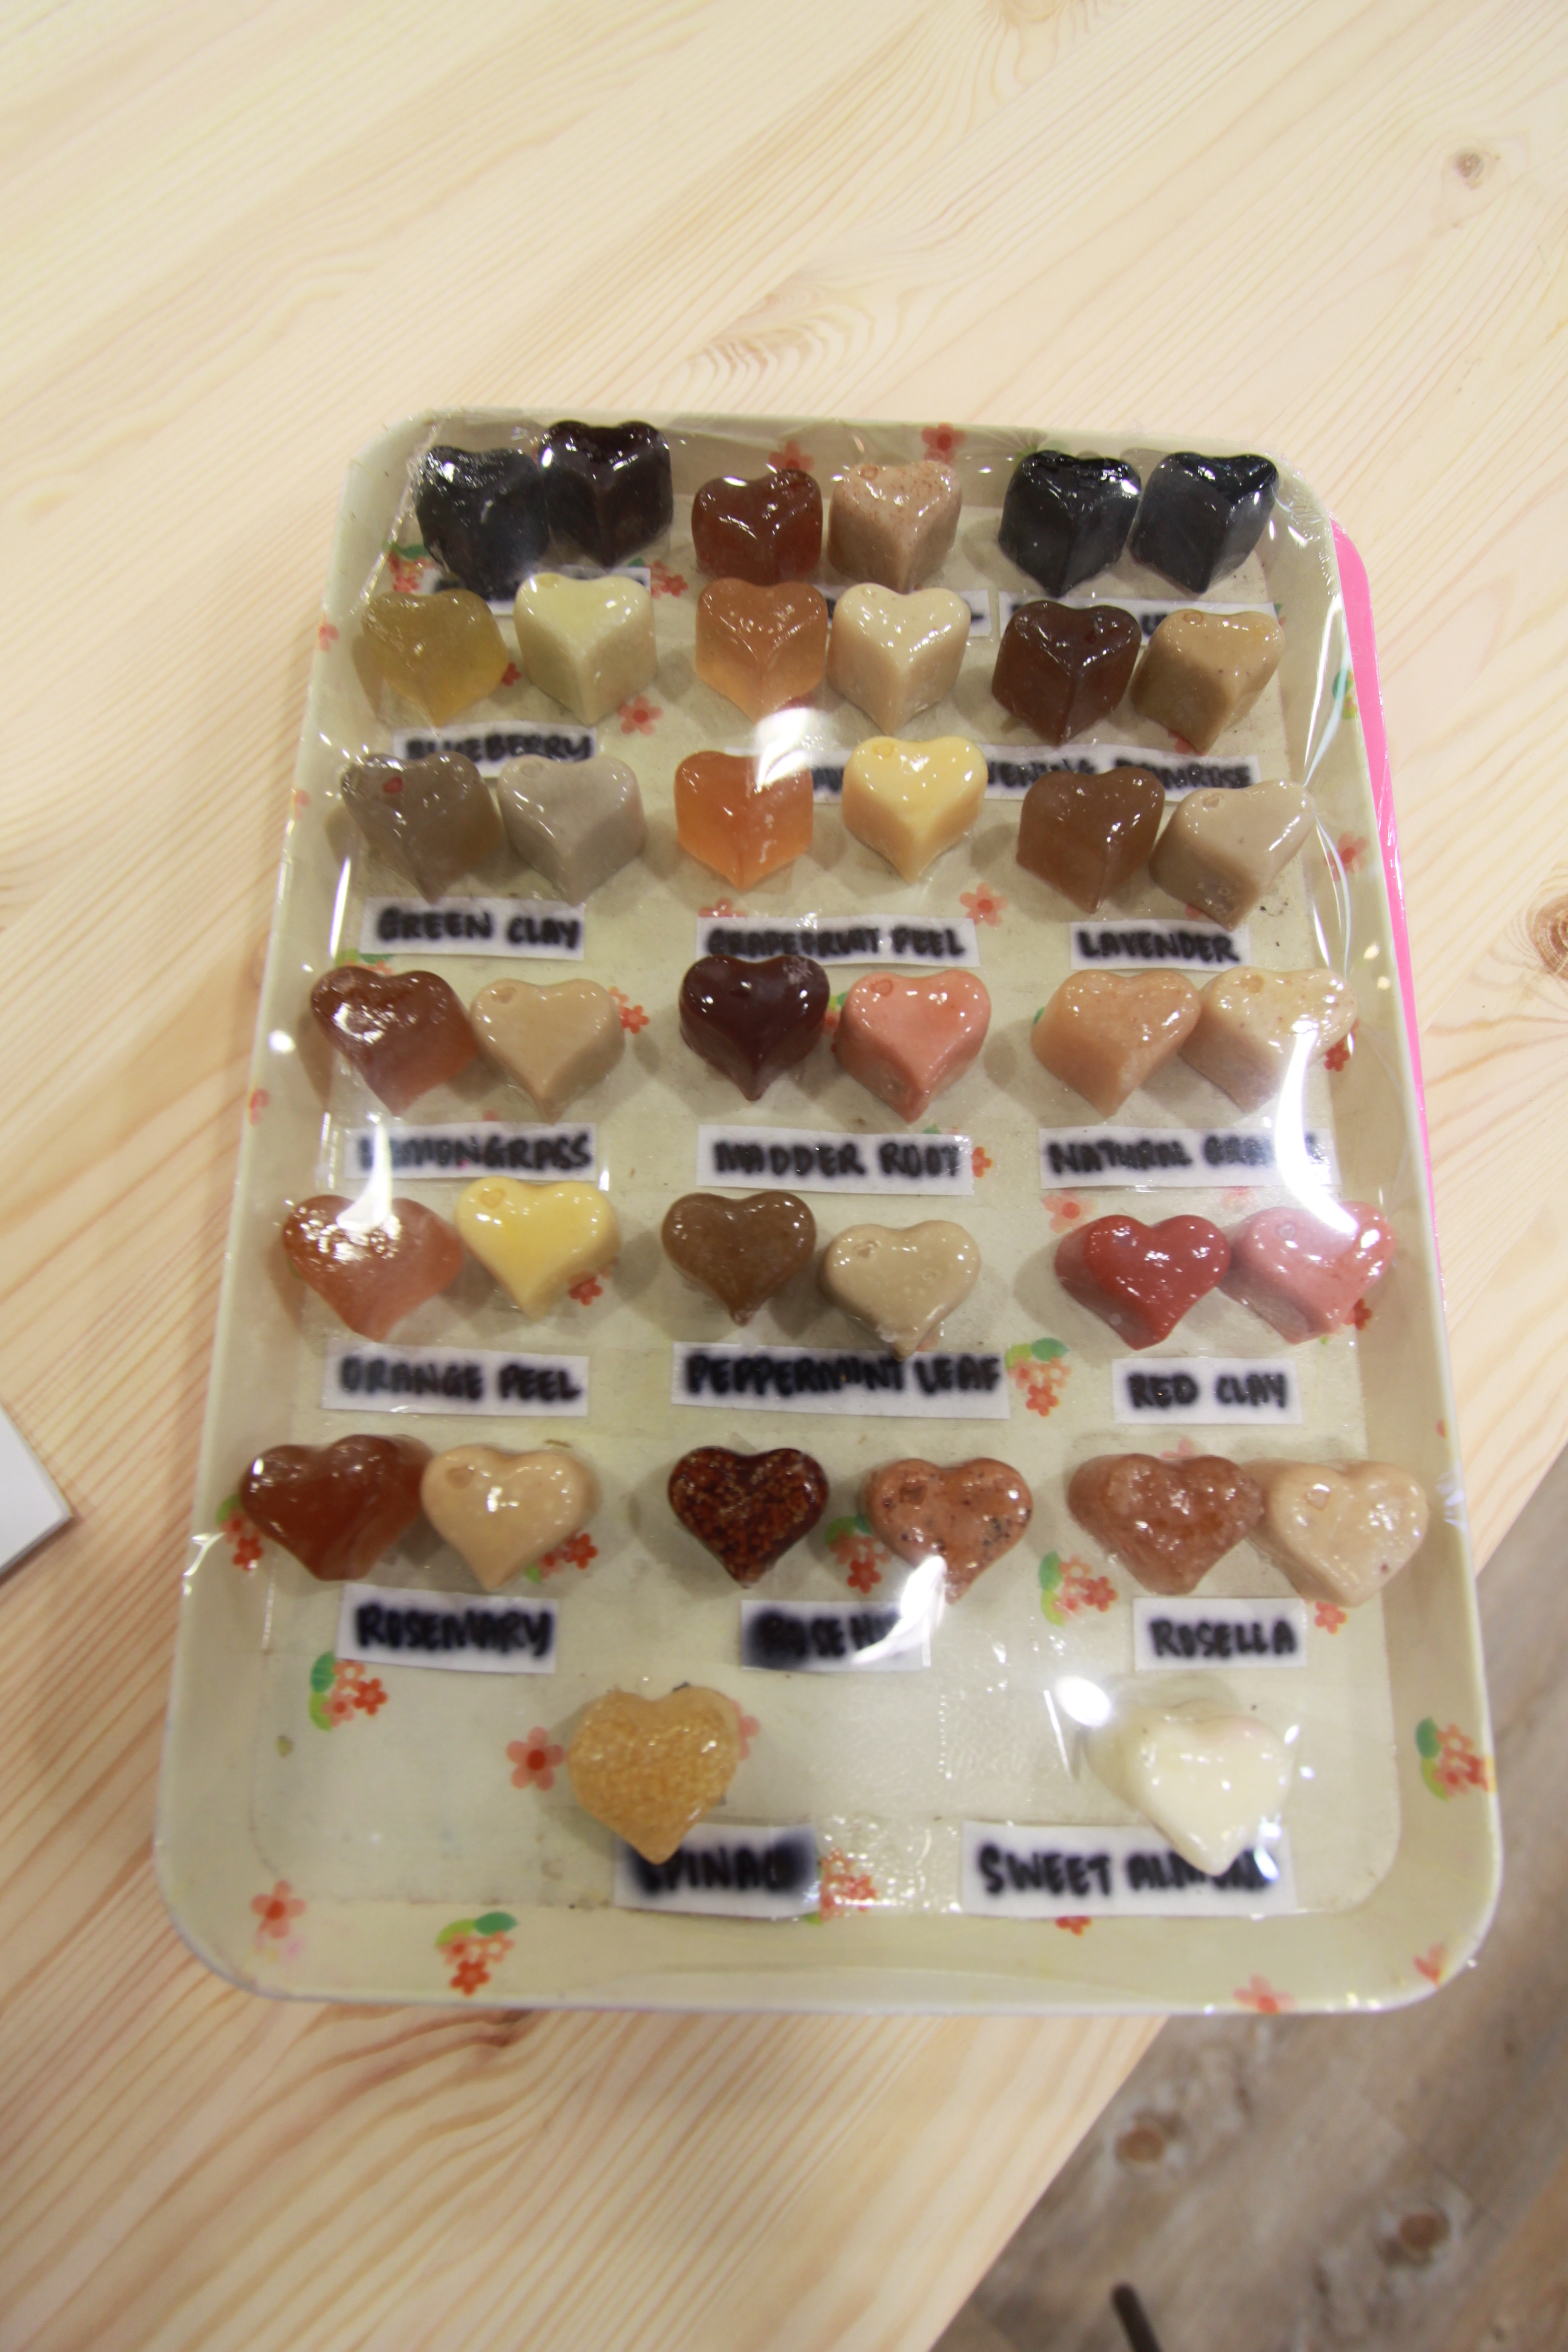
soaps with herbs added
the variety of essential oils
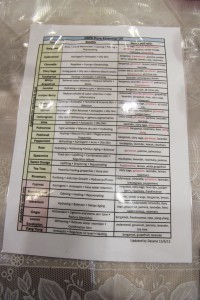
essential oil and its benefits
The colouring will be the primary colours – yellow, red and blue. Kids will also learn about the different colour combinations like blue and red makes purple.
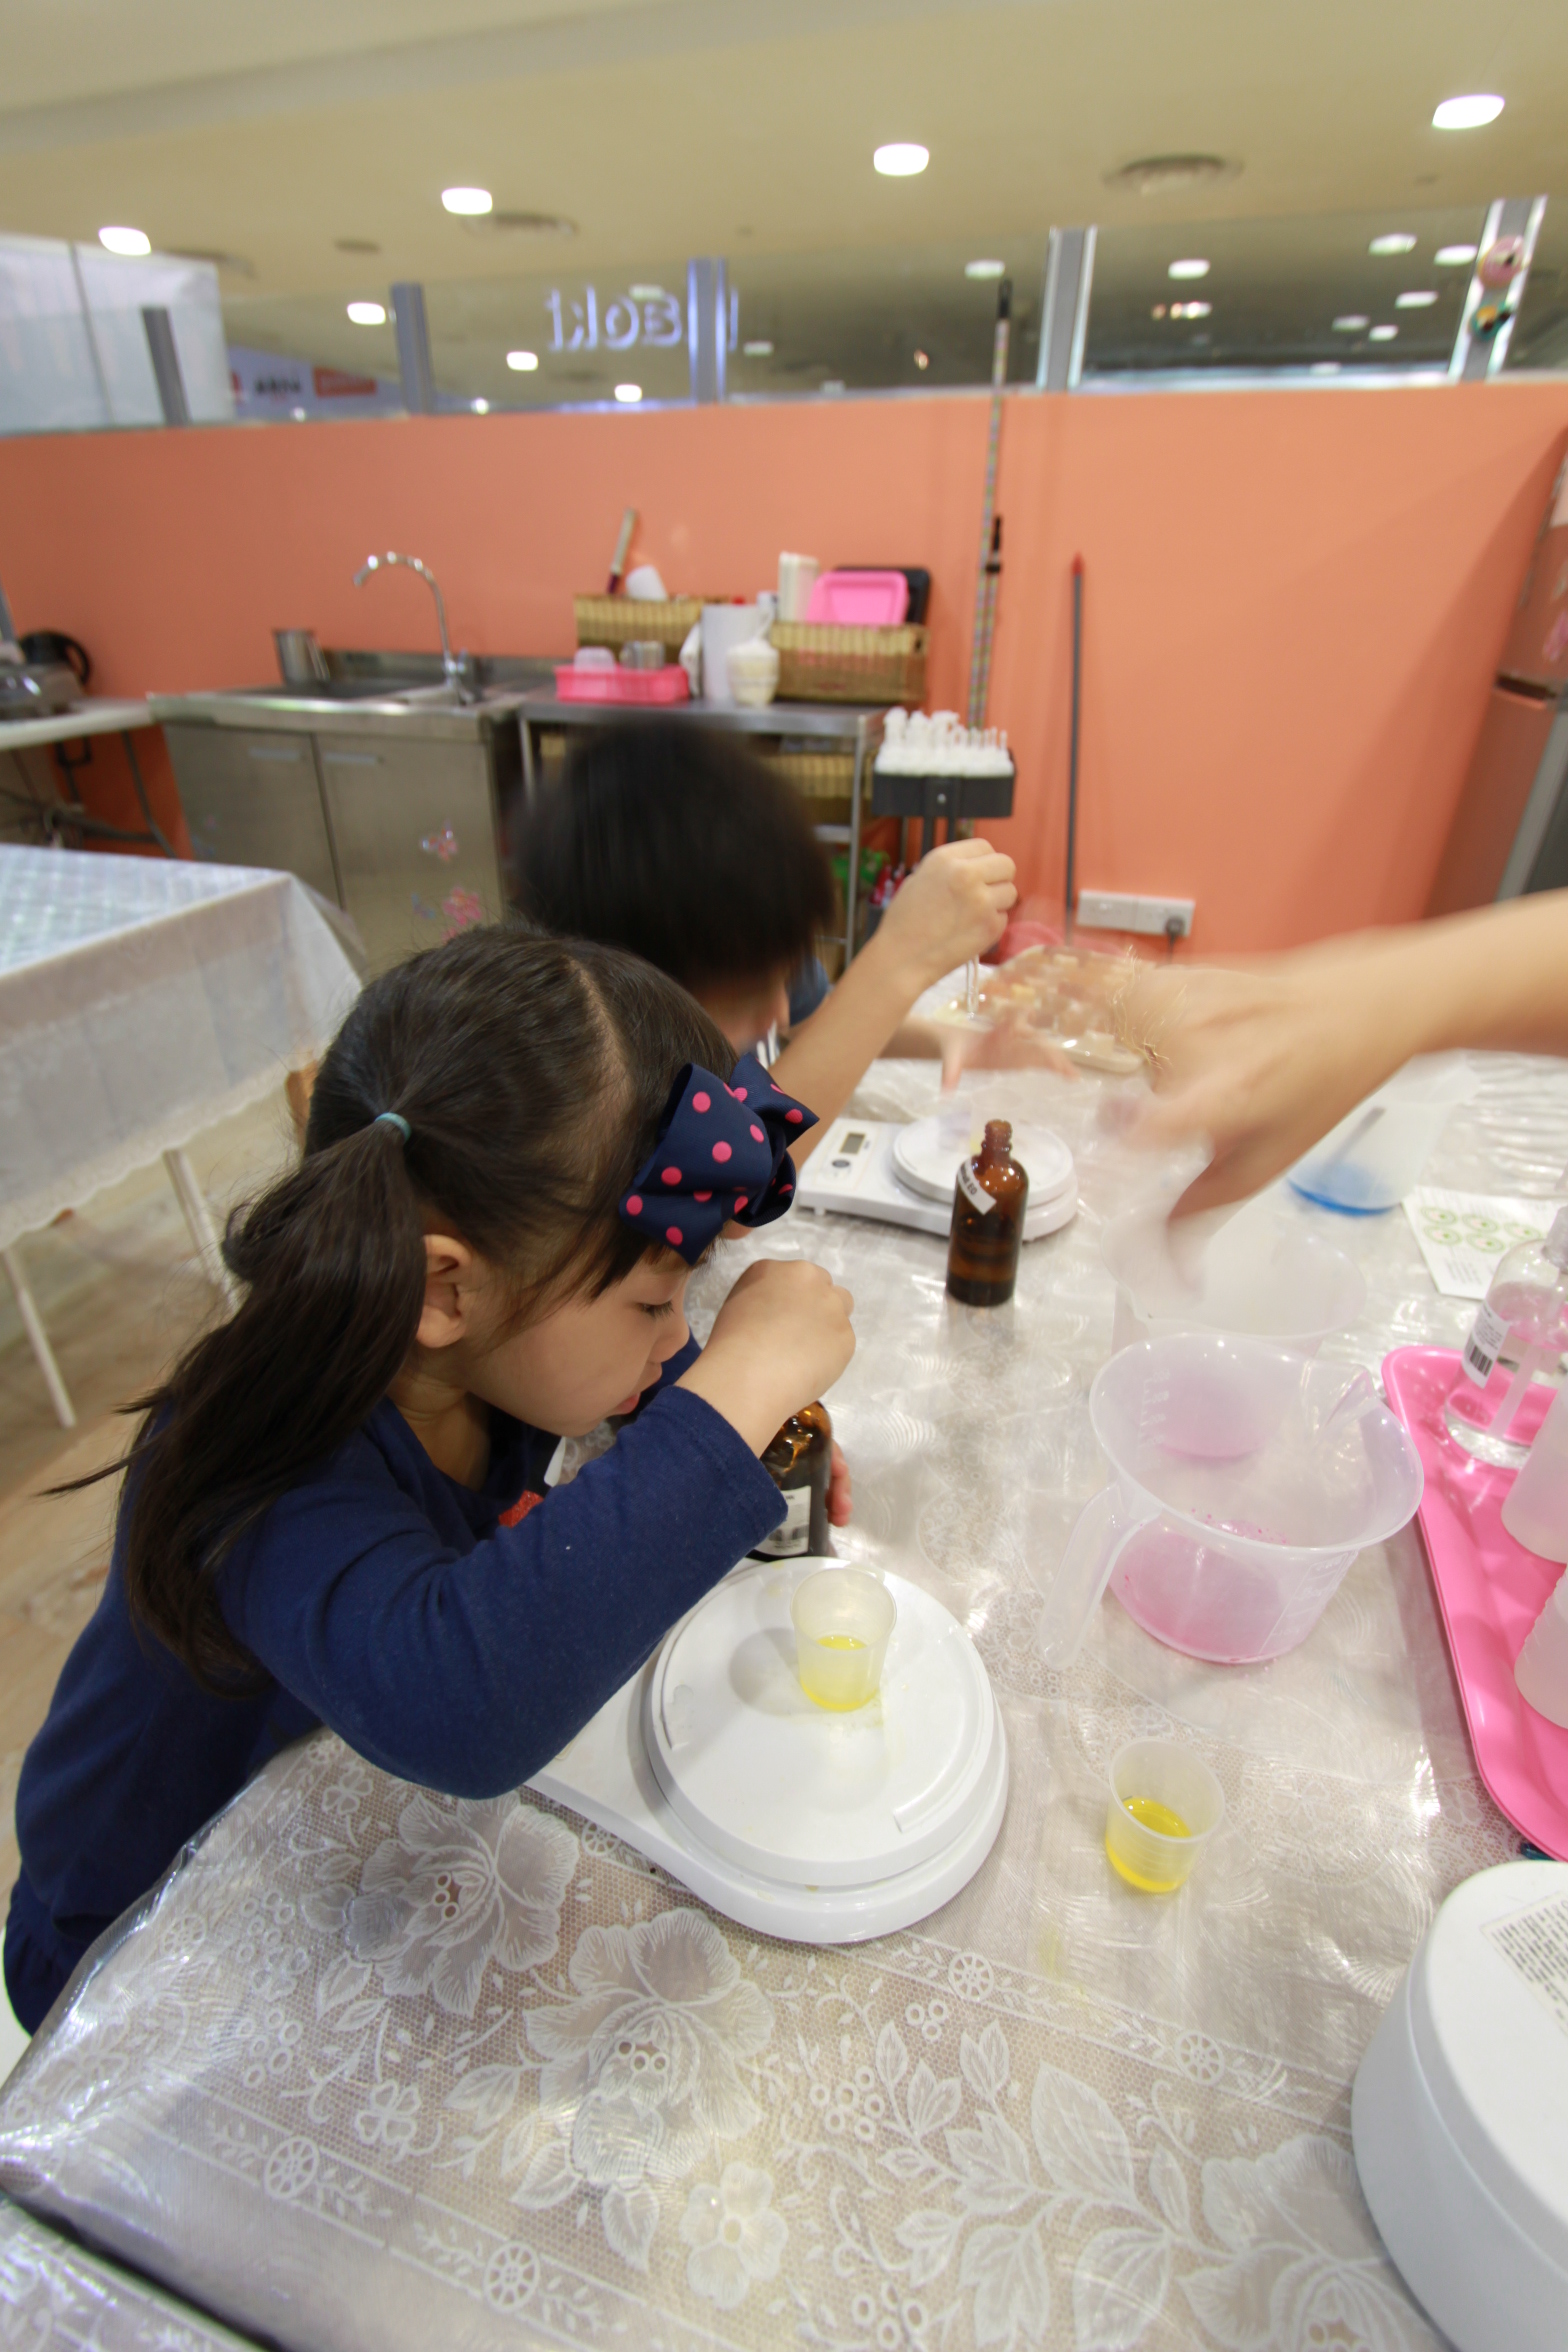
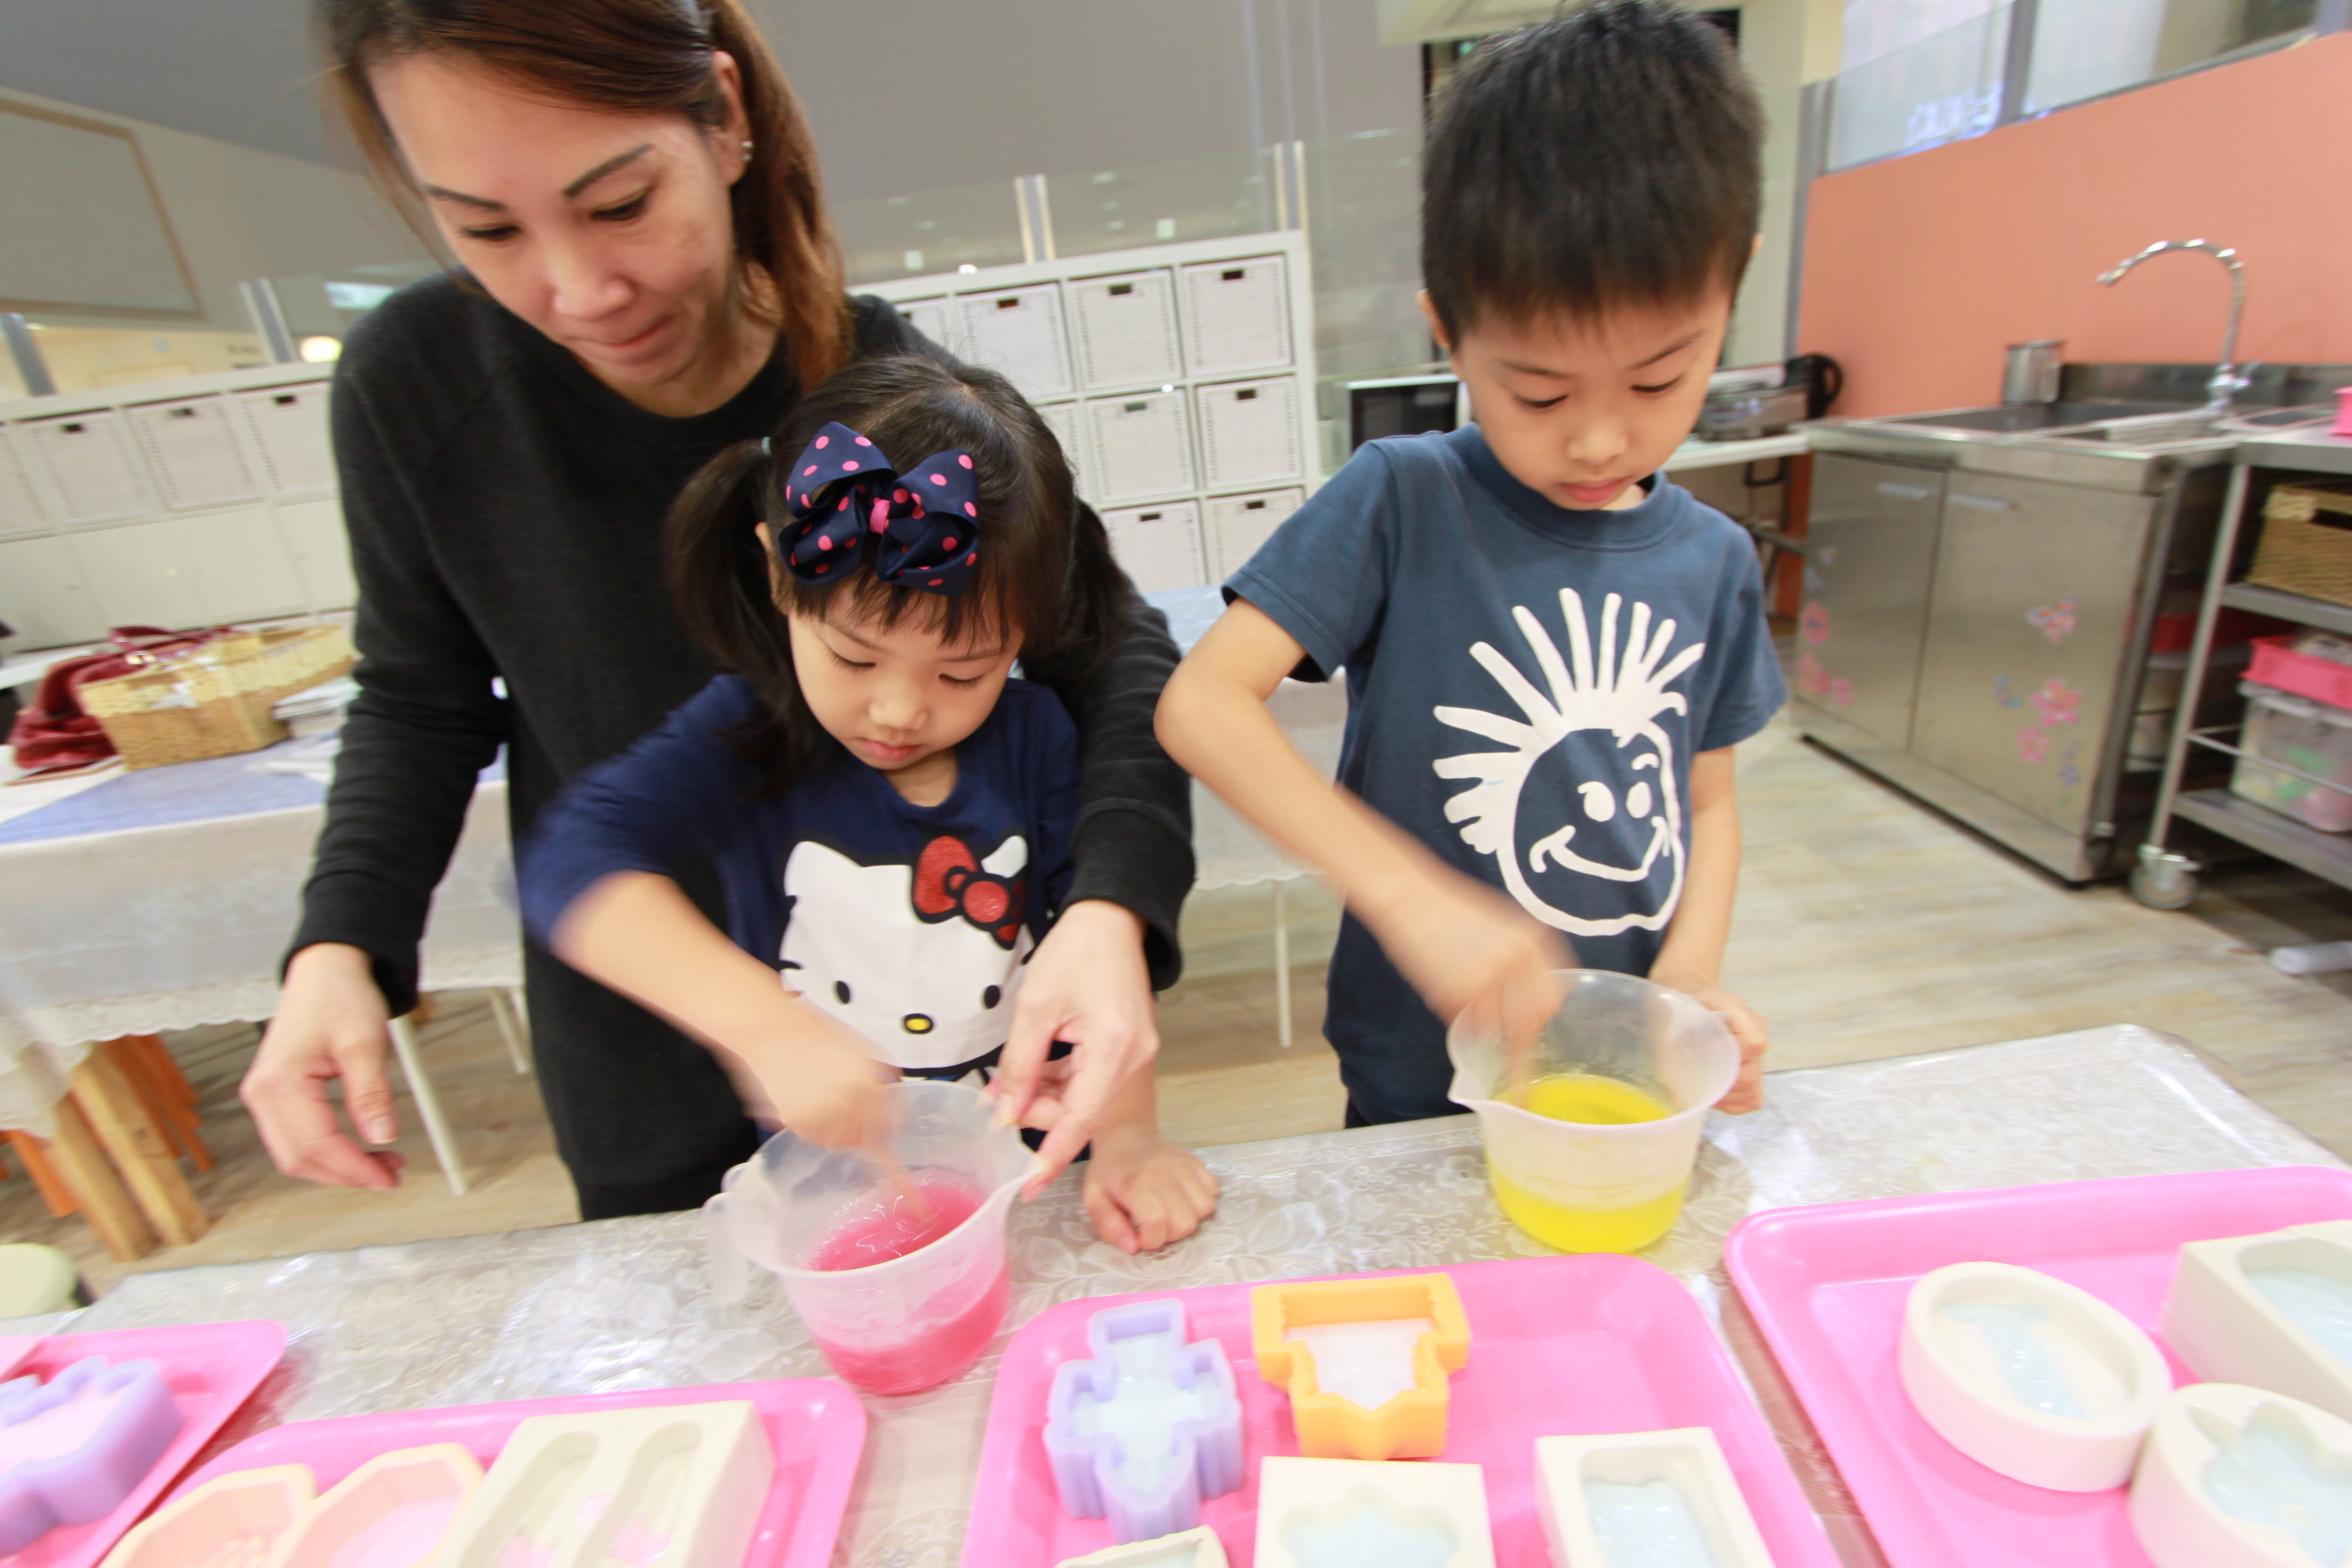
Using another small measuring cup, add the selected essential oils (and herbs which will make the soap more brown) and then the selected colouring. (if they are doing the basic upsize which allows for 2 colour selection, 2 portions of glycerin mixture and essential oil is prepared).

adding essential oil using pipette (like some science experiment) great for finger motor skill
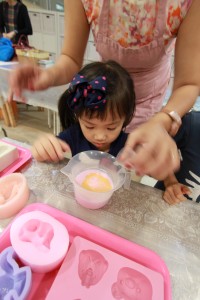
adding colouring into the glycerin/vitamin E mixture
They repeated the same process using different measuring jugs and cups for the second colour mixture.
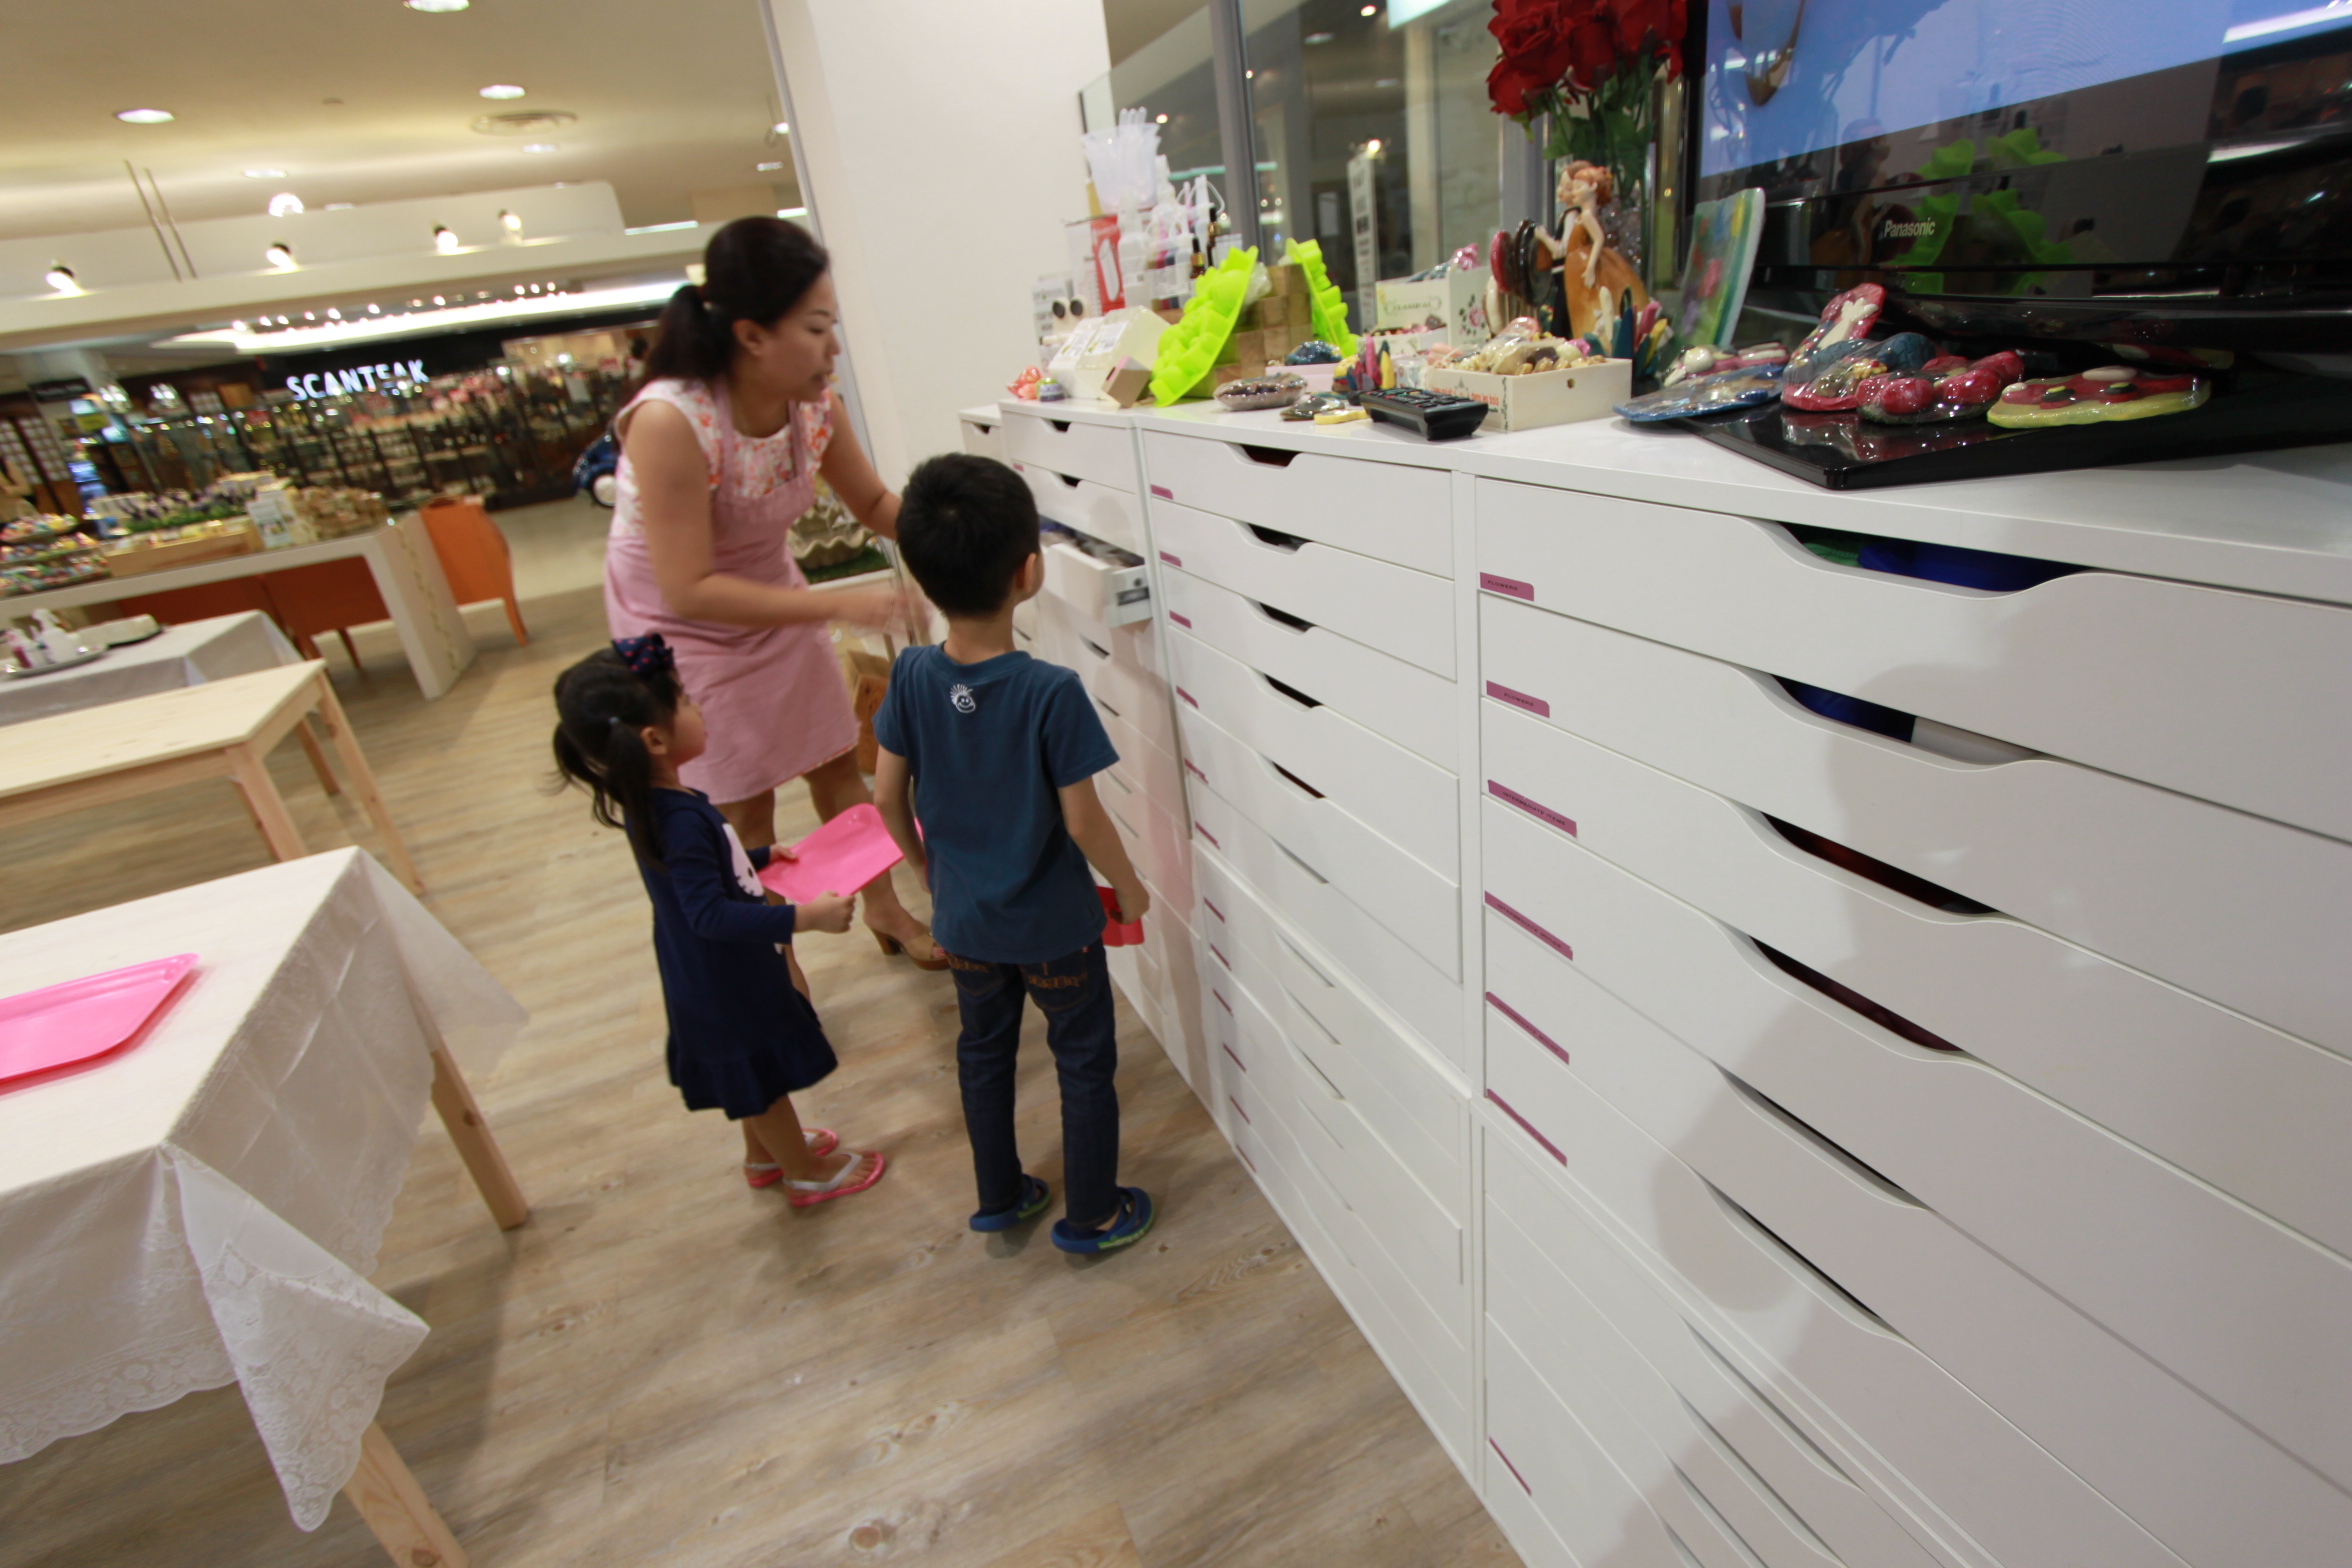
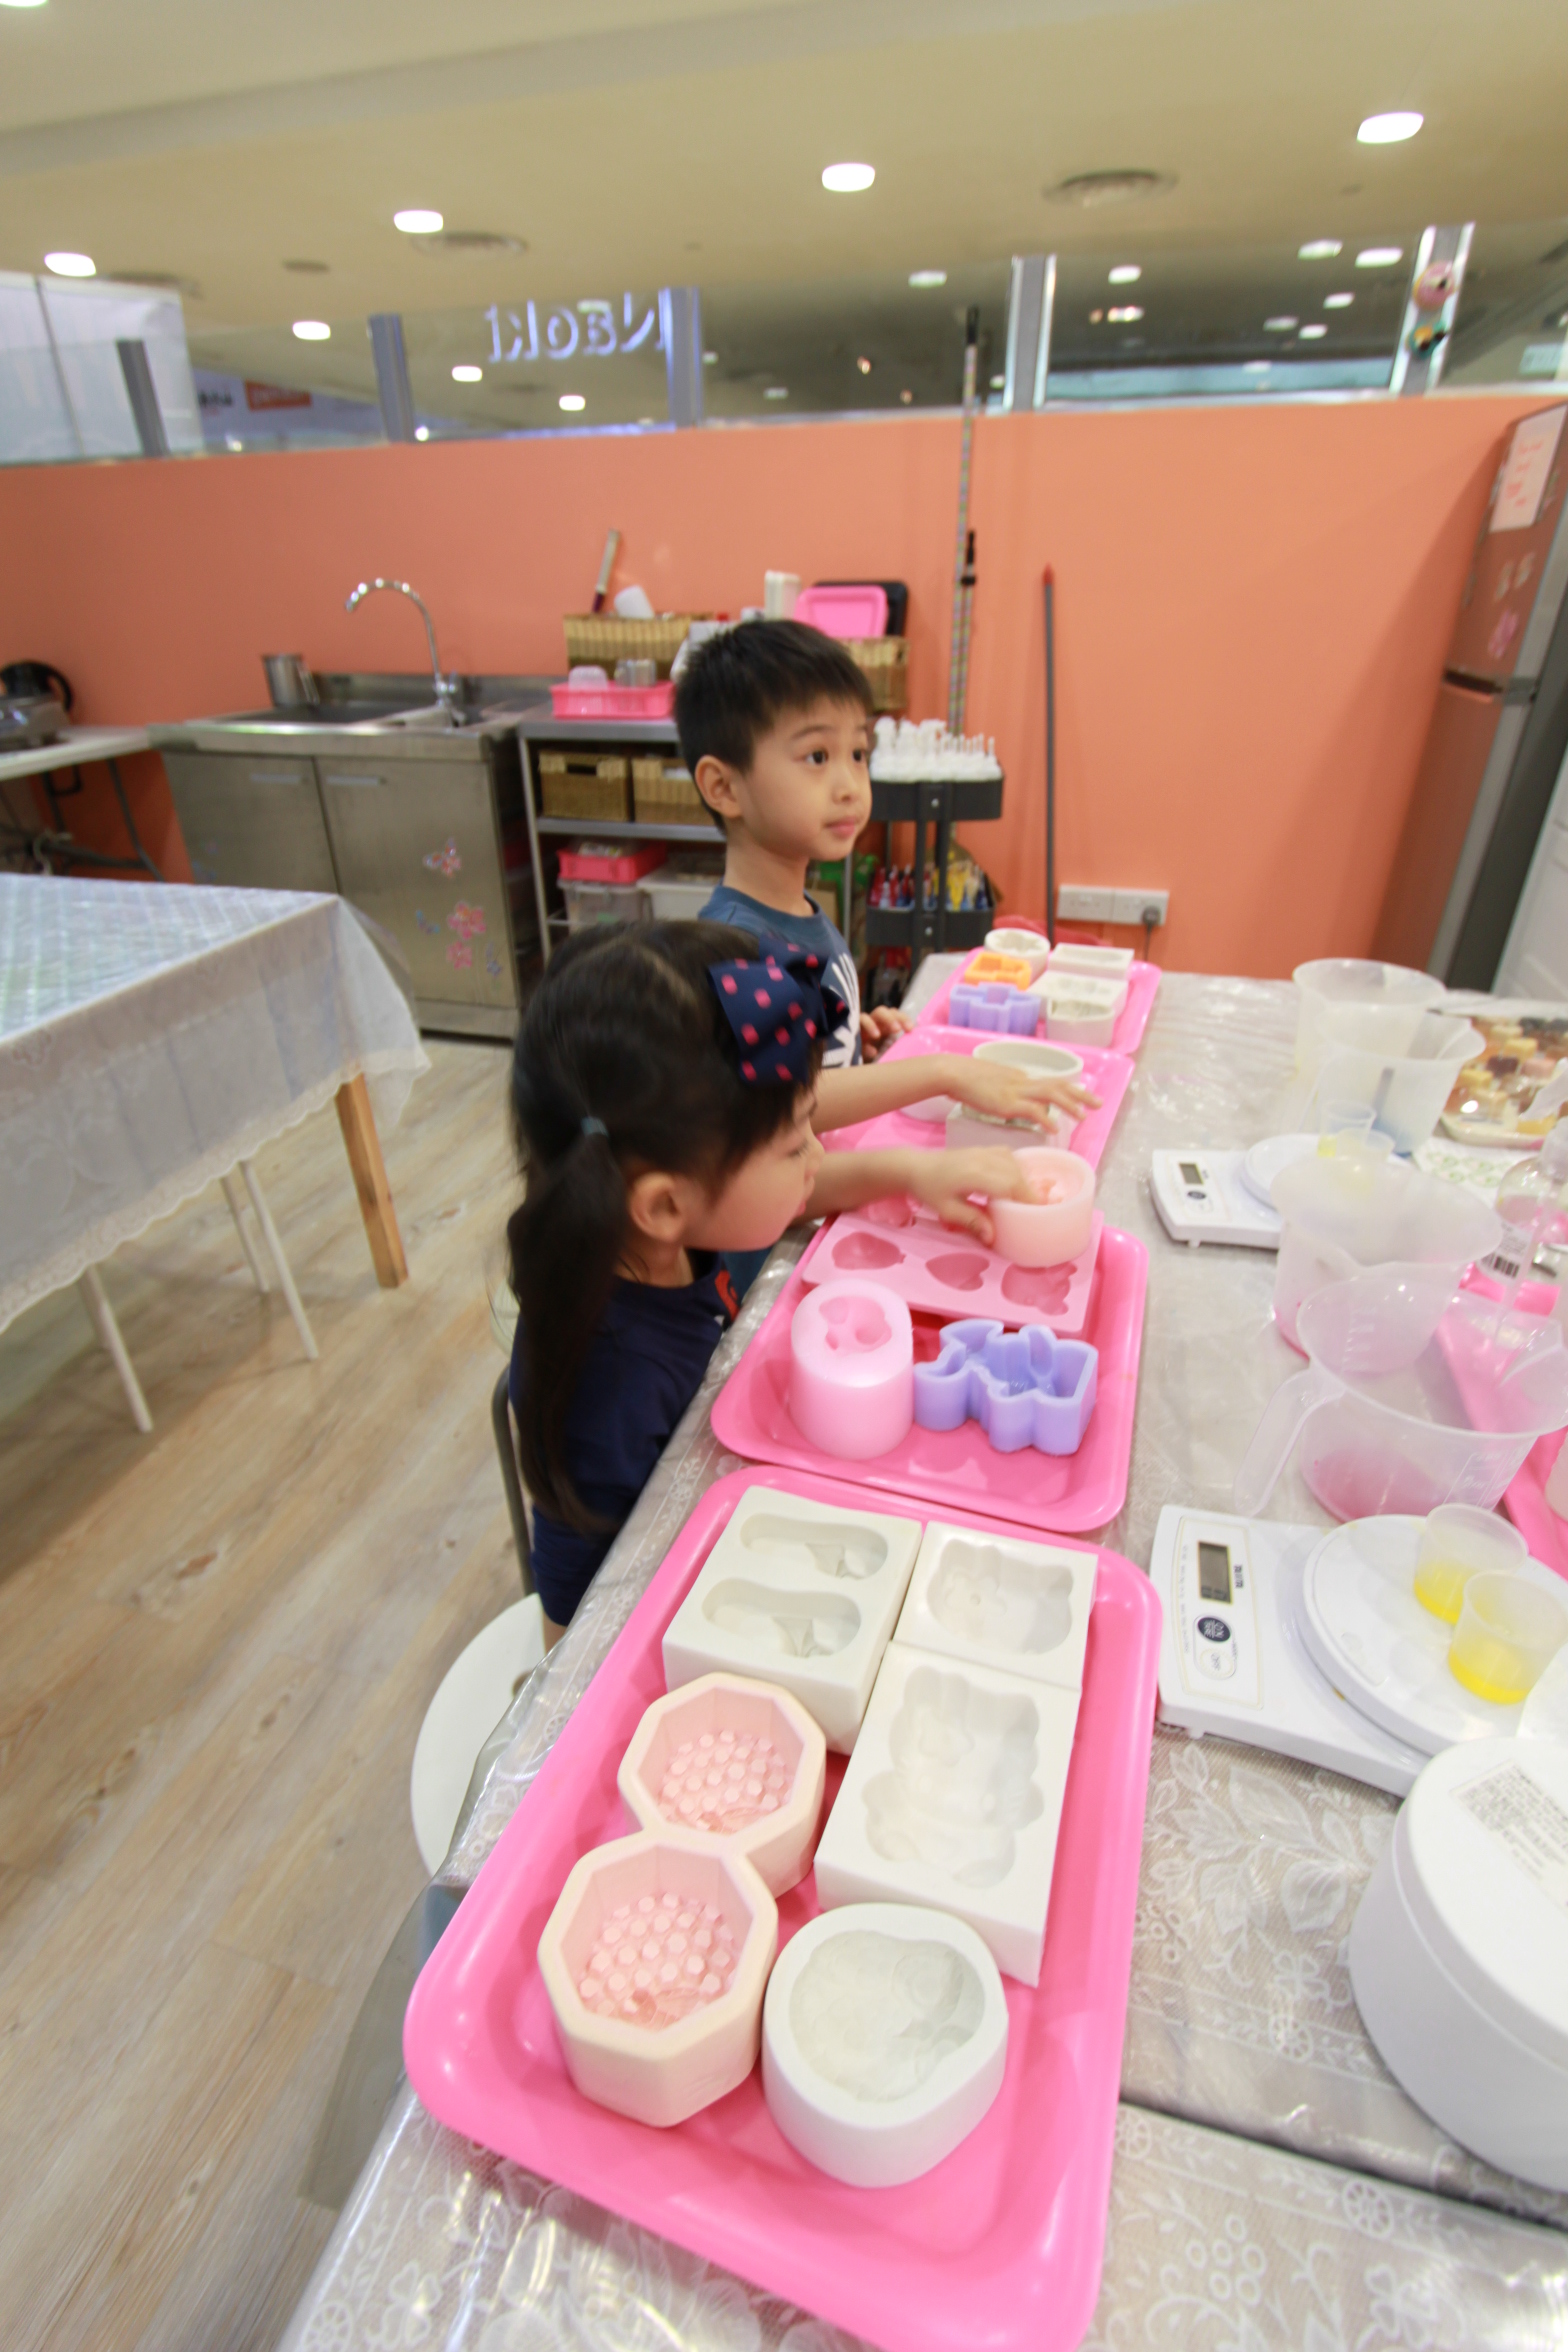
In between step 3 and 4, the kids were brought to select their silicon soap mold. There are more than hundreds of soap molds to choose from :- animals, cartoon, big, small and even merlion molds!

many drawers where the molds are kept

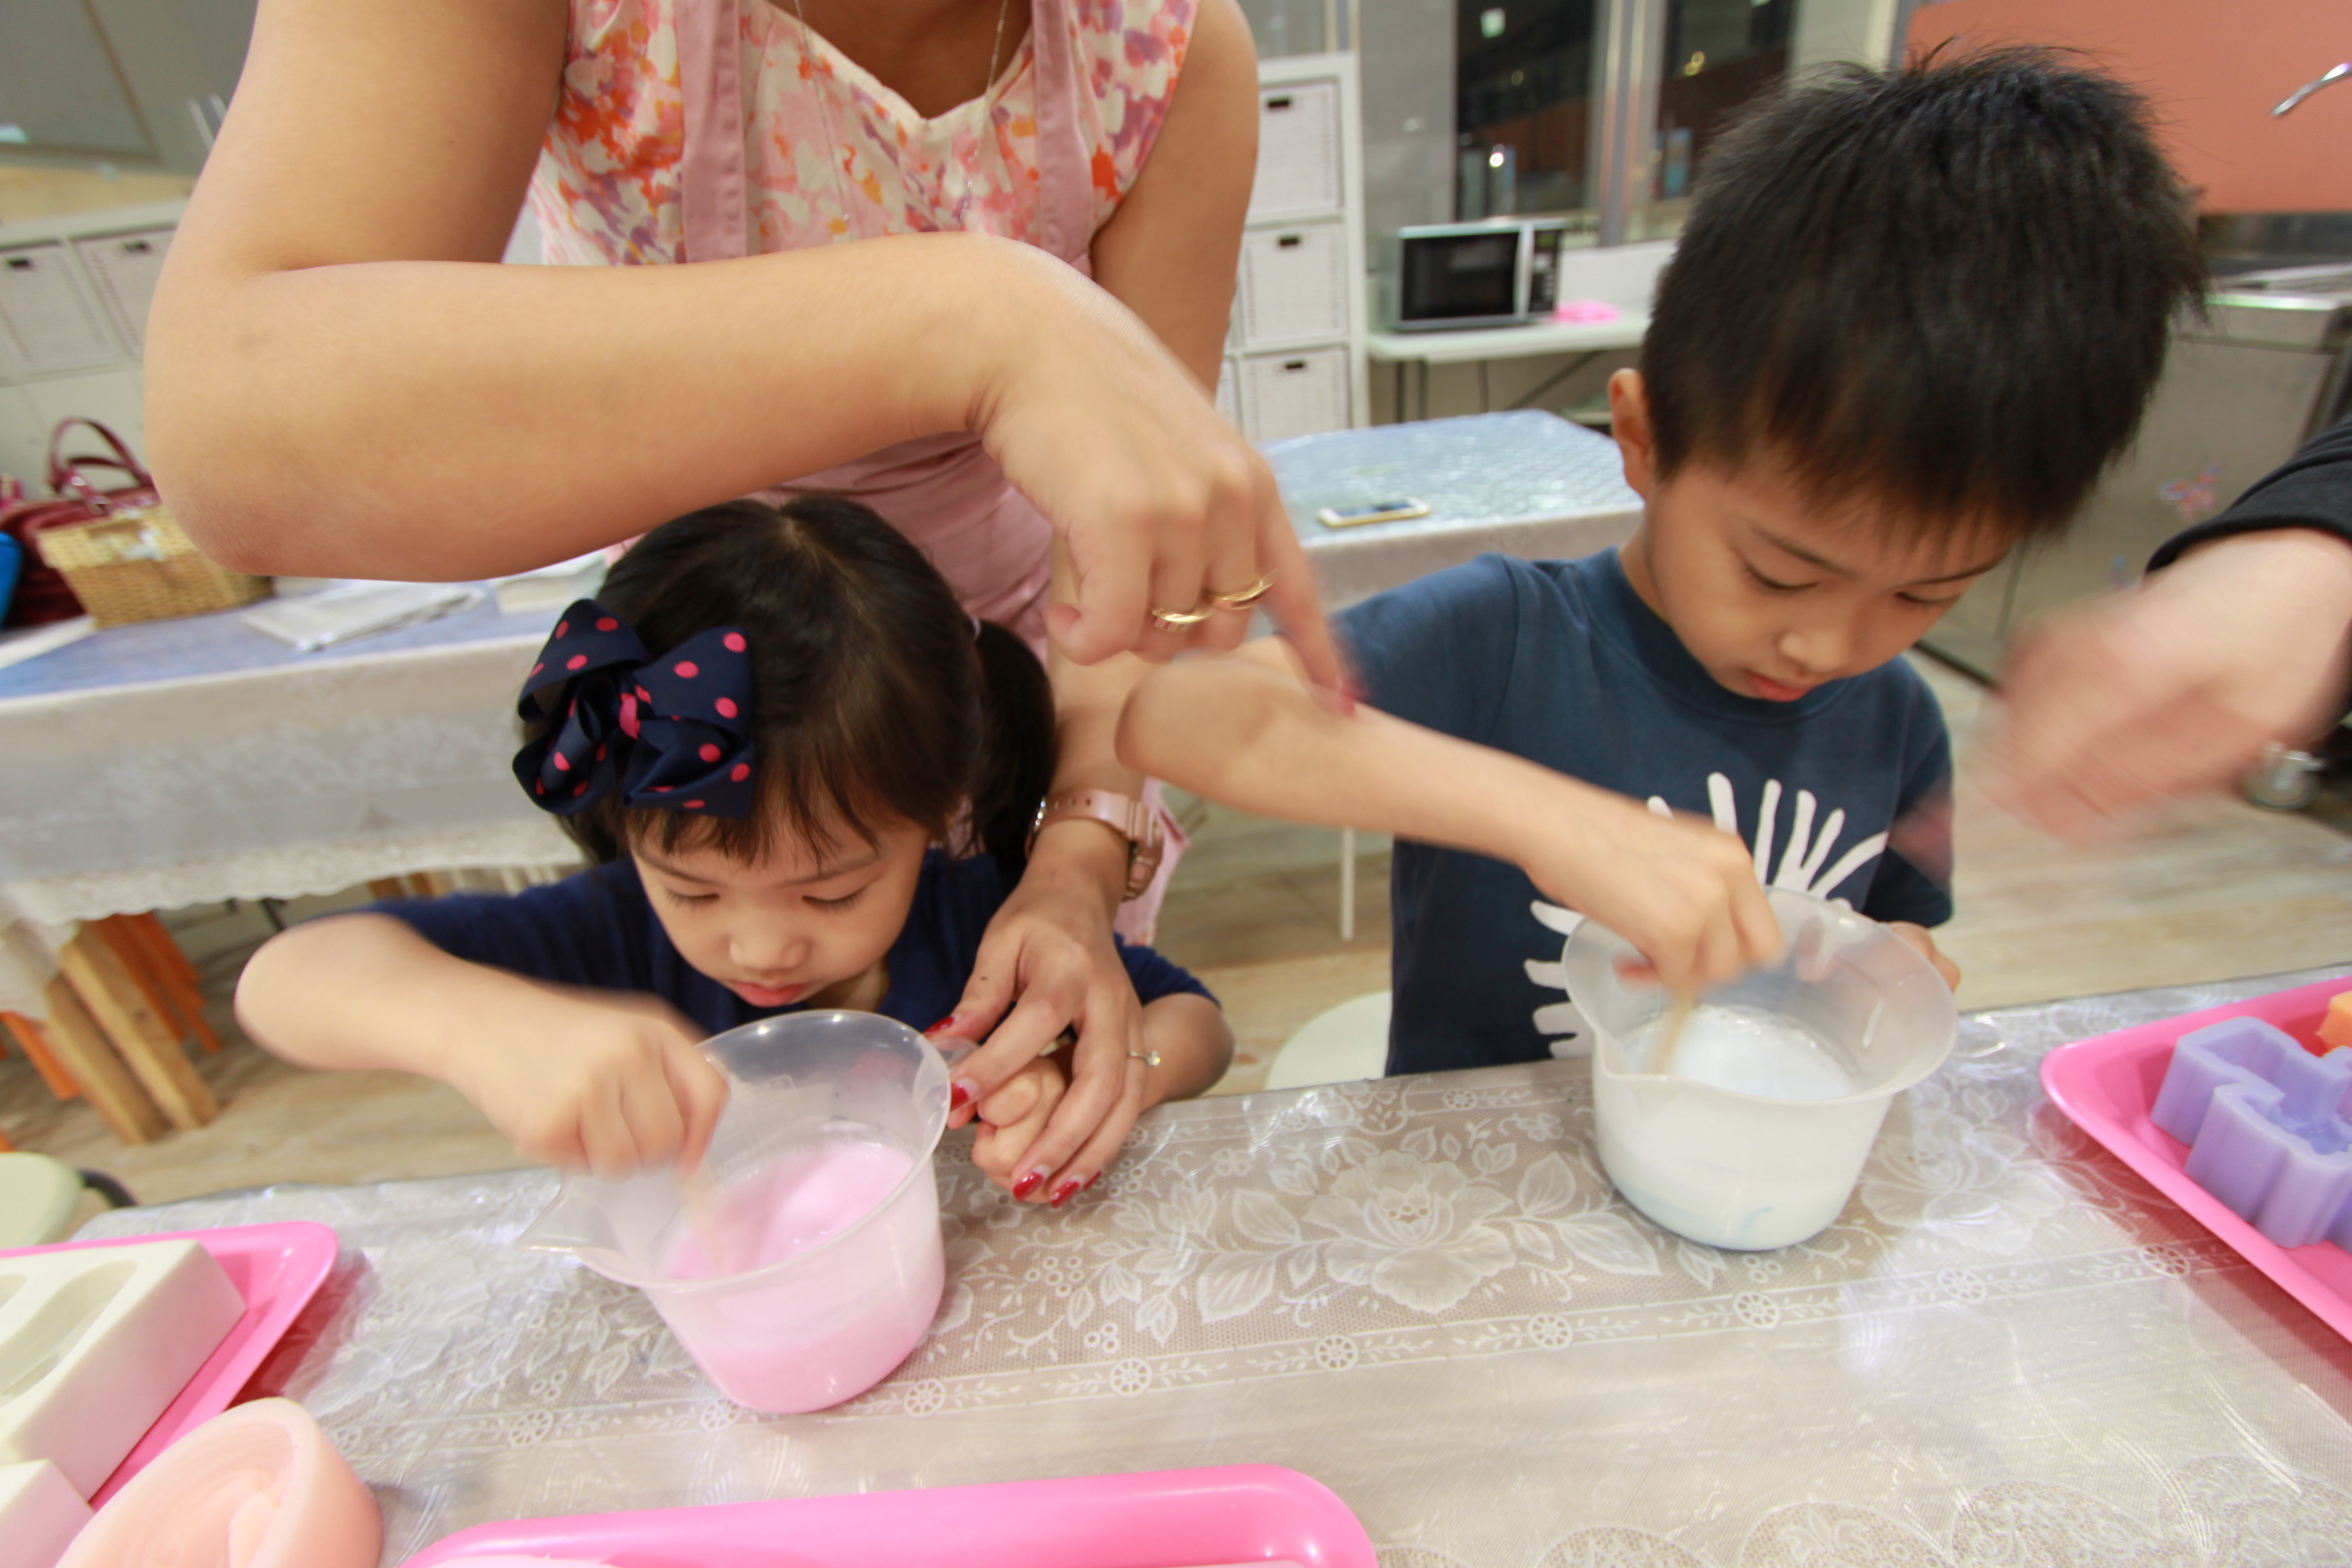
Step 4: Blend
The melted soap base is removed from the hot water bath and pour into the glycerin mixture.
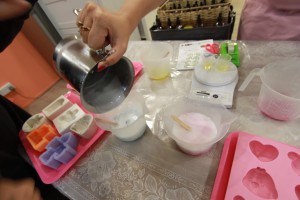
And stir from bottom to top to mix the glycerin mixture with the melted soup base. Essential oil is added into the mixture, and then stir from top to bottom to blend the oil into the mixture.
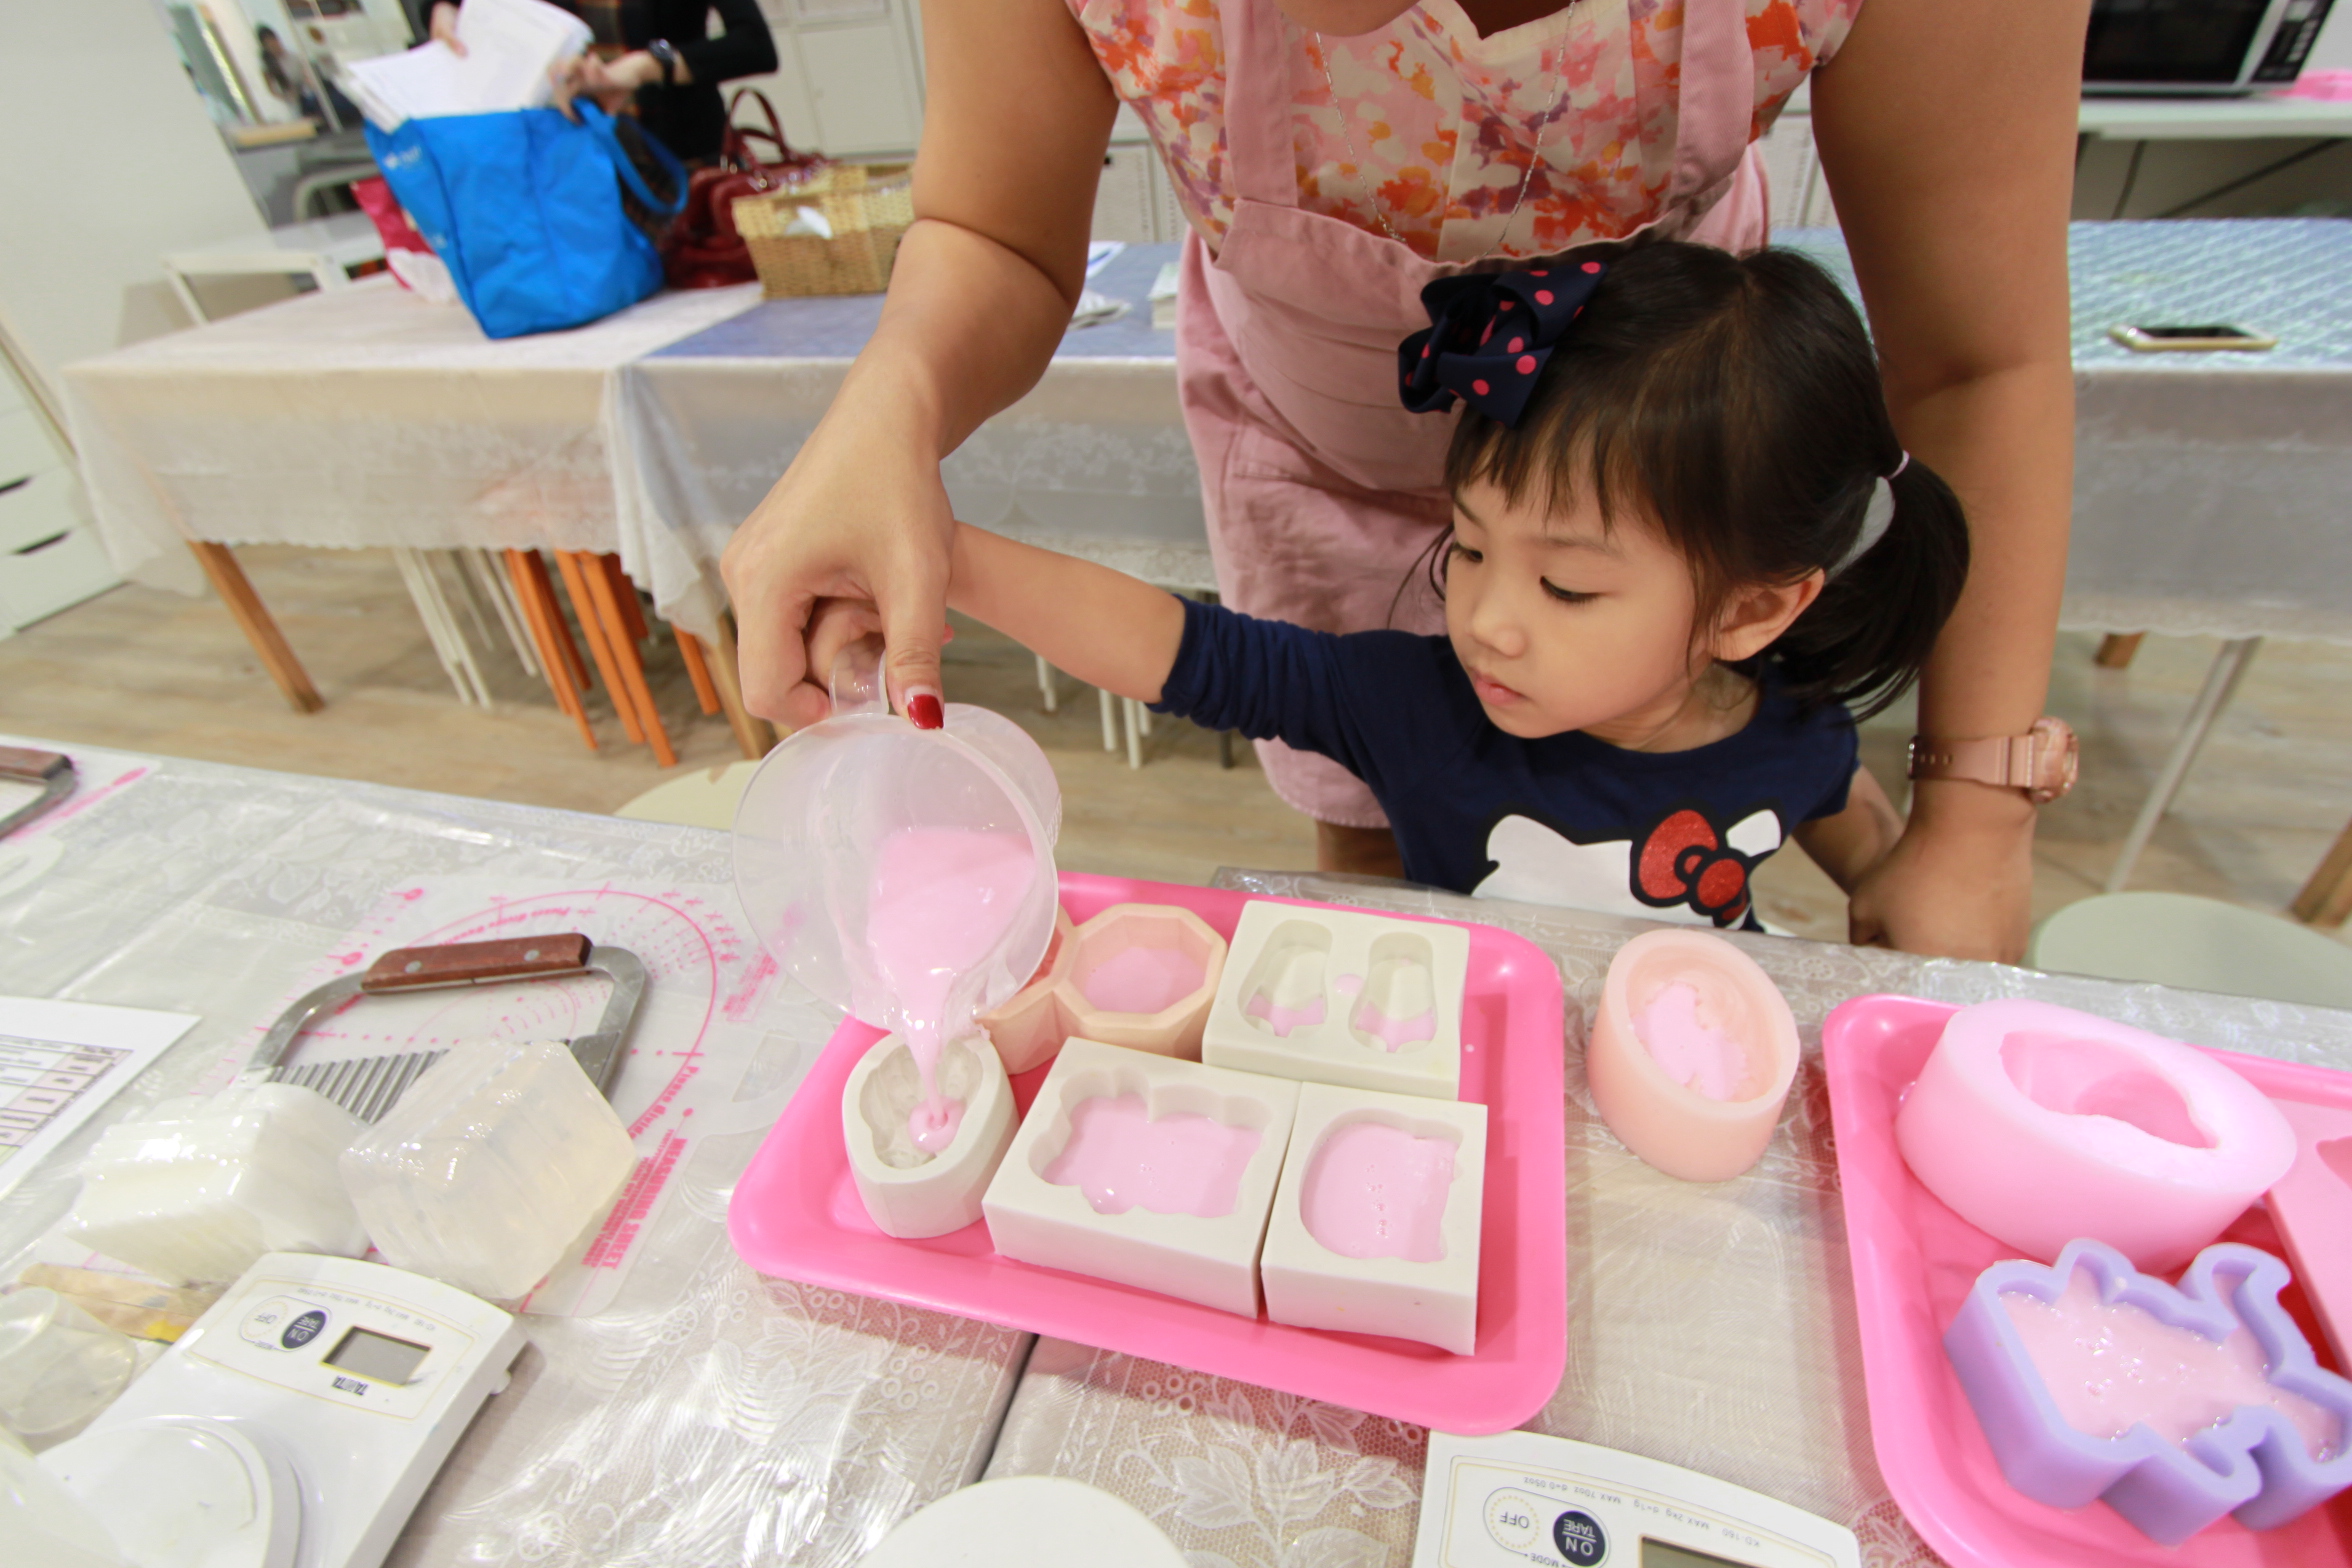
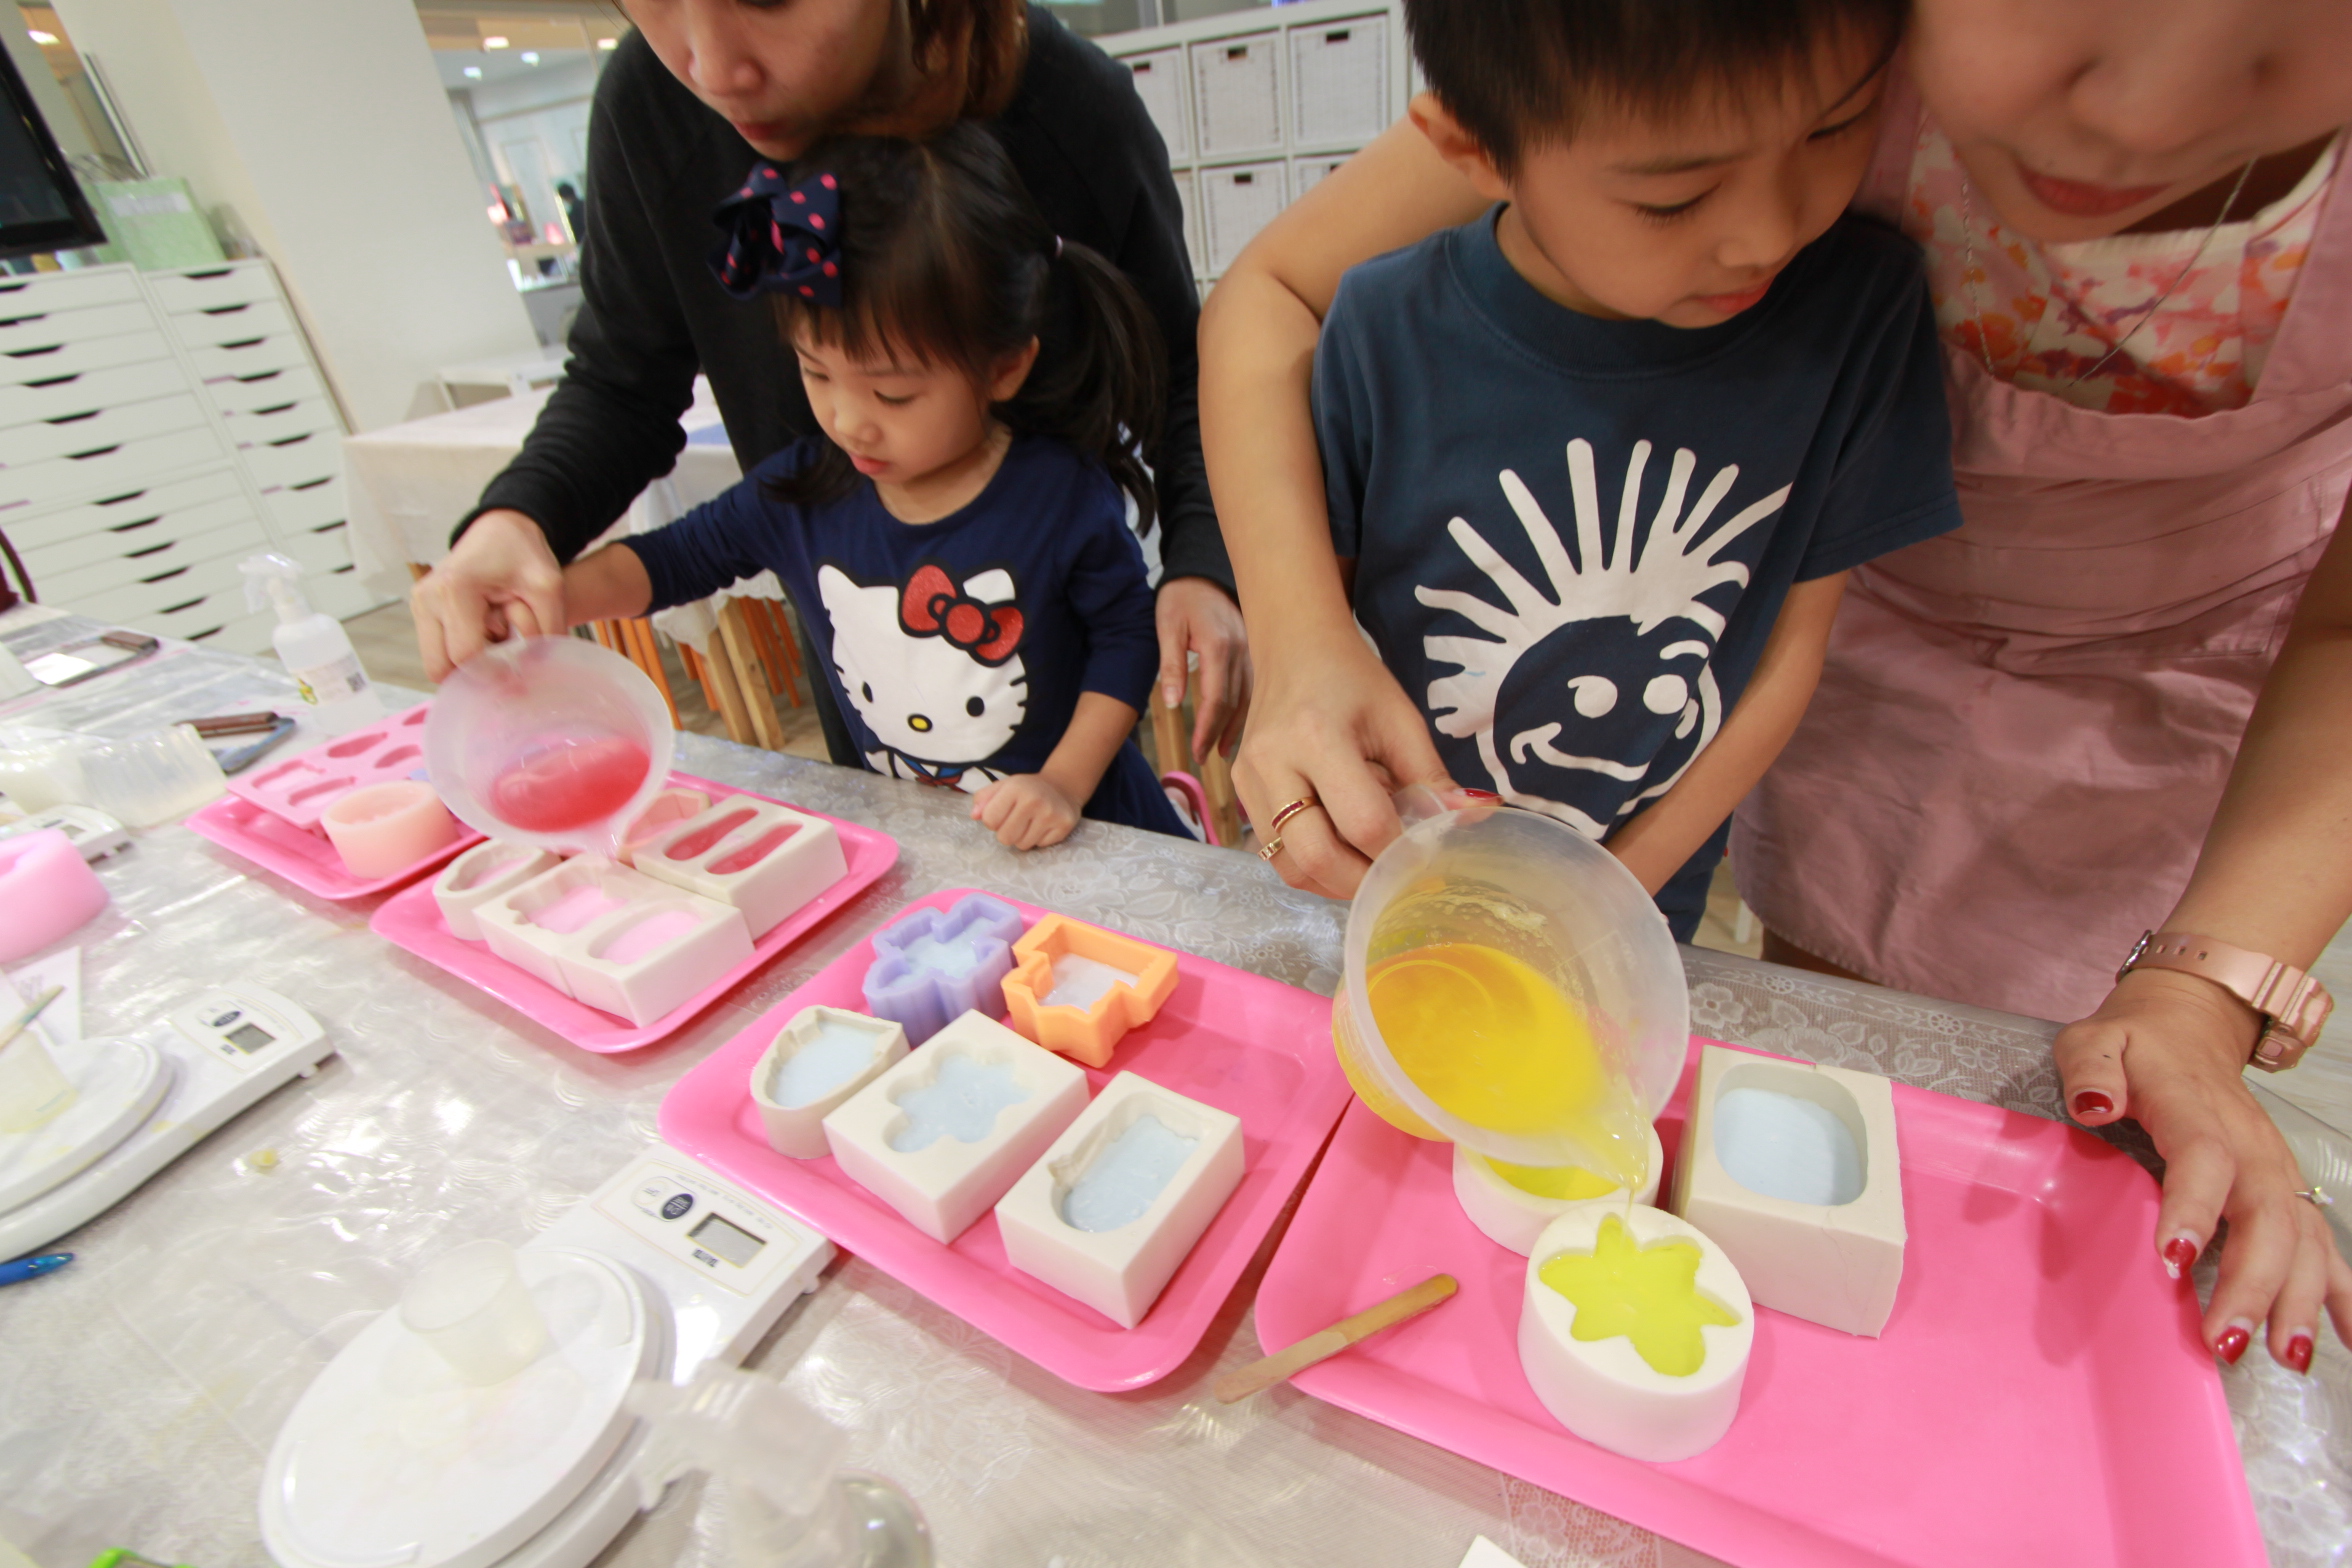
Step 5: Pour
As the kids were making 2 colour layered soup, they only have to fill half of the mold using the first colour mixture. 

As air bubbles tend to rise to the surface of the soap, ethanol is being sprayed to remove the bubble. And the soap is left to harden. You can pop it into the freezer to expedite the hardening process.
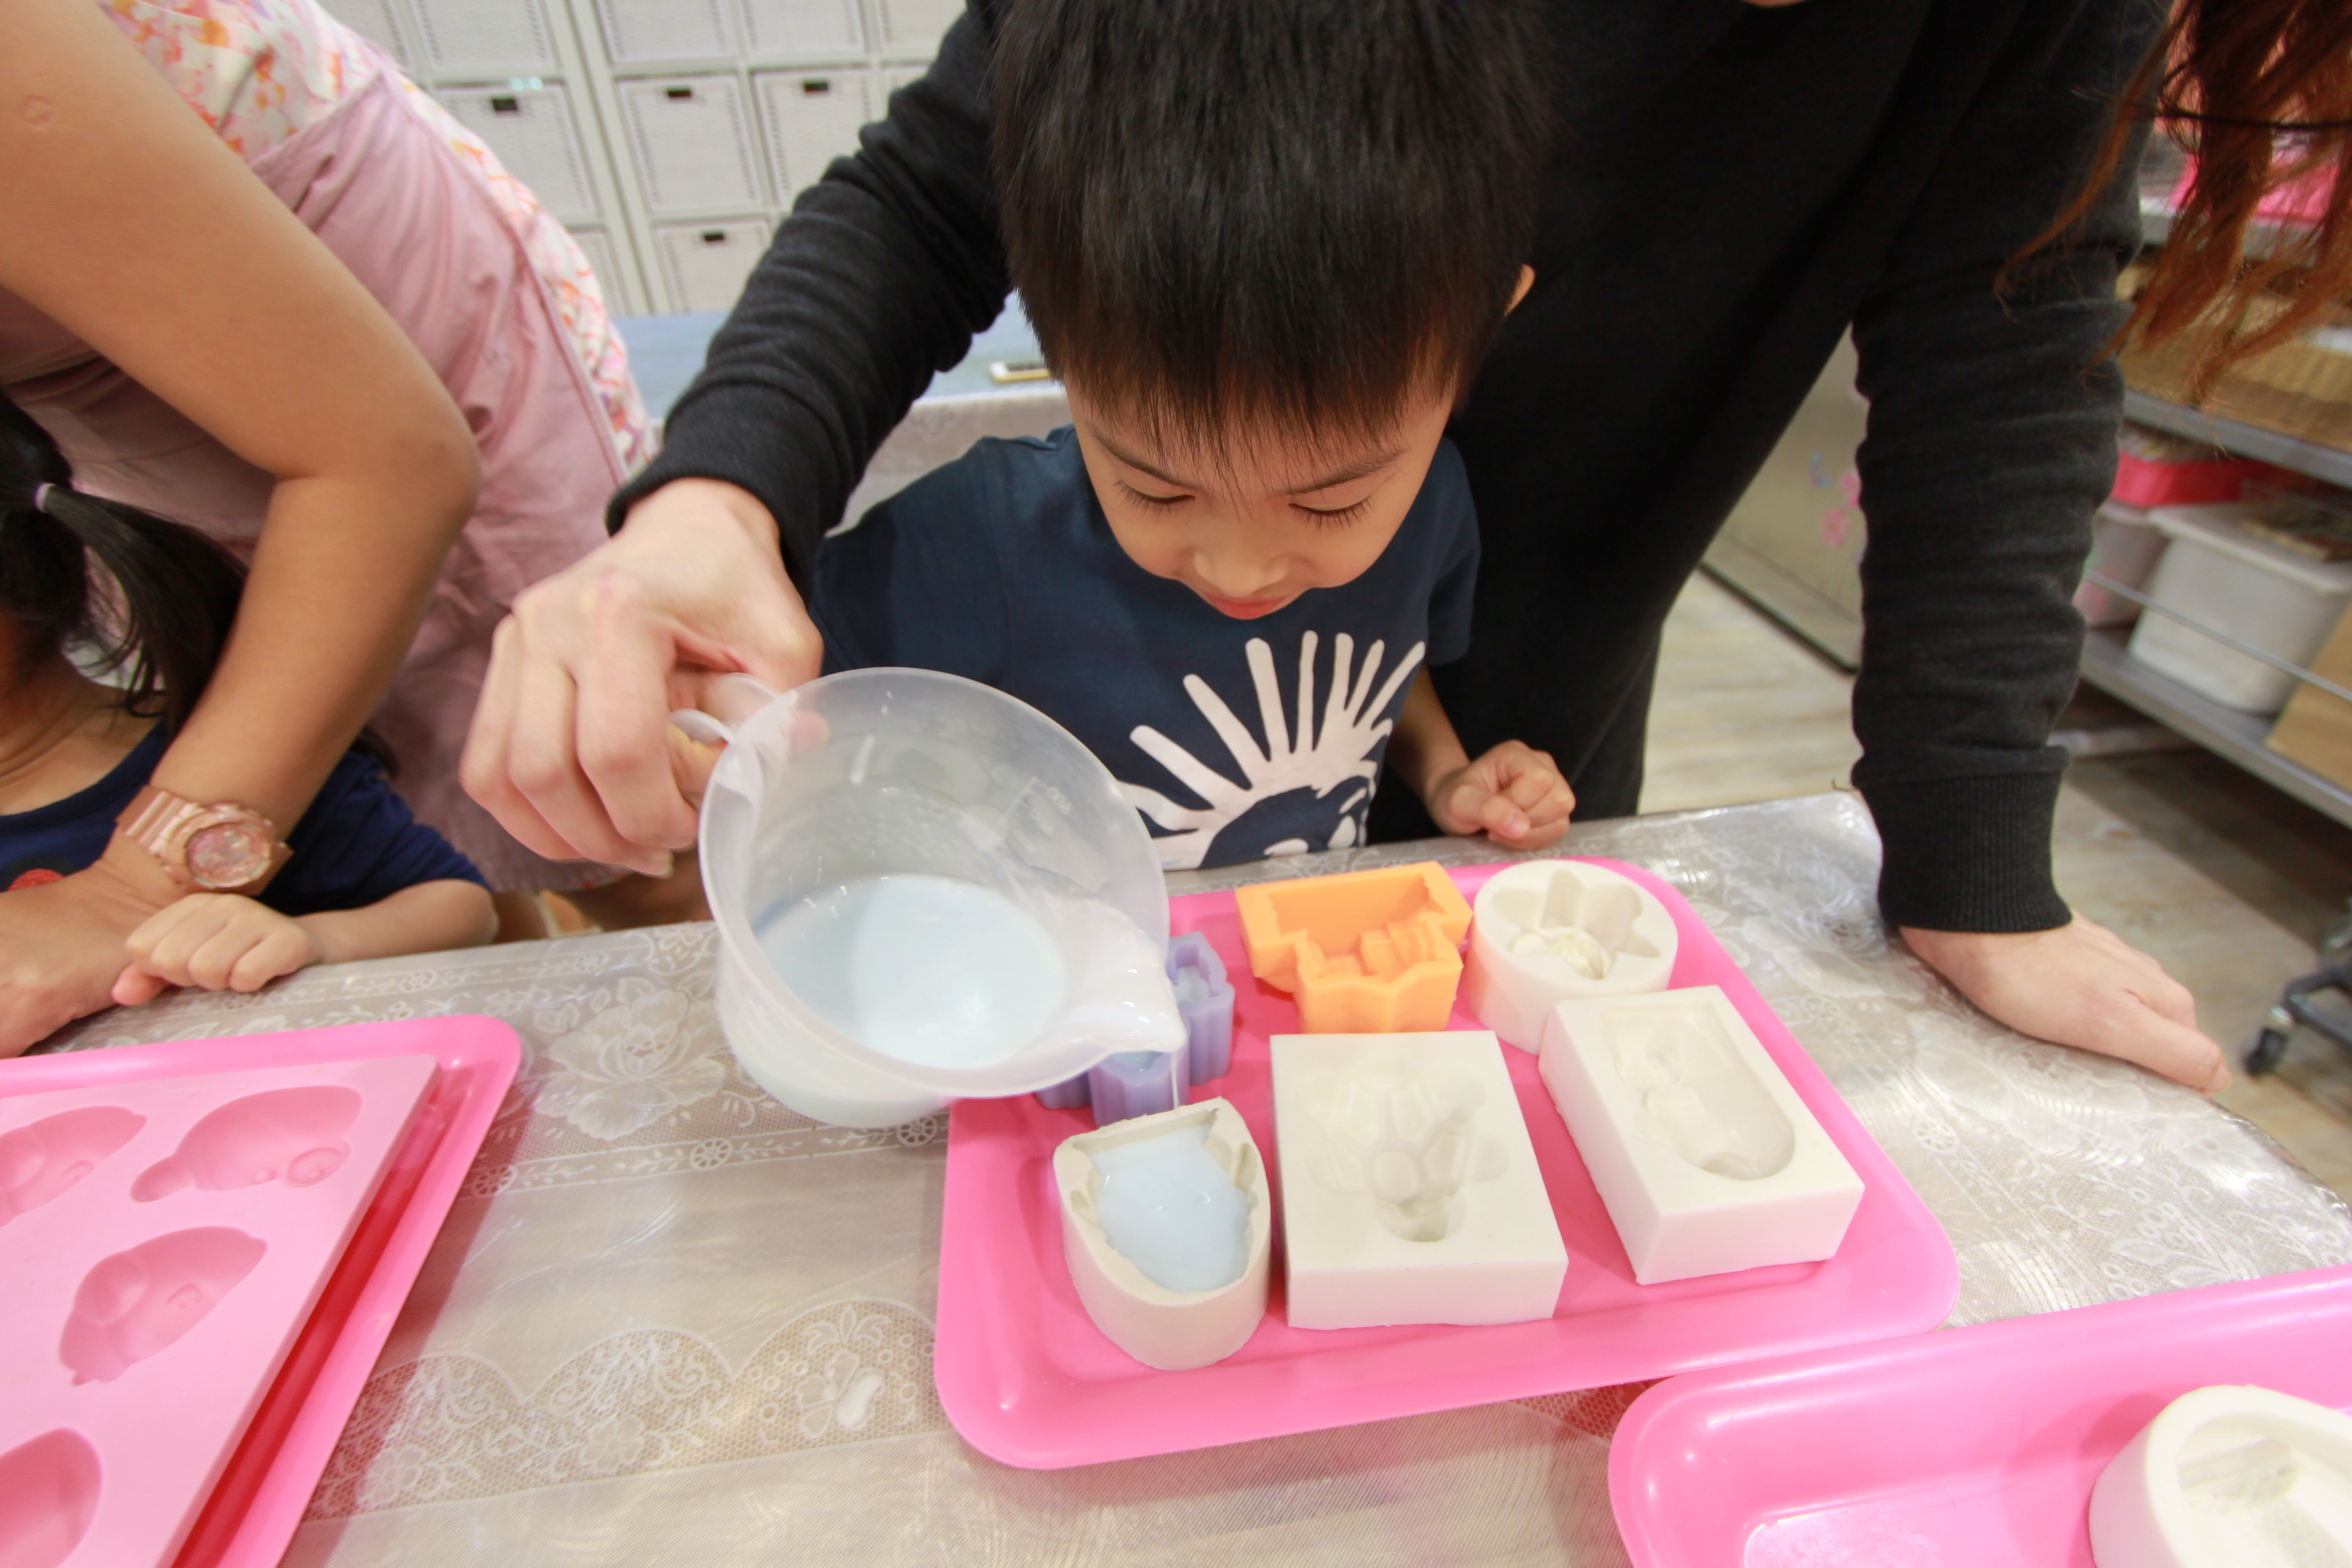
Repeat the same process for the second layer/colour (for basic upsize workshop)
mix 2nd portion
pour to fill the remaining half of the mold
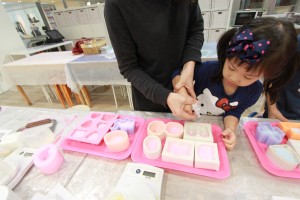
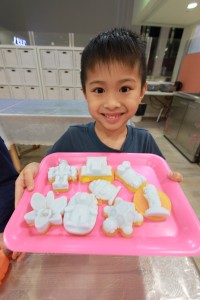
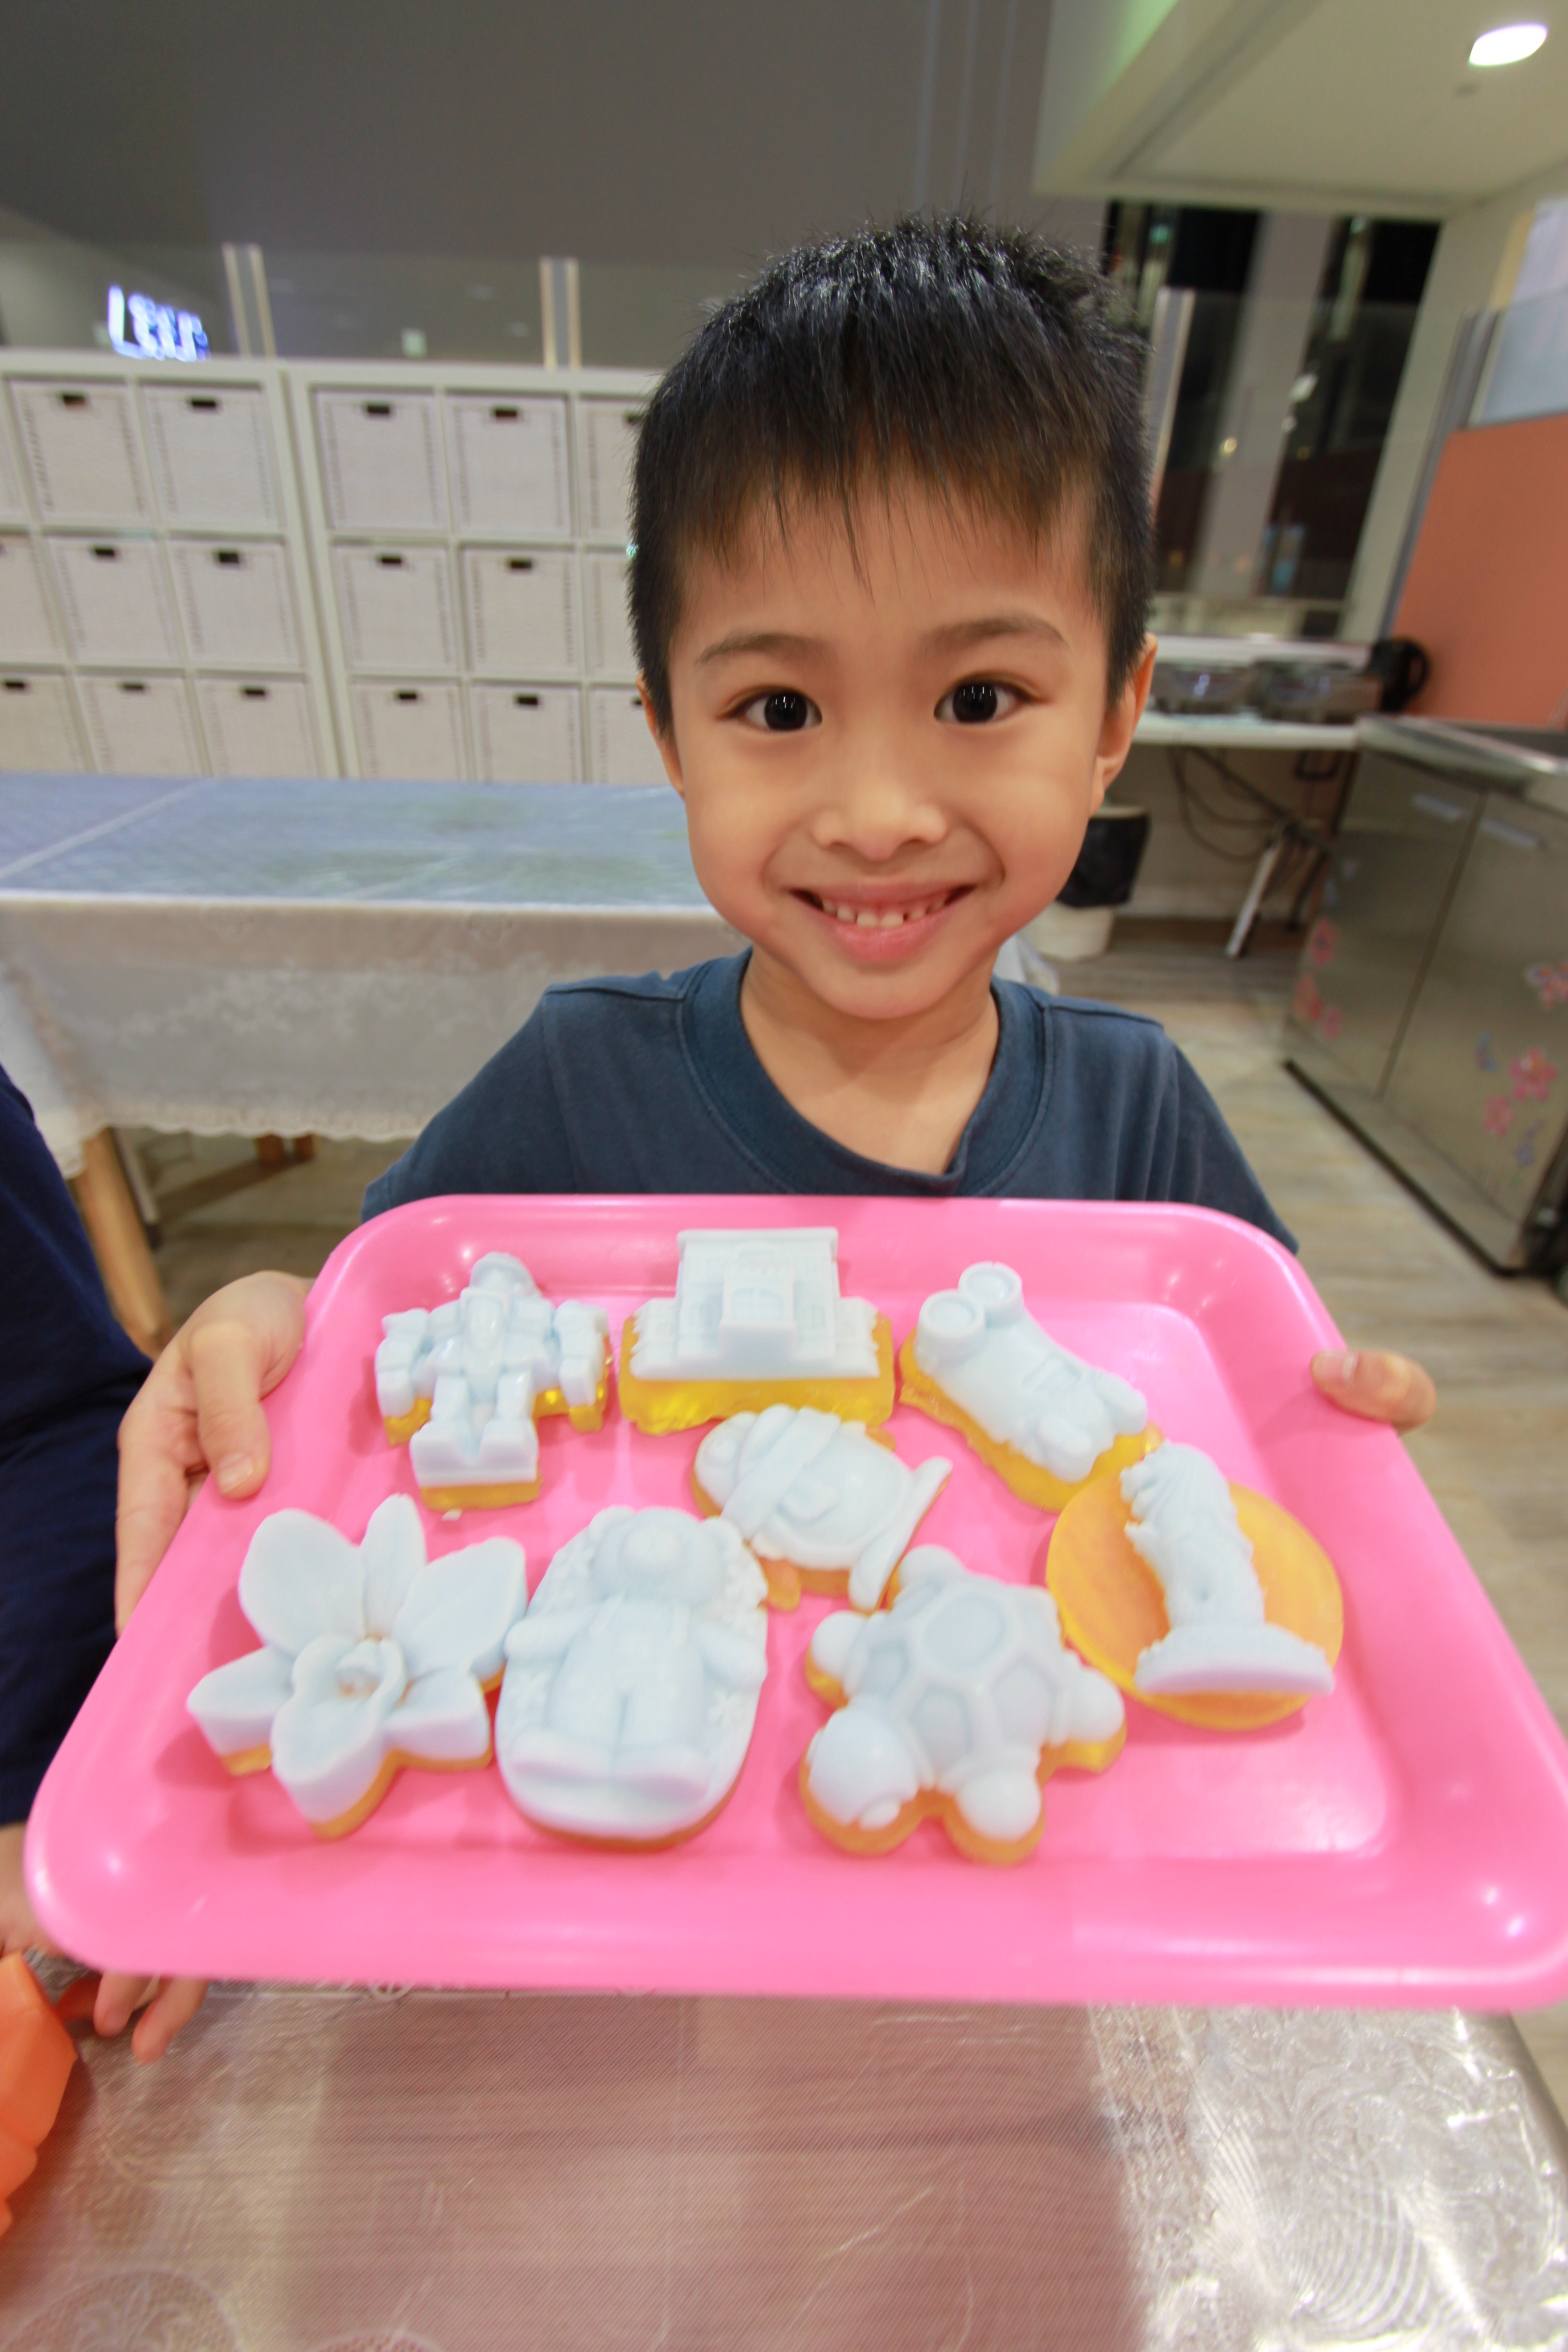
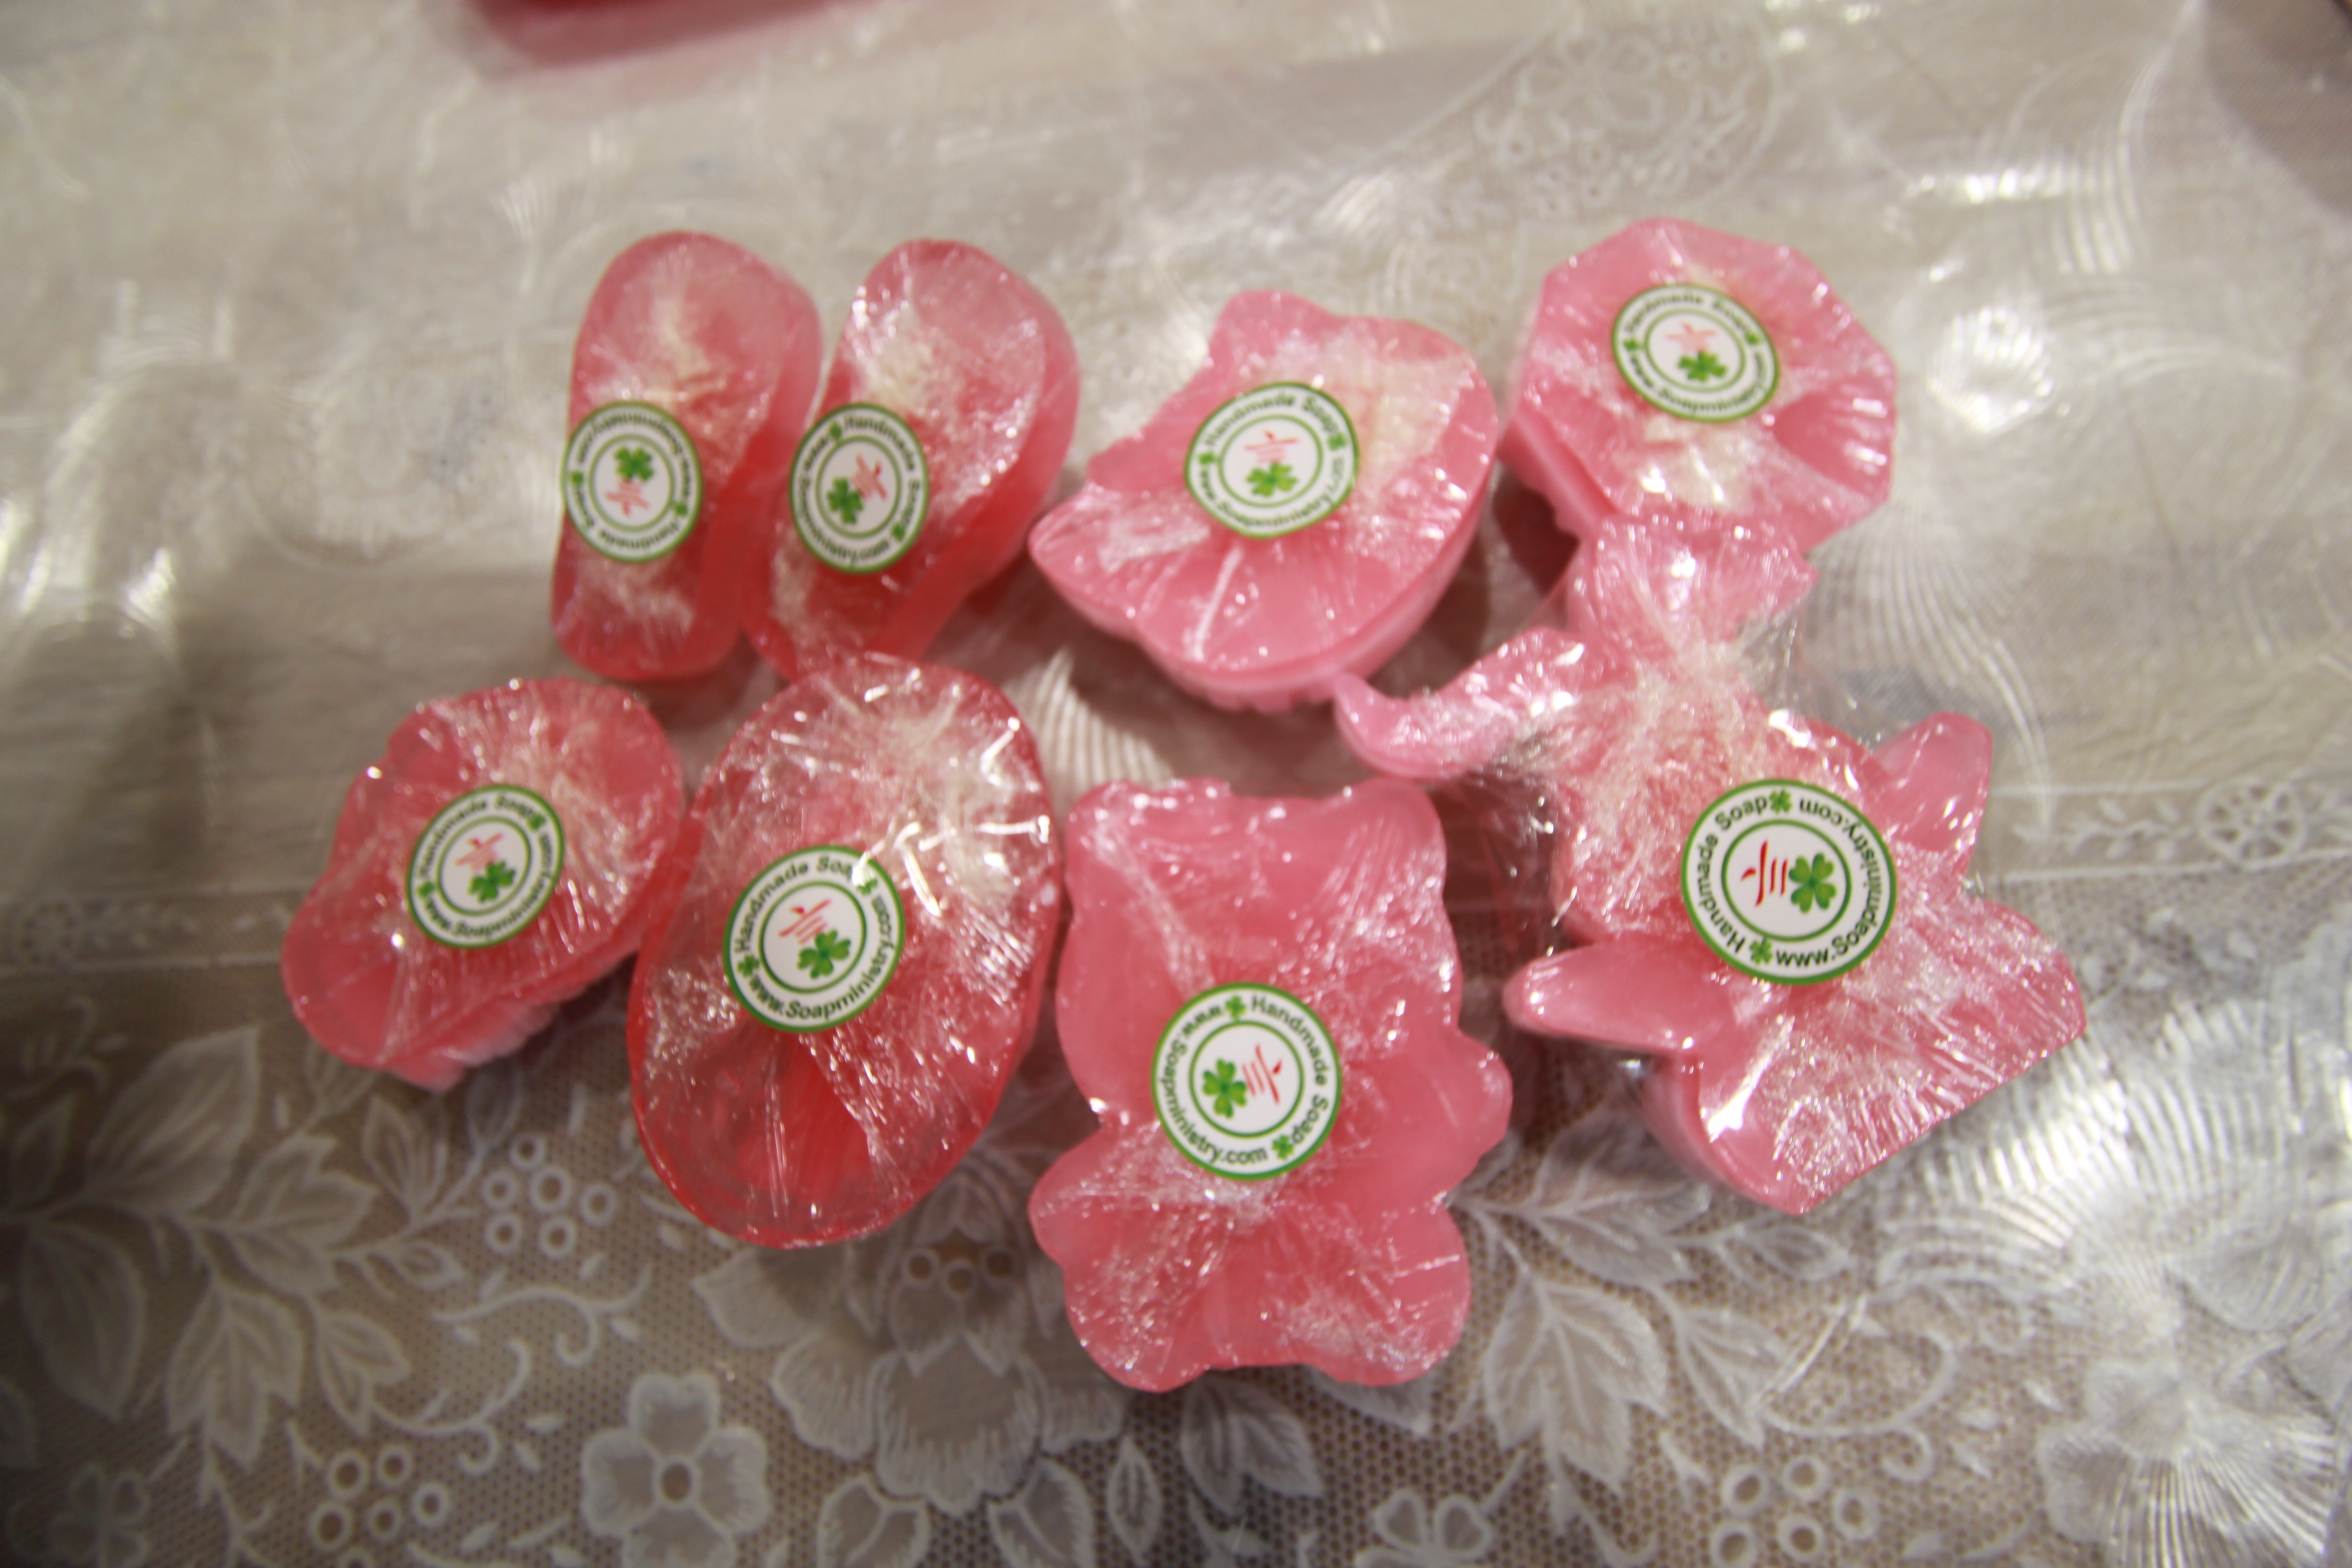
Step 6: Wrap
Once harden, the kids removed the soaps from the molds and wrap with cling wrap and a sticker! And that is enough soap for 1 year , I trust..and these are soaps made from natural ingredients sans chemical.

The soaps can be kept for 1 year. If kept longer, the soap will lose its benefits and cleansing properties.
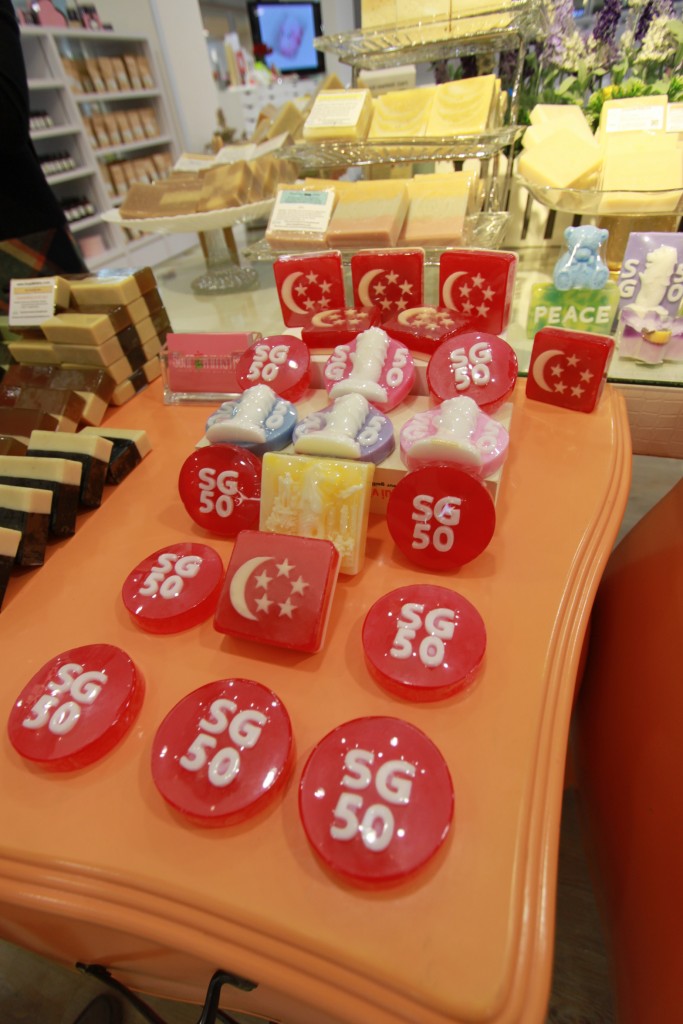
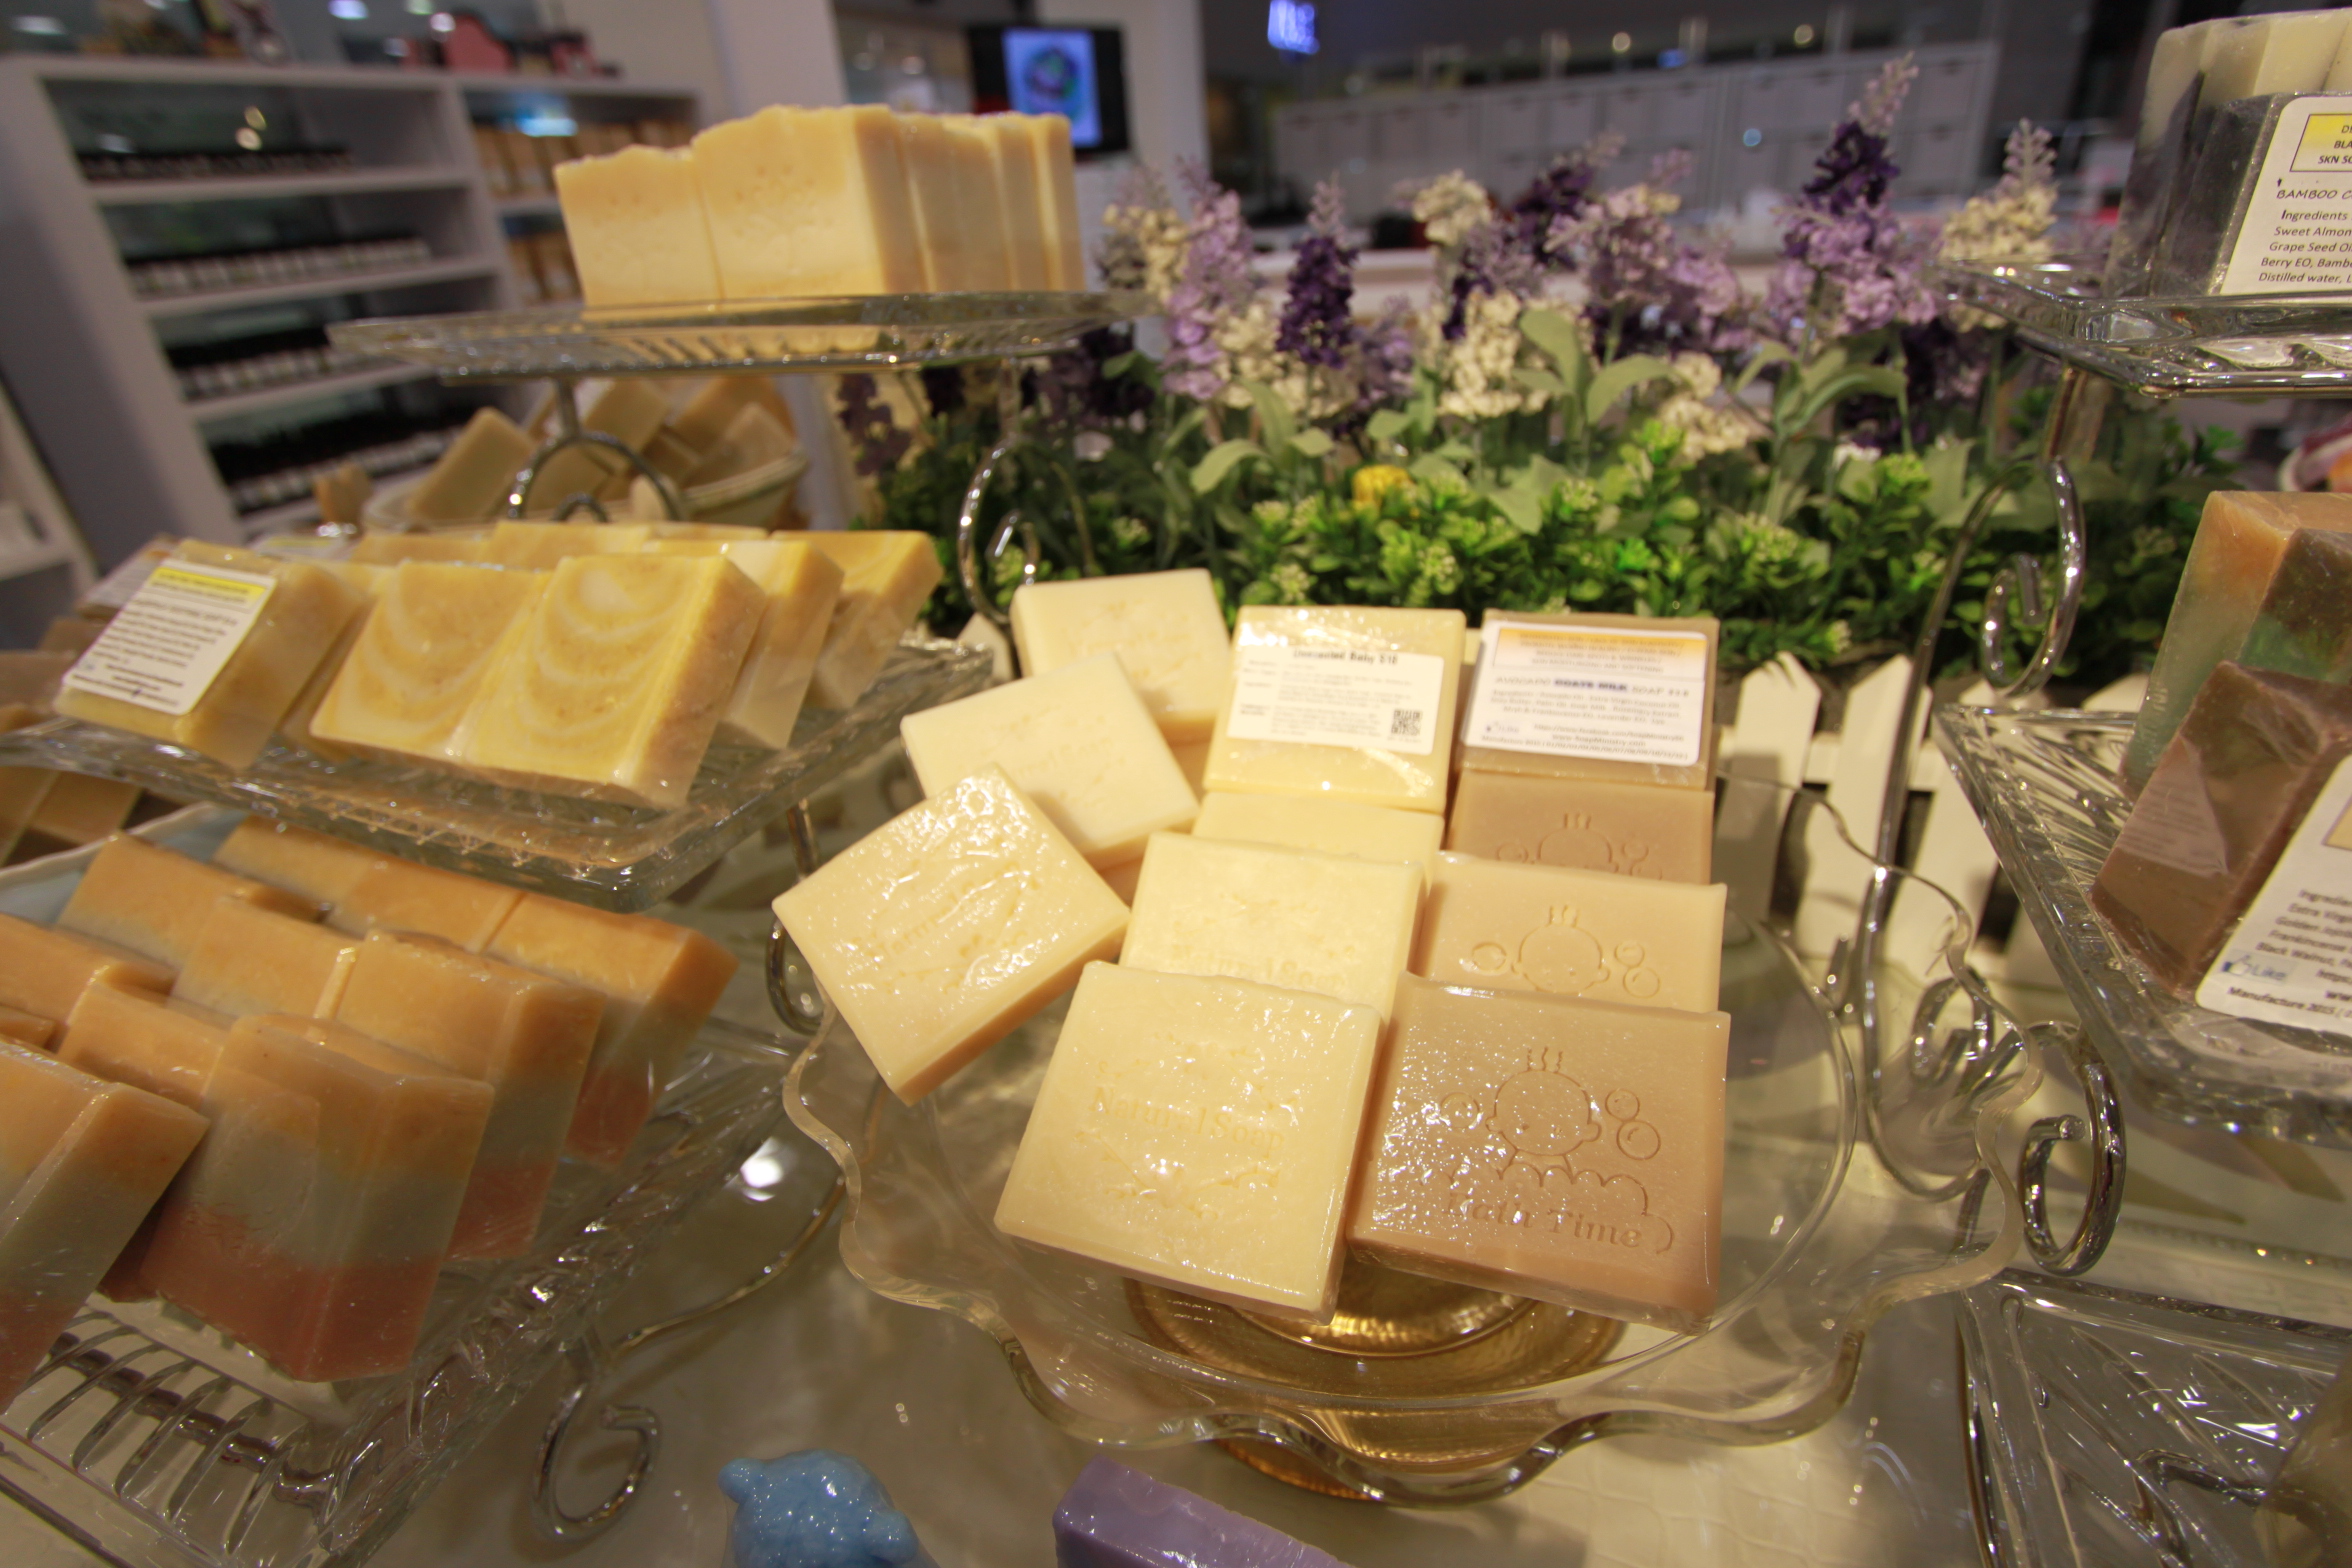
What I really like from this workshop, for the price you pay not only you gain the experience of making soap, you get to bring back the soaps that you made which can last you very long. And these are good quality soaps. A quick check at the shop , a small bar of handmade soap can cost as much as SGD 18.

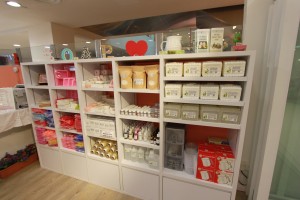
some of the ready made soaps
Handmade soaps are free from any chemicals, hypo-allergenic, bio-degradable, SLS free, Paraben free and eco-friendly. These are the best soaps for sensitive and eczema skin. By using herbs and aromatherapy oil, the benefits ranges from relieve aches, relaxes the mind depending on the herb and oil of choice. You can consult the trainers to suggest suitable herbs and oil combination to be blended with the soap base to suit for your needs.
Birthday parties
They will cater for private events like birthday parties for a minimum booking of 8 basic workshop. There is no additional venue charges and you can bring in your own food and cake.
Charity events/CSR efforts
I am pleased to hear that Soap Ministry are supporter for charitable events and CSR efforts. Customers who wish to make soap for charitable causes can approach Soap Ministry (with proof to charity event details and documents) to obtain a discount which equate to supplier price. Soap Ministry will also do a shout out to its 3000 Facebook fans to create more awareness of the charity event.
Breast milk soap
Breastfeeding mothers can bring their frozen expressed breast milk ( for processing into breast milk soaps for mother and baby at cost ranging from SGD 75 for 500g of soap to SGD 240 for 2kg of soap. The method of making breast milk soap is the cold process method which involves a 2 month period of “curing”. Besides breast milk, avocado oil, palm oil, shea butter and lavender essential oil are the other ingredients in making one of the most moisturising and nourishing soup ever. For baby’s use, lavender essential oil is omitted. I did a smelling test of both mummy and baby soup. The mummy soap has a very nice fragrance from the lavender essential oil while the baby soap is unscented (there is no the fishy smell of frozen EBM).
Some of the benefits of breast milk soaps are preventing eczema in baby, promote healing and relief to diaper rash, boost baby’s immune system and for mummy’s, moisture and soften skin, promotes healing to cuts, infections and lighten pigmentation on skin.

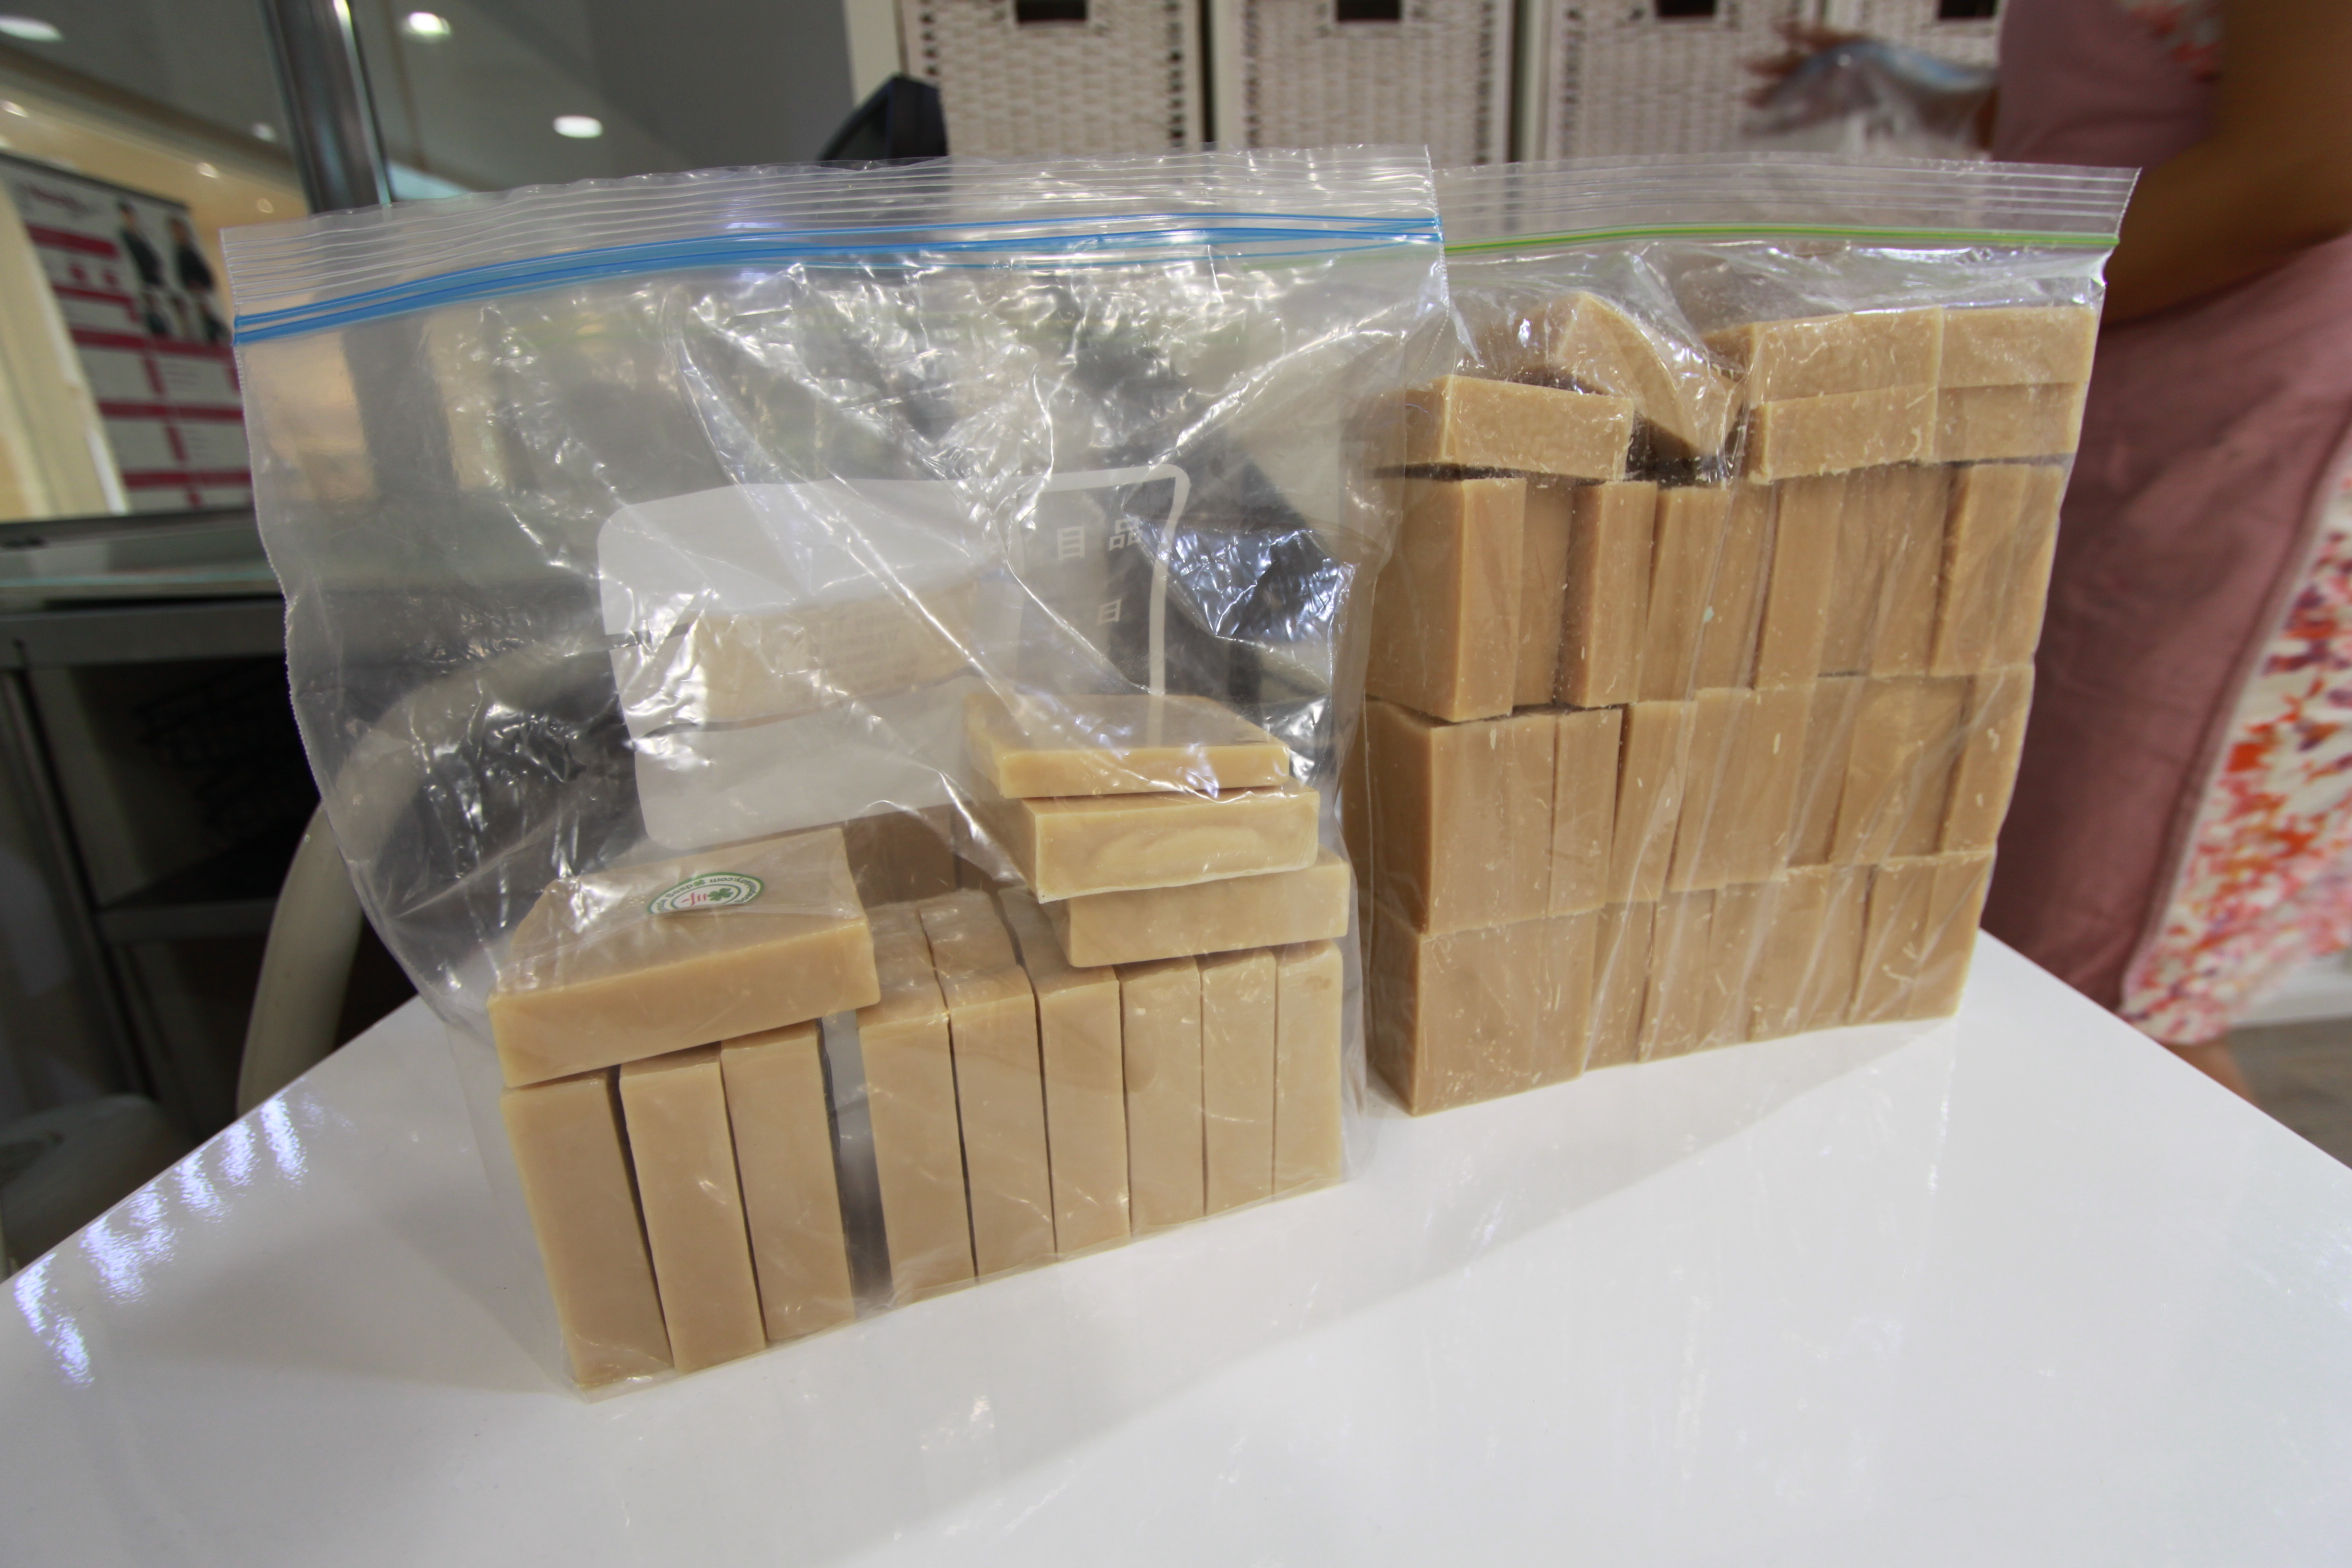
1kg (using 500ml BM) and 2kg (using 1000ml of BM ) of breast milk soap
Soap making at home


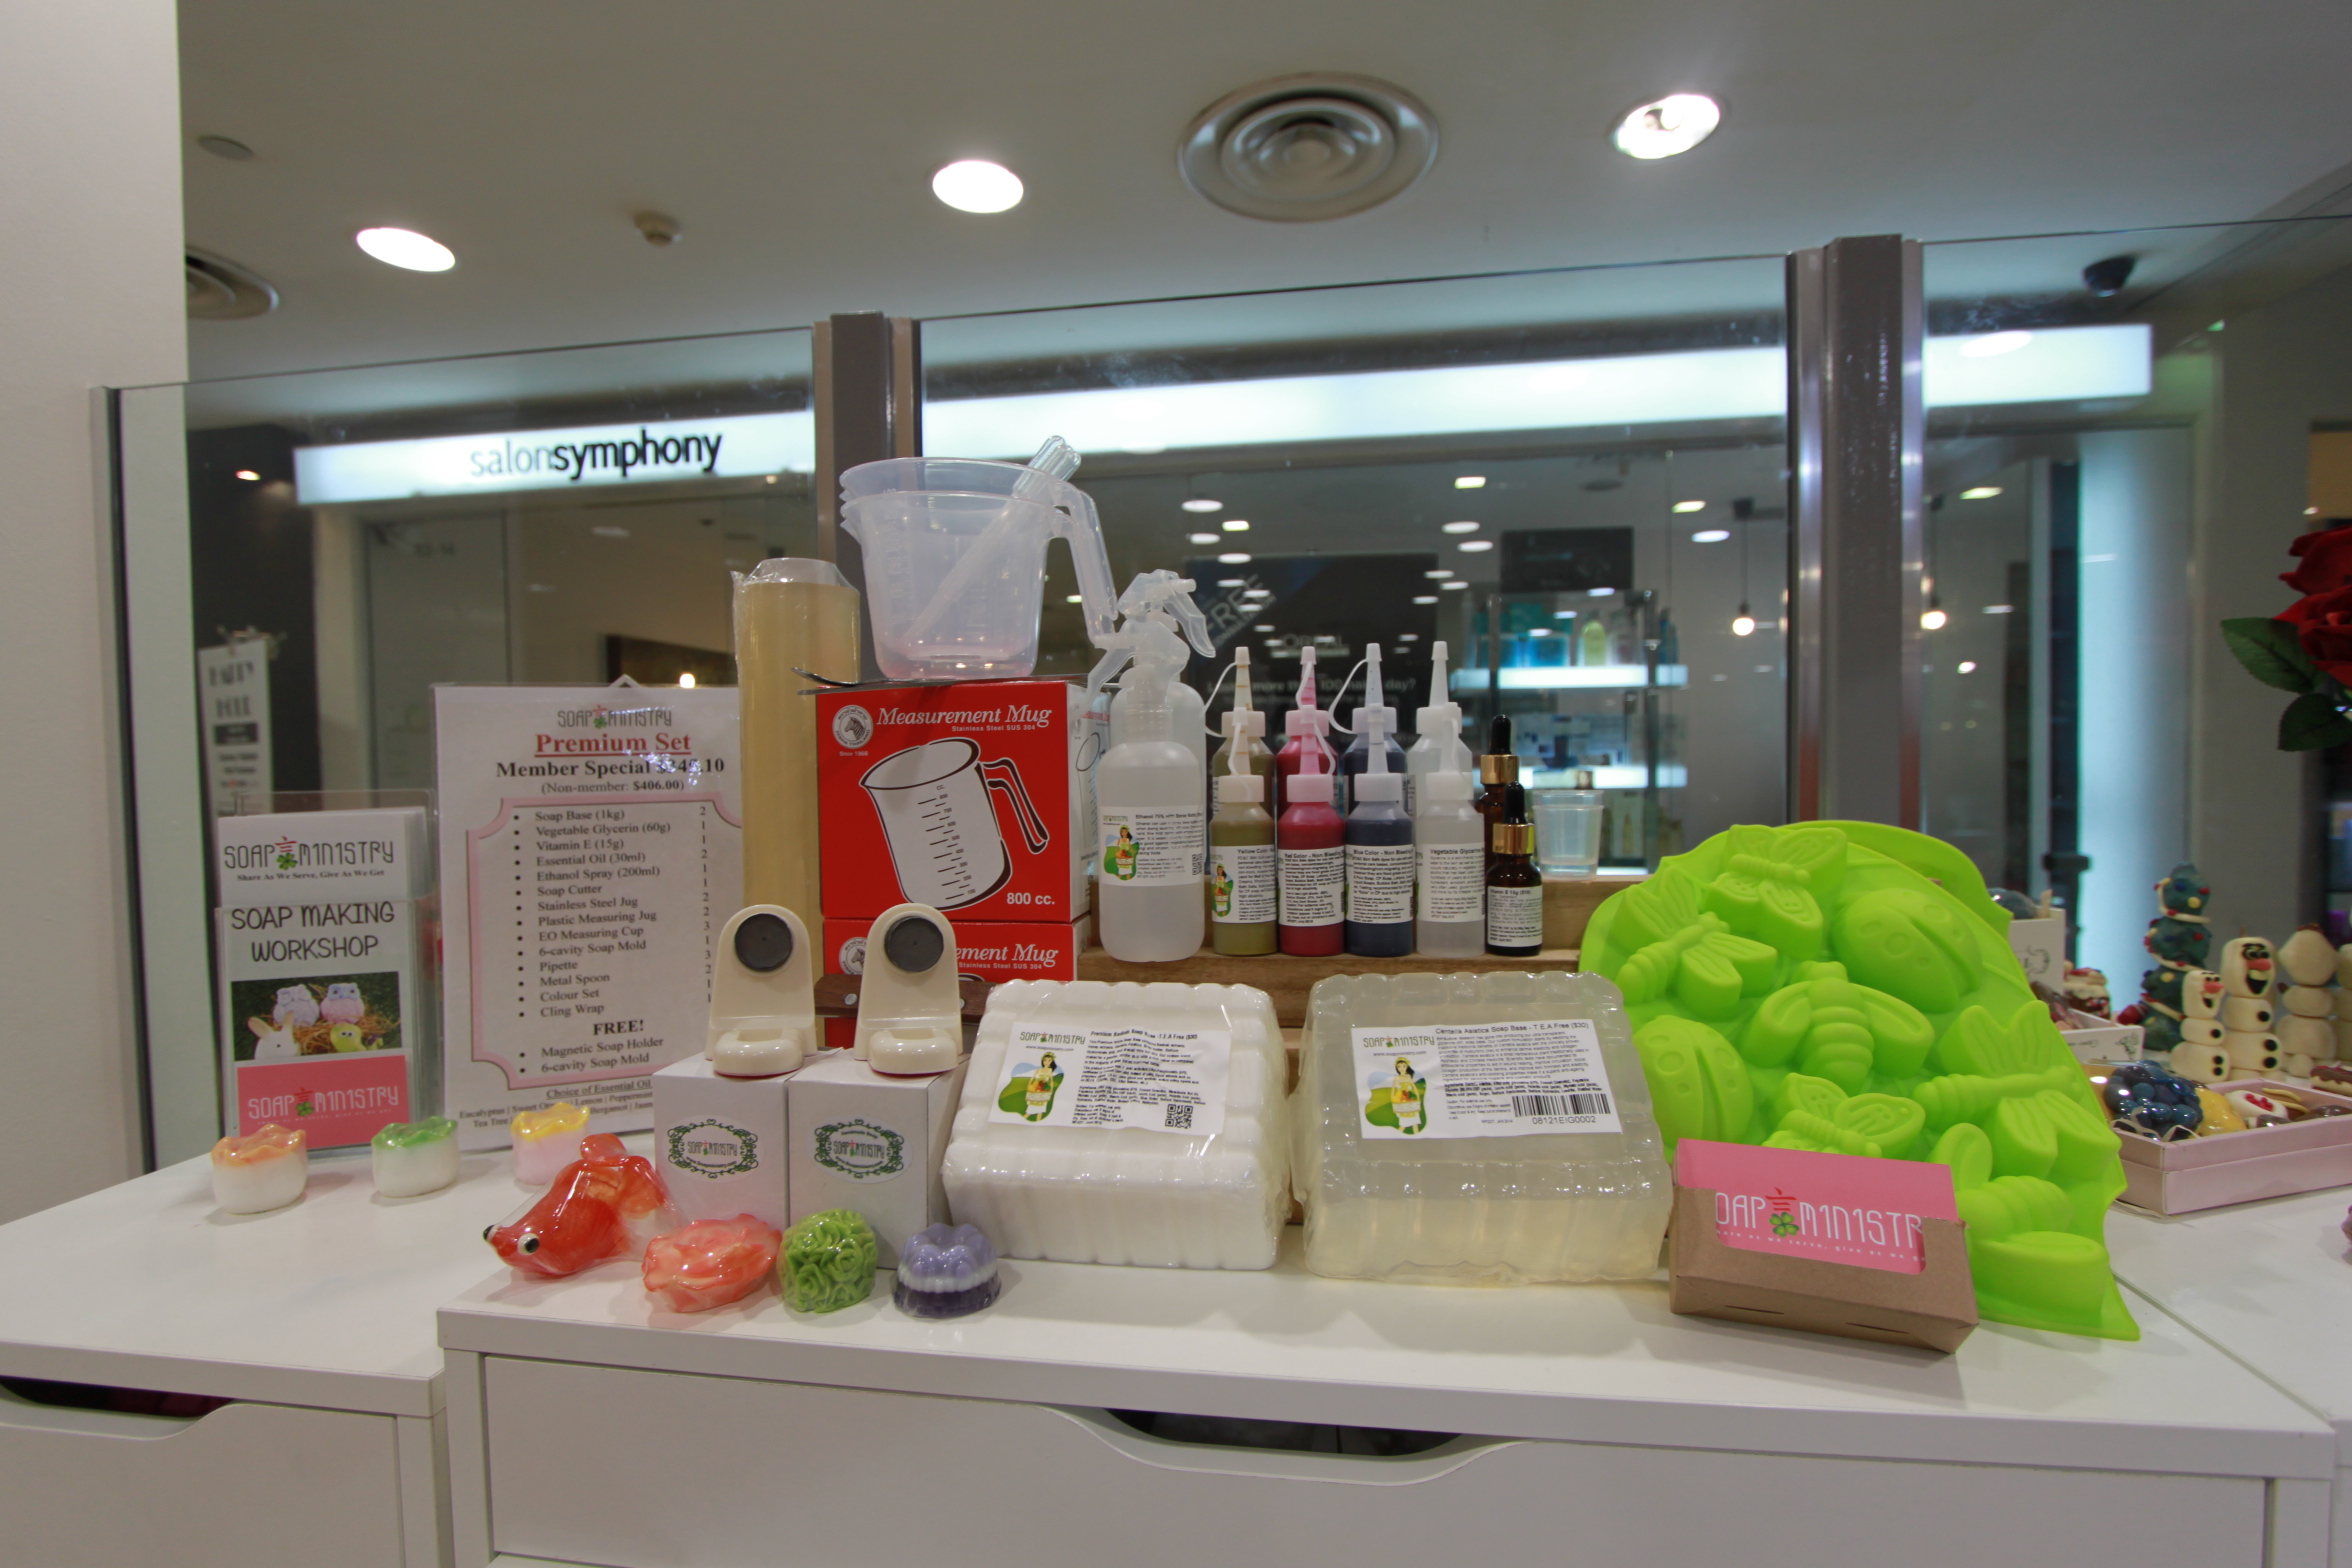
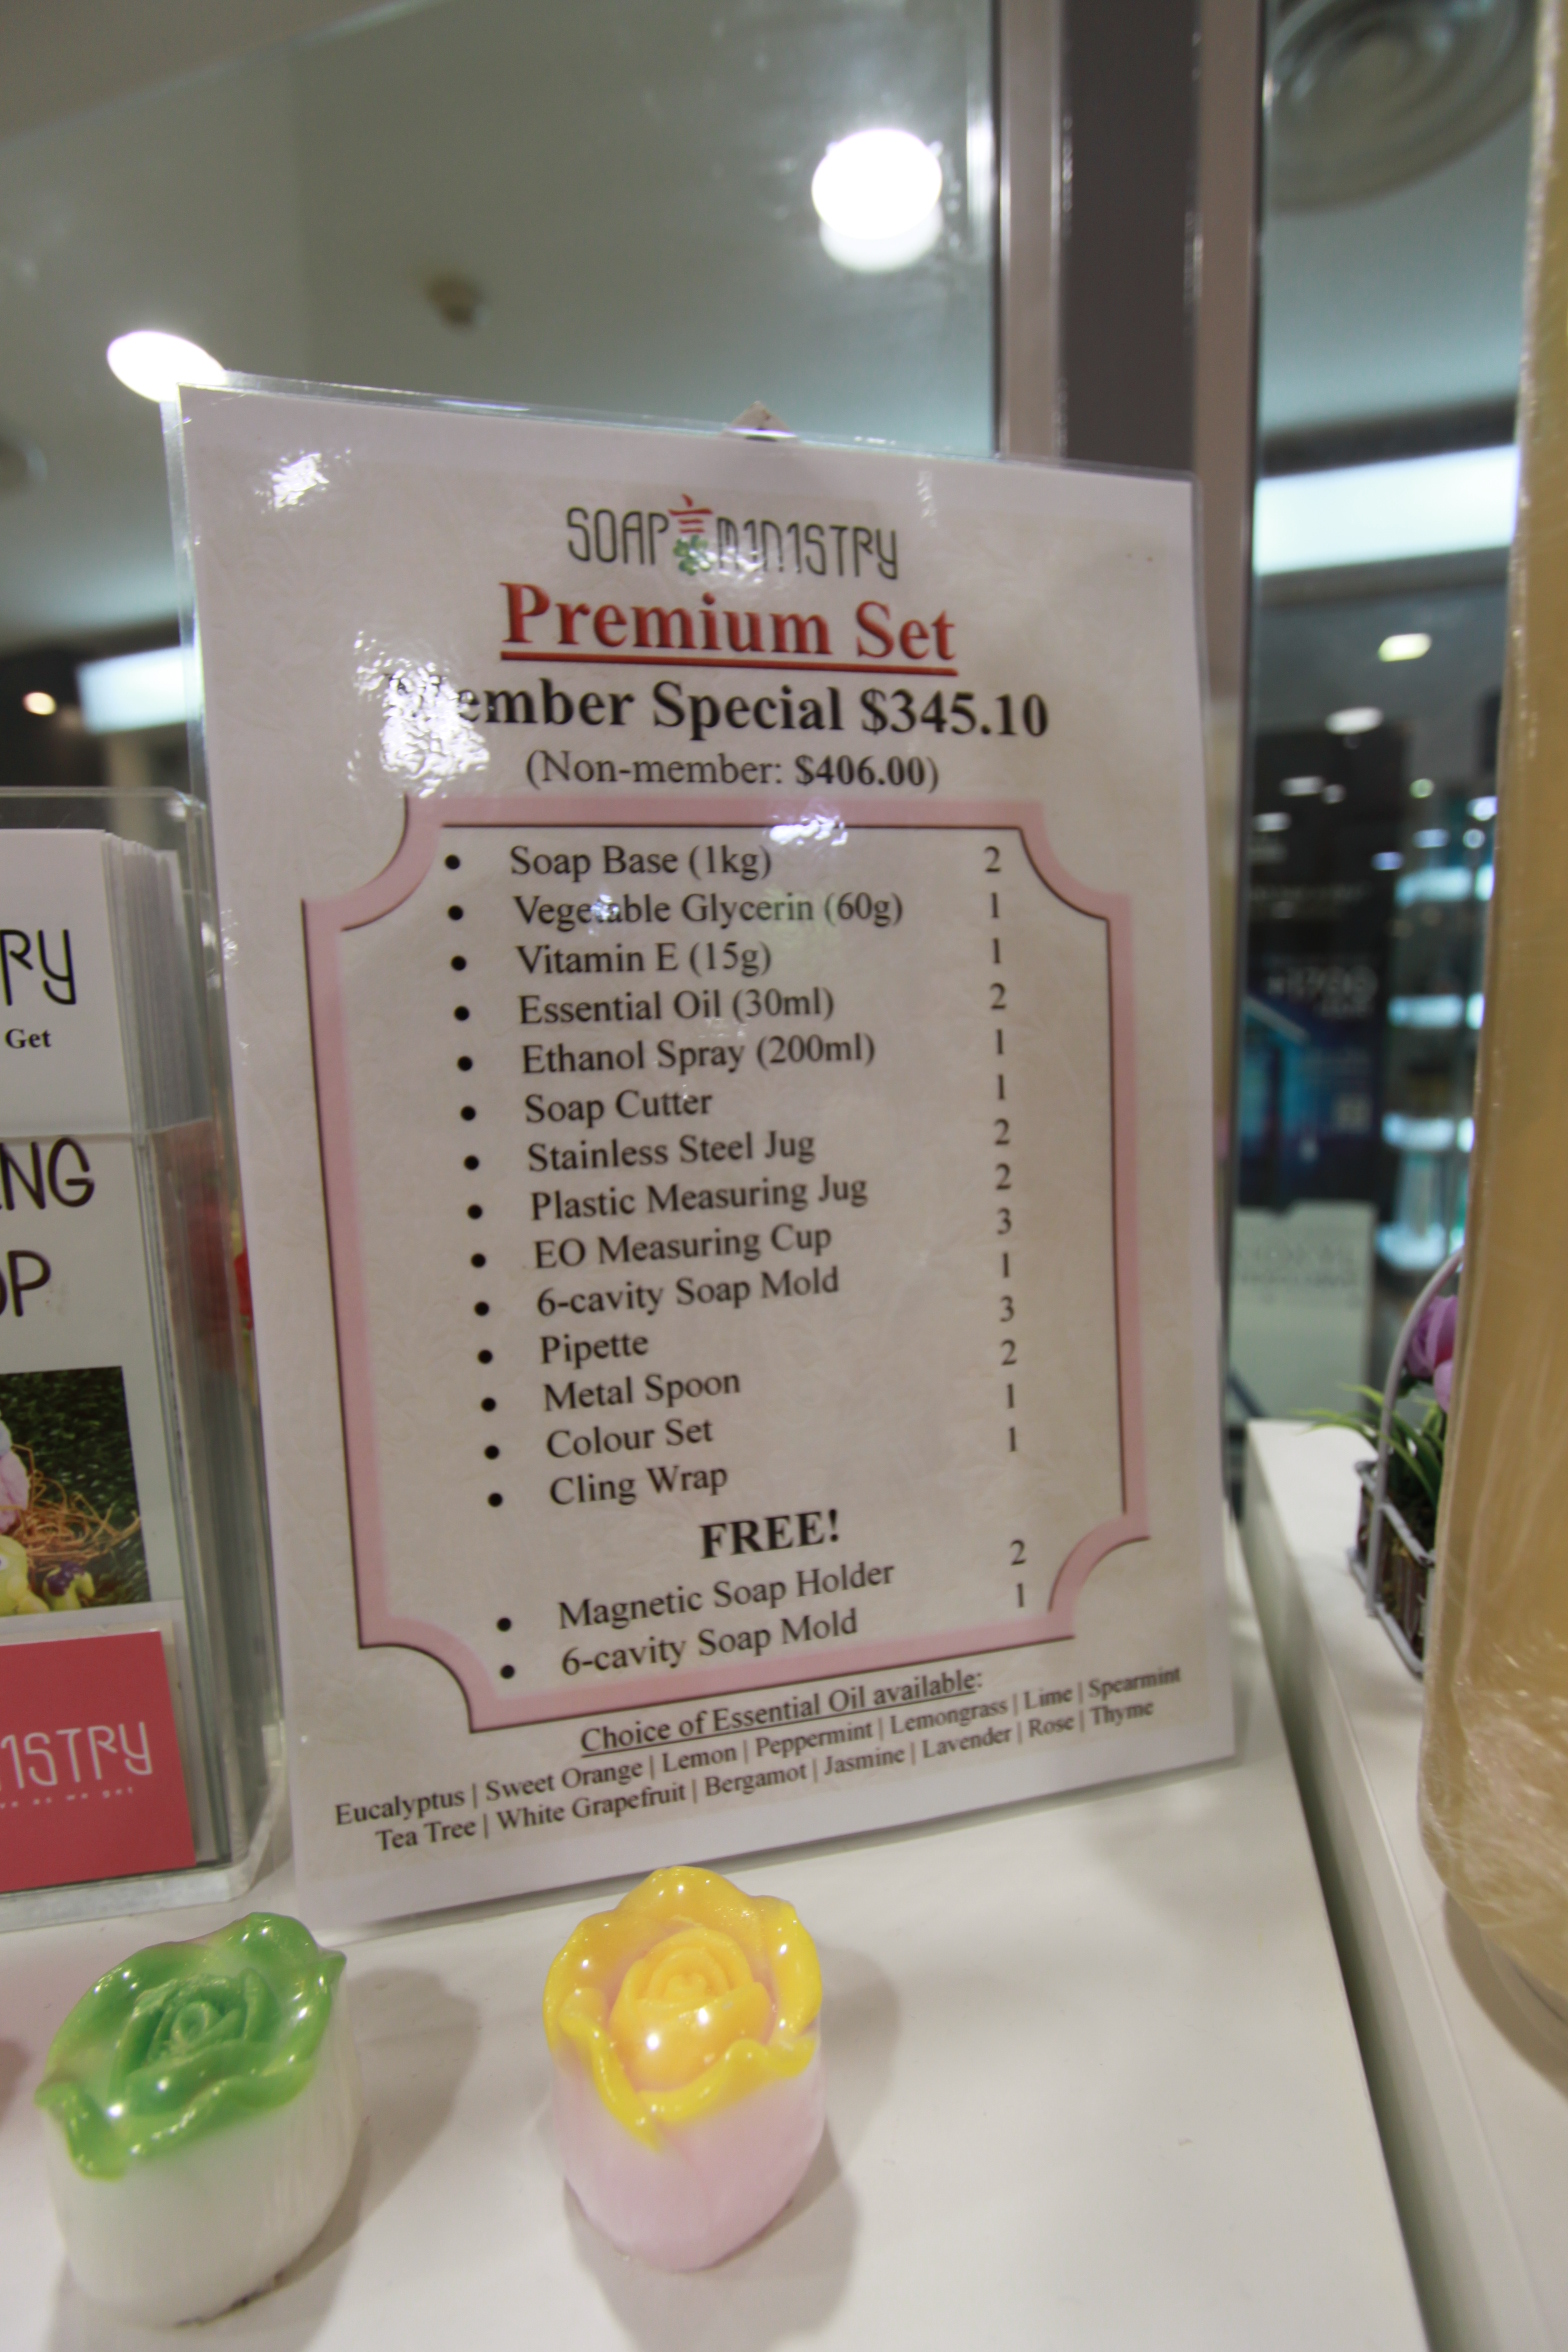
You can also make your own soap in the comfort of your home. Soap ministry sells starter kits with materials to start you off on your own soap making. Once you have run low of any of the ingredients, you can purchase them at the shop, from oil base, herbs, essential oils, even cling wraps for the finished products. If you do not wish to do at home, you can also use the facilities and tools at Soap Ministry at an affordable fee of SGD 10 per hour (this is applicable to customers who have attended at least 1 basic workshop and ingredients have to be purchased from Soap Ministry) Customers can keep their unfinished ingredients in the cubicles provided at the back of the shop.
Lifetime membership
Once you have attended any workshop, you will get a lifetime membership which will entitle you to 10% discount on purchase of products and ingredients. For the home soap making kit, there is a 15% discount.
Current opening promotions
Now till 9th August (SG50)
Less $5 off any soap purchase & Workshop
Opening Special : Now till end August
30% Off 6 kg of All Soap Base
30% Off 50ml & 100ml All Pure Essential Oils
Buy 2 get 1 Free any In House Ready Made Soaps
And here taking the opportunity to wish all my readers a wonderful long weekend ahead and enjoy the jubilee celebrations!
Disclaimer: This is a sponsored review. No monetary compensation was received, and all opinions are my own
Share the article


